Einleitung

After extended use, the motherboard may become defunct and the device may require a new one. Follow this guide to remove and replace the motherboard of your Hisense Sero 8.

  1. TMTSPcUTJ3F24sFJ
    TMTSPcUTJ3F24sFJ
    5I2LDkUhwhVhOsfW
    2TesJEXkvKQ2wgLd
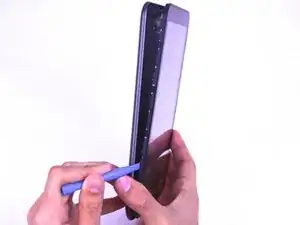
    • Remove the back cover of the device using the plastic opening tool.

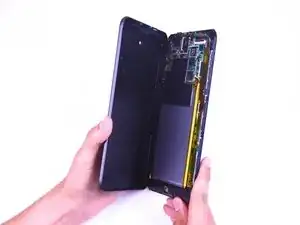
    • Pry open a corner of the device, then continue down the side with the tool to open the device.

  2. BCVSfcVJOGXJpcsL
    BCVSfcVJOGXJpcsL
    yilbVSPWZtfkDAho
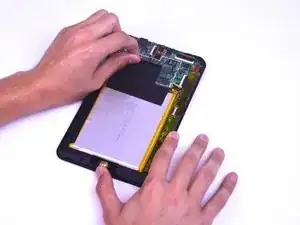
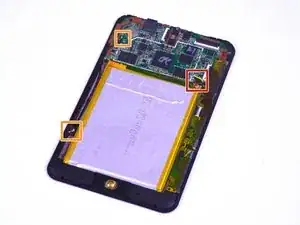
    • Remove the black tape located to the left of the device.

    • Remove the clear tape directly below the camera.

  3. 1dpBSYbKgEIUsYJV
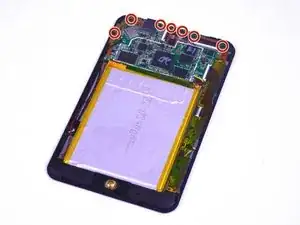
    • Remove the seven 4.43mm screws located at the top of the device using the Phillips #00 screwdriver.

    • There is no need to remove the bottom two screws holding the speakers in place.

  4. RdJK1WvotCcc6cKi
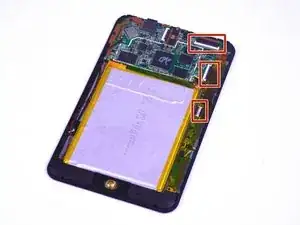
    • Unlock the three ribbon cable connector latches to remove the cables.

  5. VtO2eSCTFpxP5hGH
    VtO2eSCTFpxP5hGH
    A34BNIBEaRc6jcVj
    x2kj2hJ4IrAJTd6L
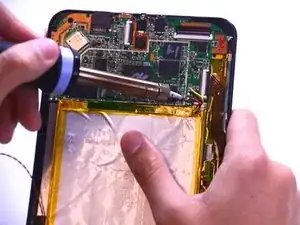
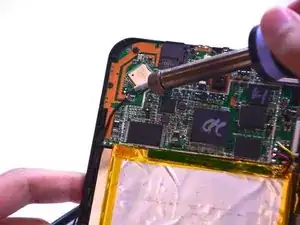
    • Be cautious of the extremely hot tip of the soldering iron.

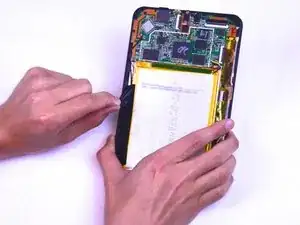
    • Desolder the red, black, and yellow wires to remove the motherboard. Take a look at this guide to learn how to solder and desolder connections.

    • Desolder the black wire located on the top left of the device.

    • Once desoldered, carefully lift the motherboard out of the device.

Abschluss

To reassemble your device, follow these instructions in reverse order.

Katharina

Mitglied seit: 23/02/15

506 Reputation

0 Kommentare