Einleitung
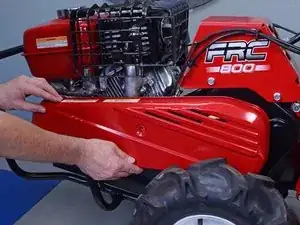
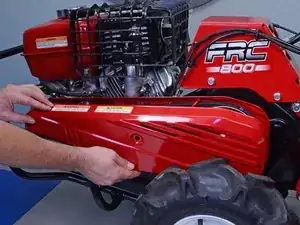
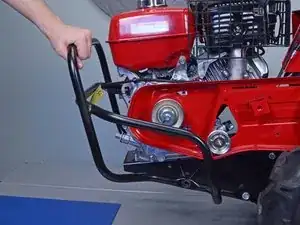
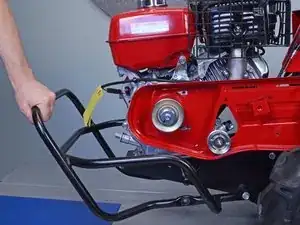
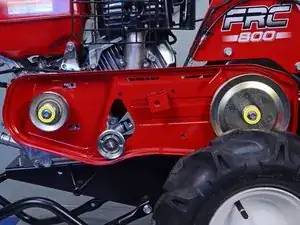
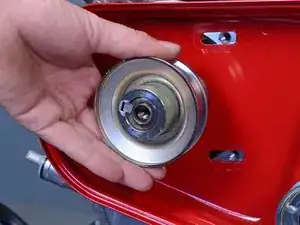
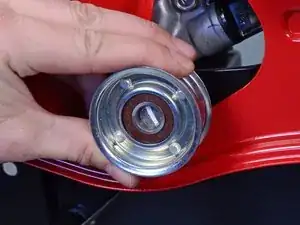
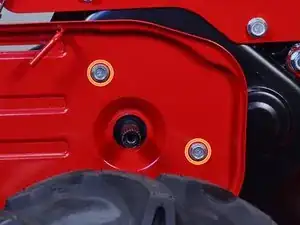
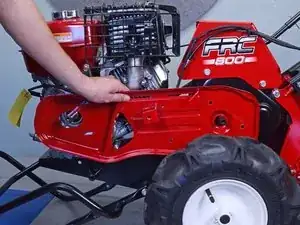
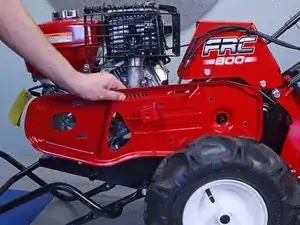
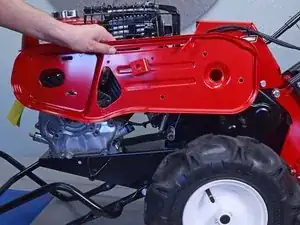
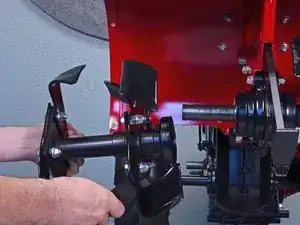
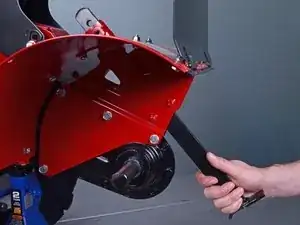
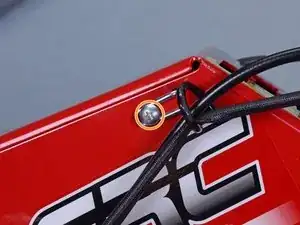
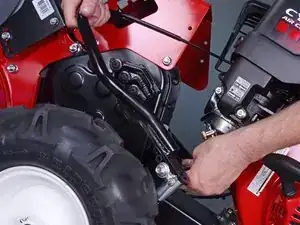
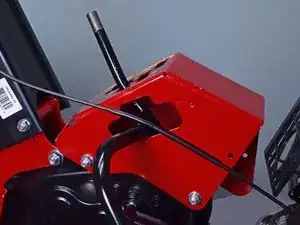
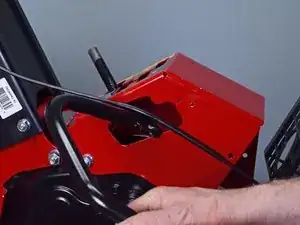
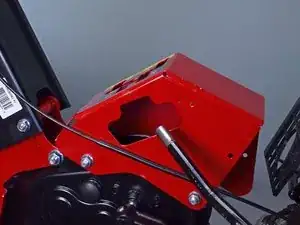
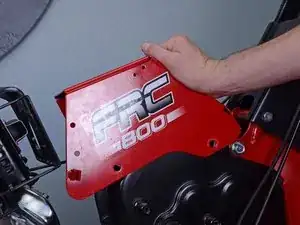
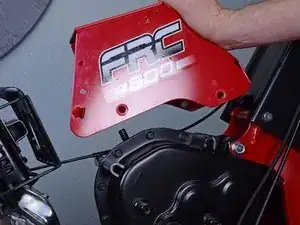
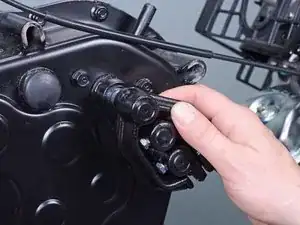
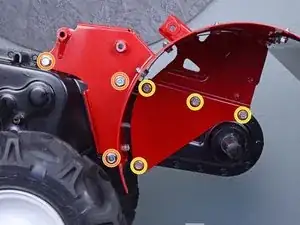
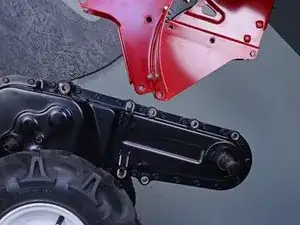
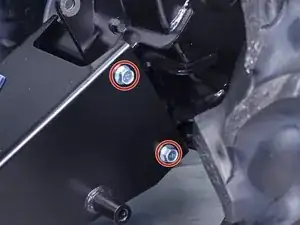
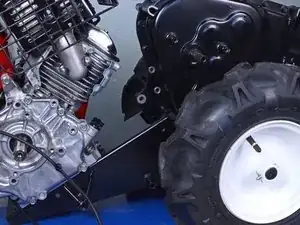
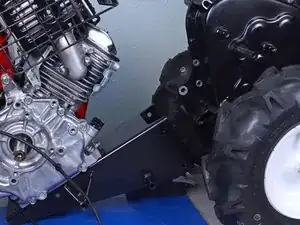
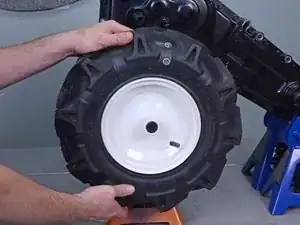
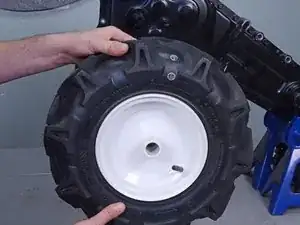
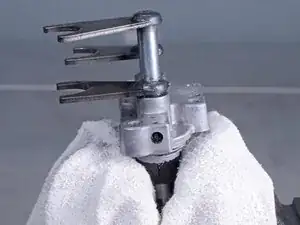
This guide shows how to remove or replace the power take-off (P.T.O.) change/shift fork in a Honda FRC800K1A Rear Tine Tiller.
Drain the oil from the transmission before beginning this process.
Take plenty of additional reference photos during the transmission opening procedure in case internal components shift. Reference official Honda service documentation for more detailed schematics.
Review all reassembly tips before attempting transmission reassembly. Follow proper torque specifications for transmission case bolts. Use HondaBond 4, ThreeBond 1216 or an equivalent liquid gasket for reapplication.
After completing this procedure, refill the transmission with 5.3 quarts of SAE 10W-30 oil.
Werkzeuge
Ersatzteile
-
-
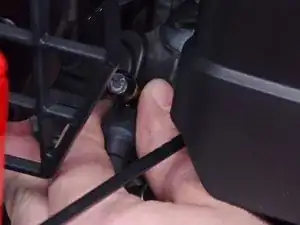
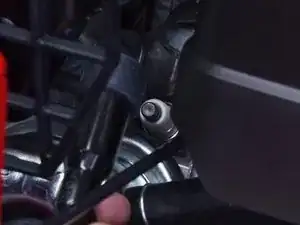
Firmly grip the base of the connector and pull it away from the spark plug to disconnect it.
-
-
-
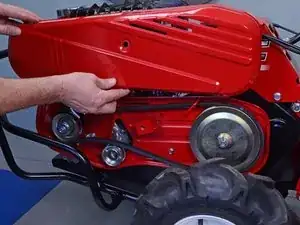
Tilt the outer belt cover down and pull it off of the lip on the inner belt cover to remove it.
-
-
-
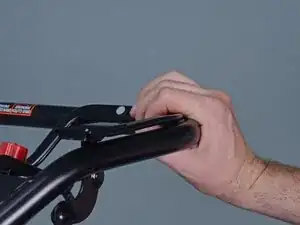
Pull the tine engagement lever to put belt tension on the transmission pulley.
-
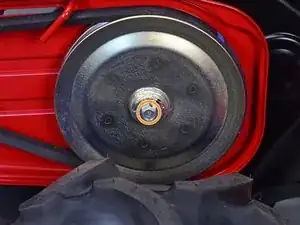
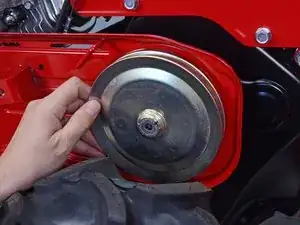
With the belt taut, use a 12 mm socket to loosen the transmission pulley bolt without fully removing it.
-
-
-
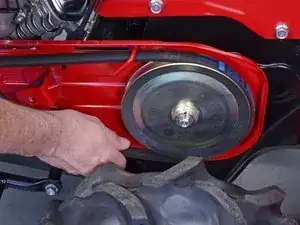
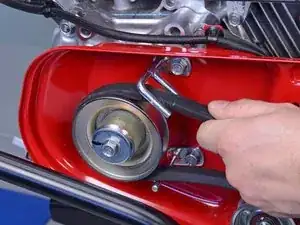
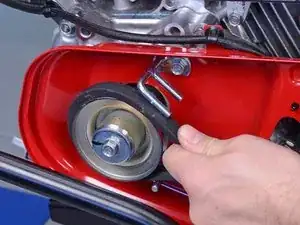
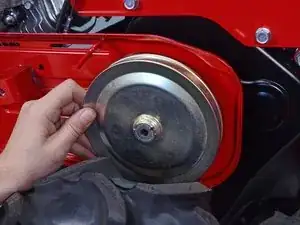
Push the V-belt towards the transmission pulley to release tension.
-
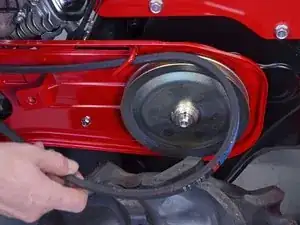
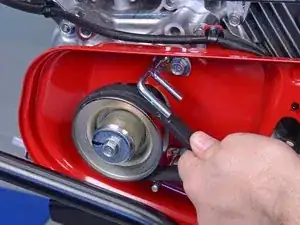
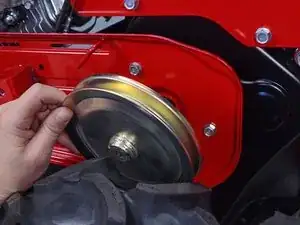
Slip the V-belt off of the groove in the pulley.
-
-
-
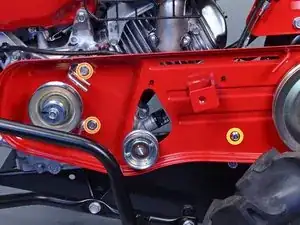
Pull the V-belt down and out of the way of the two-prong belt guide.
-
Push the V-belt around and off of the motor pulley to remove.
-
-
-
Use a 12 mm socket to remove the two bolts securing the belt guides to the inner belt cover.
-
Use a 10 mm socket to remove the bolt securing the inner belt cover to the frame.
-
-
-
Use a 14 mm socket to loosen the two bolts securing the guard to the frame.
-
These bolts have corresponding 14 mm nuts on their opposite ends. You will need to keep the bolts steady with a wrench or socket for the nuts to become loose.
-
Remove both nuts, but do not remove the bolts yet.
-
-
-
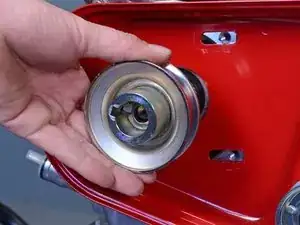
Use a 12 mm socket to remove the motor and transmission pulley bolts.
-
Hold the pulleys steady to more easily remove the bolts.
-
-
-
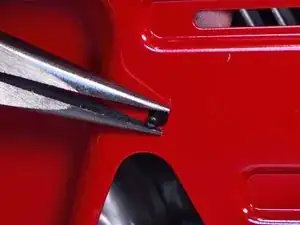
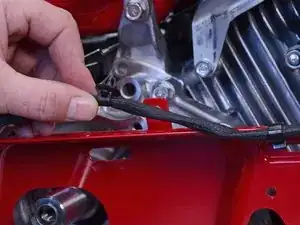
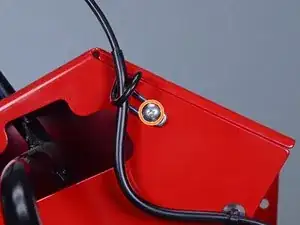
Use needle nose pliers to remove the three wire clips securing various cables to the back of the inner belt cover.
-
-
-
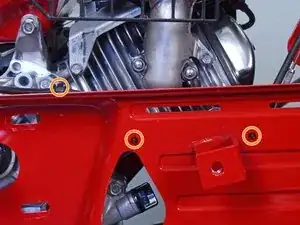
Use a 12 mm socket to remove the two remaining inner belt cover bolts behind the transmission pulley.
-
-
-
Pull the inner belt cover clear of the motor and transmission shafts.
-
Remove the inner belt cover.
-
-
-
Use a 12 mm socket and wrench to remove the six sets of side guard bolts and nuts, three on each side.
-
-
-
Use a 14 mm socket to remove the bolt holding the drag bar in place.
-
Remove the drag bar.
-
-
-
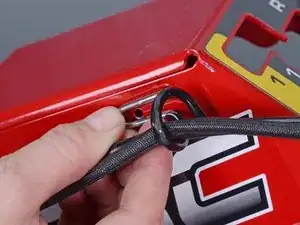
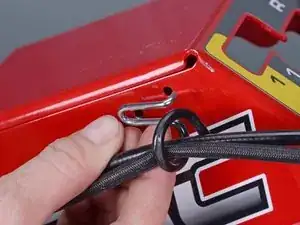
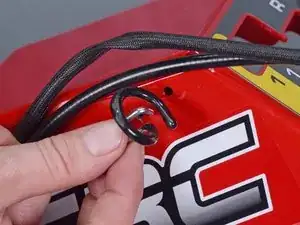
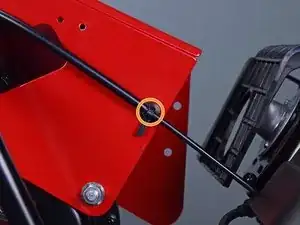
Pull the cable guide's metal clip out of the shifter frame.
-
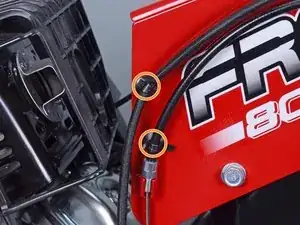
Unwind the cables from the cable guide.
-
Remove the cable guide.
-
-
-
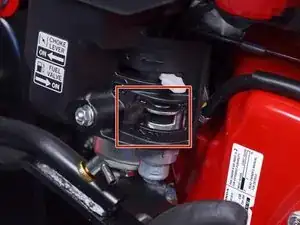
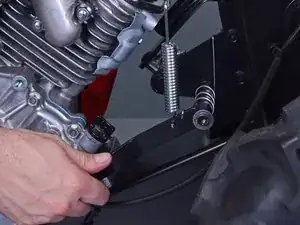
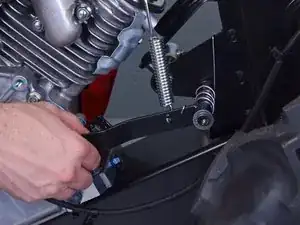
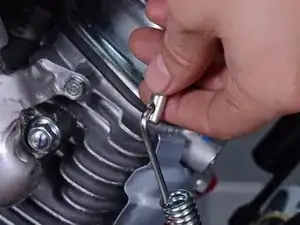
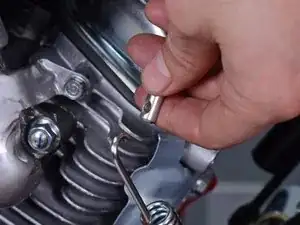
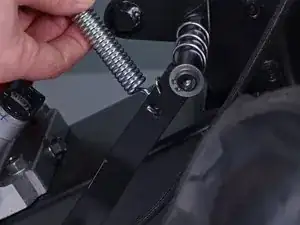
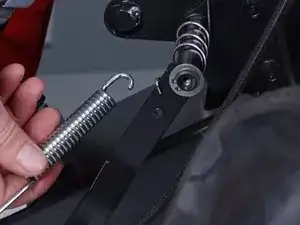
Remove the bottom side of the tensioner spring from the tensioner arm.
-
Remove the tensioner spring.
-
-
-
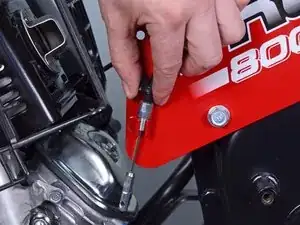
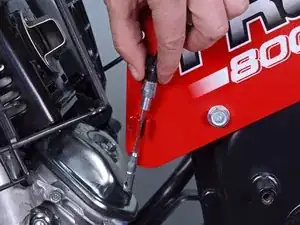
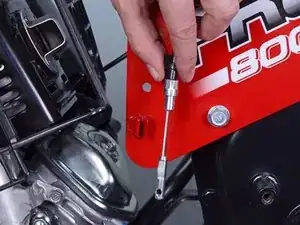
Use a Phillips #1 screwdriver to remove the cable guide screw.
-
Remove the cable from the cable guide.
-
-
-
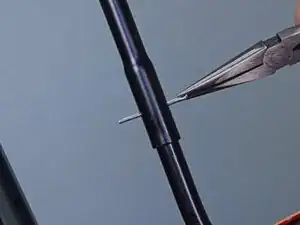
Use needle nose pliers to straighten the change lever pin.
-
Pull the pin straight out to remove.
-
-
-
Remove the three shift linkage mounting bracket bolts and nuts:
-
Two 12 mm bolts and nuts
-
One 14 mm nut
-
-
-
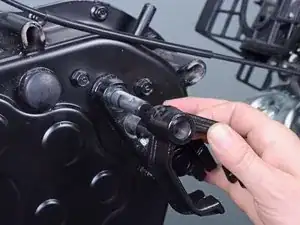
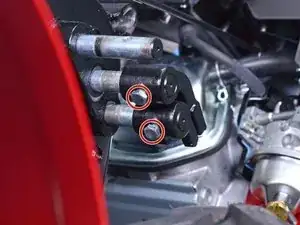
Use a 10 mm socket to remove the rotary change shifting arm bolt.
-
Remove the rotary change shifting arm.
-
-
-
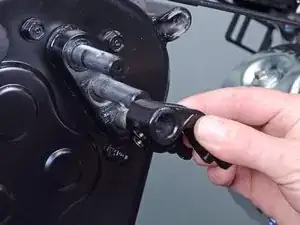
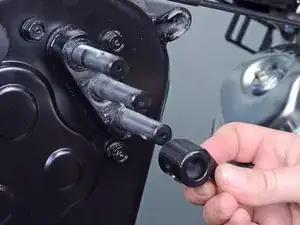
Use a 10 mm socket to remove the two remaining shifting arm bolts.
-
Remove the two remaining shifting arms.
-
-
-
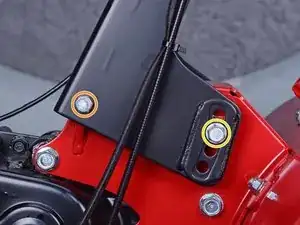
Use a 14 mm socket to remove the front handle bolt.
-
Use a 14 mm socket to remove the shouldered handle angle selection bolt.
-
-
-
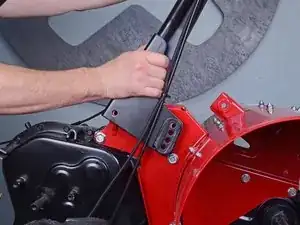
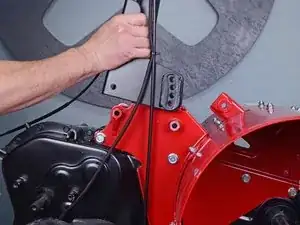
Grab and rotate the handle off of the frame towards the motor.
-
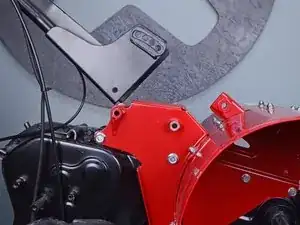
Set the handle near the motor.
-
-
-
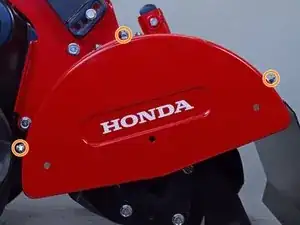
Use a 17 mm socket to remove the three frontside blade guard bolts.
-
Use a 14 mm socket to remove the four backside blade guard bolts.
-
-
-
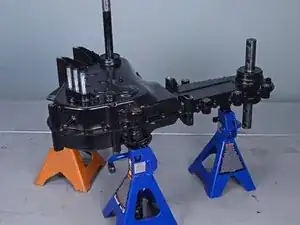
Support the transmission with jack stands so the seam between the two halves is level with the work surface.
-
Orient the transmission such that the right half of the case is facing up. This is the side containing the shift holder assembly.
-
-
-
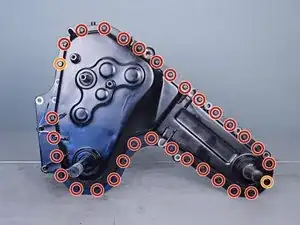
Remove the thirty-two transmission case fasteners:
-
Thirty 12 mm bolts and nuts
-
Two 14 mm bolts and nuts
-
Torque all transmission case bolts to 16 ft-lb (22 Nm). Re-torque all transmission case bolts after five hours. Wipe off any excess liquid gasket that squeezes out after you start tightening the two halves together.
-
-
-
Use a 12 mm socket to remove the three bolts securing the shift holder to the right transmission case.
-
-
-
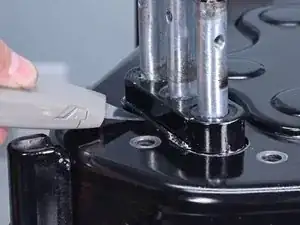
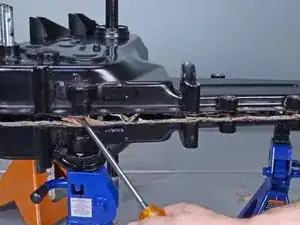
Insert a large flathead screwdriver in between the two halves of the transmission case to pry them apart and break the gasket seal.
-
-
-
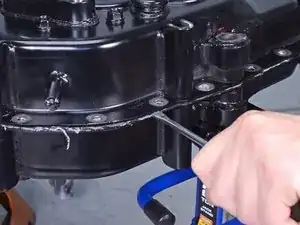
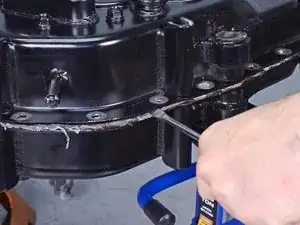
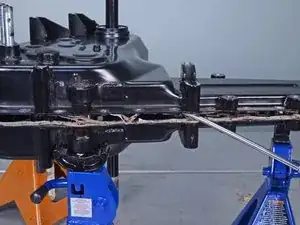
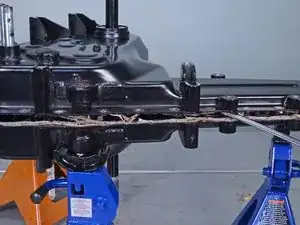
Work the flathead screwdriver around the transmission to create a small gap along the entire perimeter of the case.
-
-
-
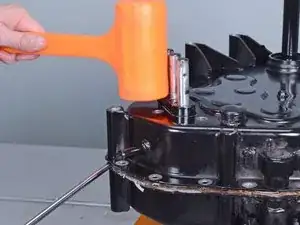
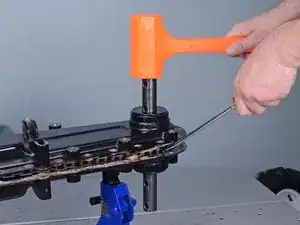
Use a mallet to lightly tap on the base of the shift holder assembly as you pry up the transmission case.
-
-
-
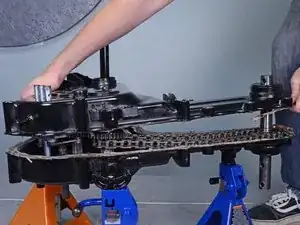
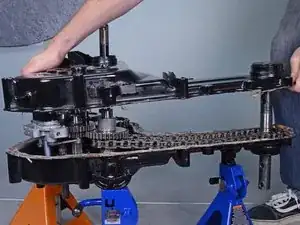
Slowly pull up to work the top case away from the bottom case.
-
Completely remove the top half of the transmission case. You may have to "walk" the top half of the case off of the shafts it is slotted through.
-
-
-
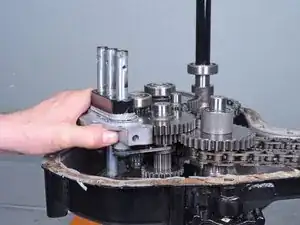
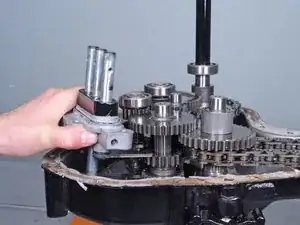
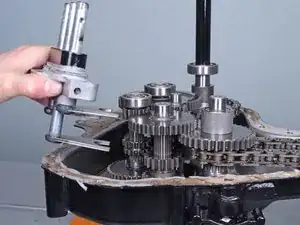
Slowly pull the shift holder assembly away from the transmission gearing to unseat the shift forks.
-
Lift the assembly out and away from the rest of the transmission to remove.
-
-
-
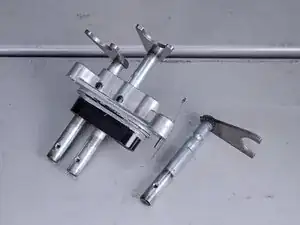
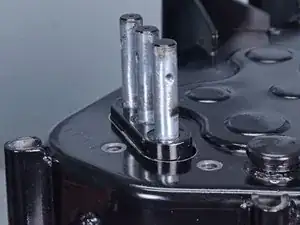
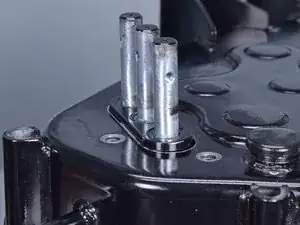
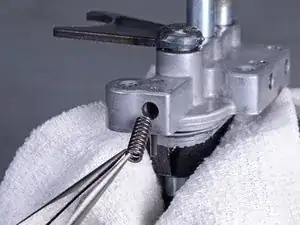
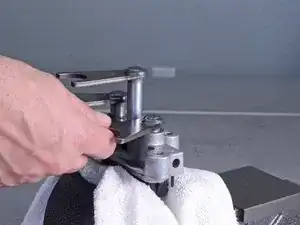
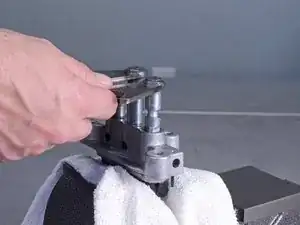
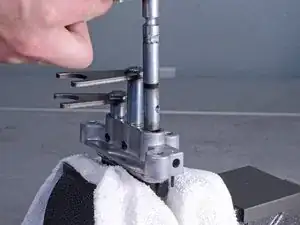
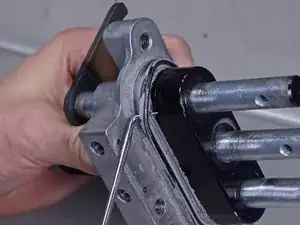
With the retention spring removed and the ball bearing out of the way, pull the P.T.O. change fork directly out of the shift holder assembly to remove.
-
-
-
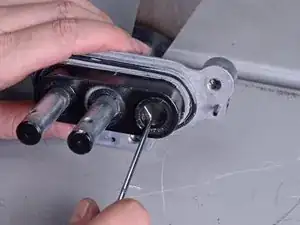
Use a pick tool to remove the oil seal from the empty P.T.O. change fork passage.
-
Use a pick tool to remove the large oval o-ring from the shaft holder assembly.
-
To reassemble your device, follow these instructions in reverse order.
Refill the transmission with 5.3 quarts of SAE 10W-30 oil.
