Einleitung
Are the keys of your old keyboard sticky or fail to function properly? Use this guide to repair the keys of your Yamaha PSR-6 piano keyboard and similar models.
Piano keys are hard to break as they are usually made of resistant materials like plastic. However, dirt and grease can accumulate between them over time, turning them sticky and harder to control. The following steps will walk you through the disassembly process so you can clean them from their root and return them to their maximum performance. This low-cost 80’s model was not designed to replace its keys, as they are glued and protected by fragile plastic components. If you wish to replace the keys of a similar Yamaha keyboard the following guide may be helpful for you.
Werkzeuge
-
-
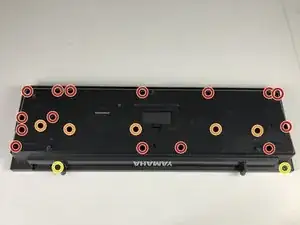
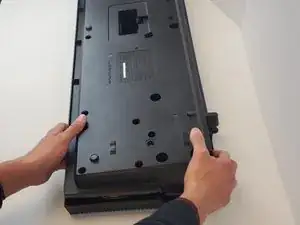
Turn around the keyboard with the keys facing down.
-
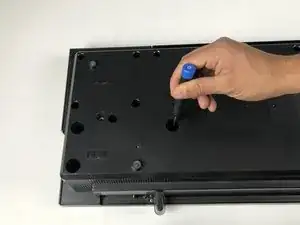
Remove the 15 10 mm screws using a Phillips #1 screwdriver.
-
Remove the five 12 mm screws using a Phillips #1 screwdriver.
-
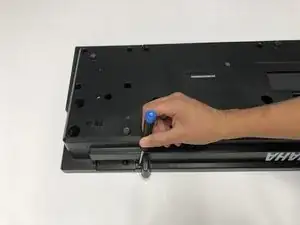
Remove the extra two 10 mm screws in the bottom using a Phillips #1 screwdriver.
-
-
-
Turn around the piano with the tiles facing up.
-
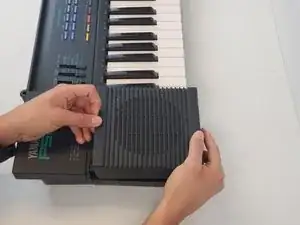
Remove the speaker's cover on the left side of the keyboard.
-
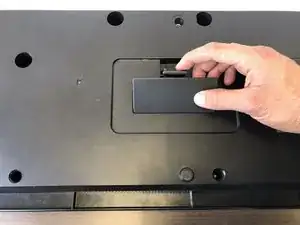
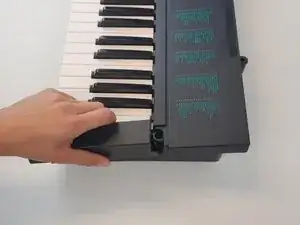
Remove the plastic cover on the right side of the keyboard.
-
-
-
Flip the keyboard with the keys facing down.
-
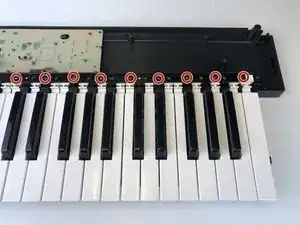
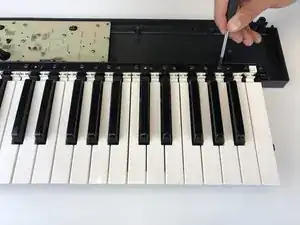
Remove the single 12 mm screw using a Phillips #1 screwdriver.
-
-
-
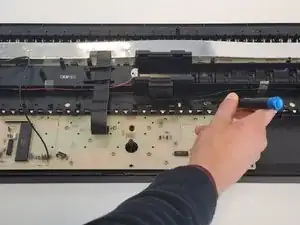
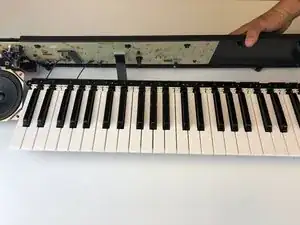
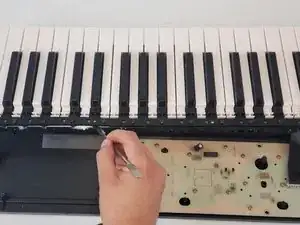
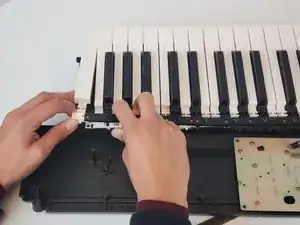
Pull the black plate that holds the keys together horizontally away from the keys.
-
With the top of the keys exposed, use a damp cloth or wipes to clean the space between the tiles.
-
To reassemble your device, follow these instructions in reverse order.

