Einleitung
Follow this guide to replace the back panel adhesive on your Google Pixel 4 XL.
Note: This guide was written using a Google Pixel 4. Some visual discrepancies are present, but the procedure is identical.
This repair guide was authored by the iFixit staff and hasn’t been endorsed by Google. Learn more about our repair guides here.
Werkzeuge
Ersatzteile
-
-
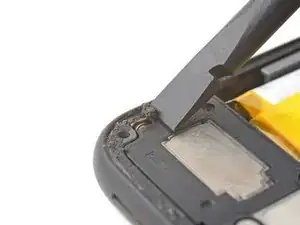
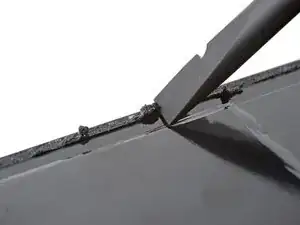
Use the flat end of a spudger or your fingernail to scrape off the old adhesive from the frame and back panel.
-
-
-
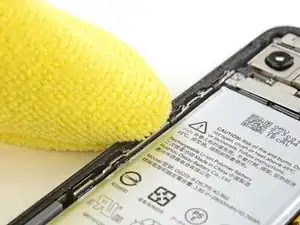
Apply a few drops of high-concentration (90% or higher) isopropyl alcohol to any remaining adhesive.
-
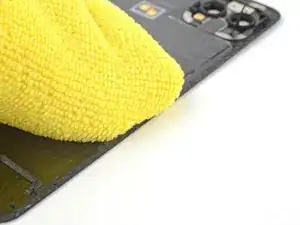
Use a microfiber cloth to remove the remaining adhesive.
-
-
-
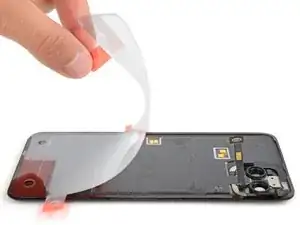
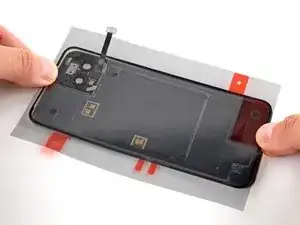
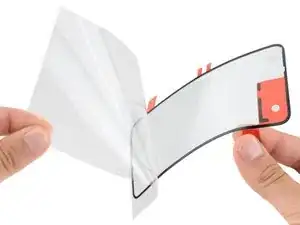
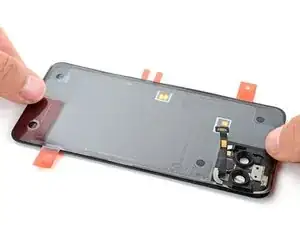
Before peeling off any liners, lay the new adhesive down on the back panel and use the camera cutout to find its proper orientation.
-
-
-
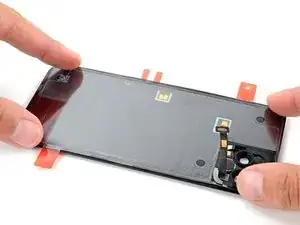
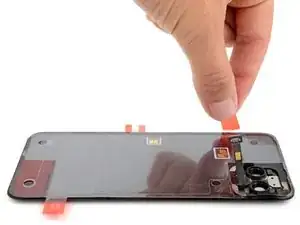
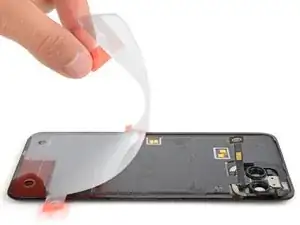
With the adhesive in its proper orientation, lay it sticky side down on the back panel.
-
Press down firmly around the perimeter of the back panel, ensuring all the adhesive is secured.
-
-
-
Return to your phone's repair guide and continue reassembly.
-
Return to this guide before securing the back panel to the phone.
-
-
-
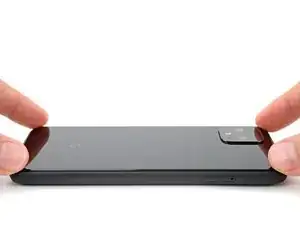
Align the back panel over the back of the phone and lay it down.
-
Secure the back panel by firmly pressing along its perimeter for one minute.
-
