Einleitung
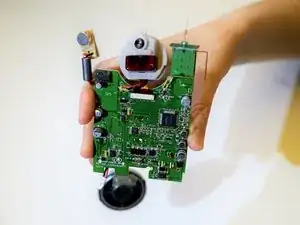
Replacing your motherboard can get your device running as good as new. You can also remove the motherboard if you ever want to modify the casing on your device to protect the motherboard from damage. Follow this guide to remove the motherboard.
Werkzeuge
-
-
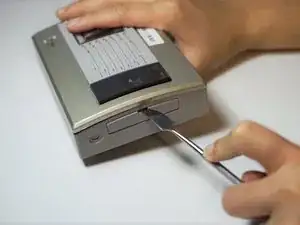
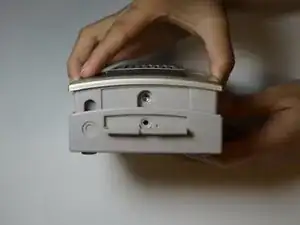
Wedge the spudger into the slot of the panel on the bottom of the device.
-
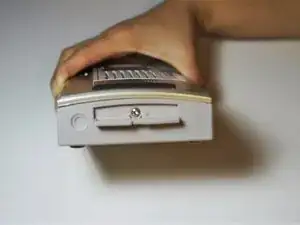
Rotate out the panel to reveal the screw holding the device together.
-
-
-
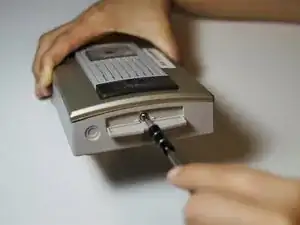
Use the Phillips head screwdriver to remove the screw.
-
Separate the Top and bottom halves of the device.
-
-
-
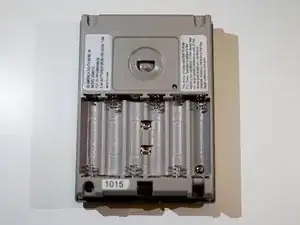
Remove batteries from the battery slot.
-
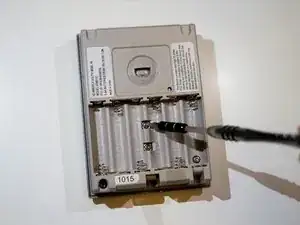
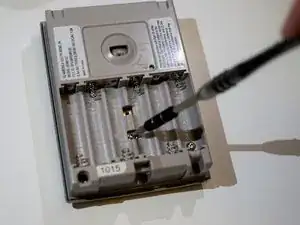
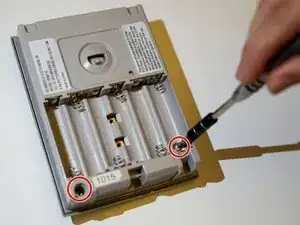
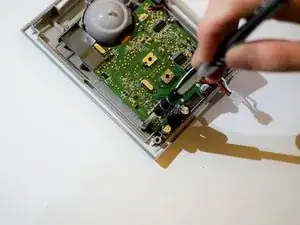
Unscrew the two Phillips head screws in the center of the battery slot.
-
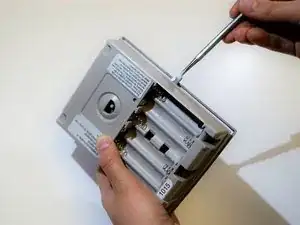
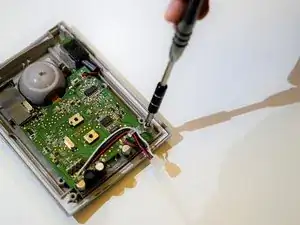
Unscrew the remaining two screws at the bottom of the unit using the 3.0 triangle head screwdriver.
-
-
-
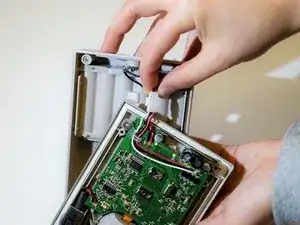
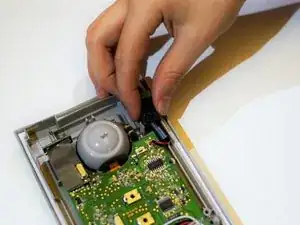
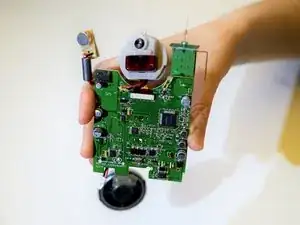
Disconnect the wires from the green motherboard to the bottom half by pulling apart the connecting pins.
-
-
-
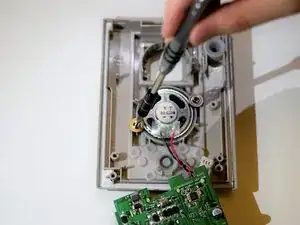
Gently lift the motherboard from the casing to reveal the speaker.
-
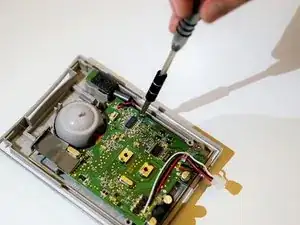
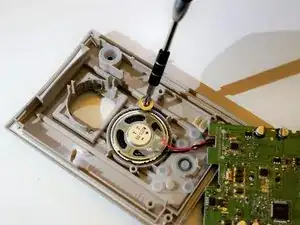
Unscrew the two Phillips head screws that hold the speaker in place.
-
To reassemble your device, follow these instructions in reverse order.
