Einleitung
If your tablet will not turn on even after charging, you may need to replace the battery. Be careful not to severely bend or puncture the battery when you are removing it as it may leak potentially dangerous chemicals.
Werkzeuge
-
-
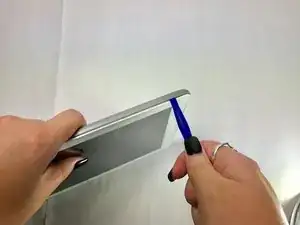
Position the tablet with the top edge by the camera facing down.
-
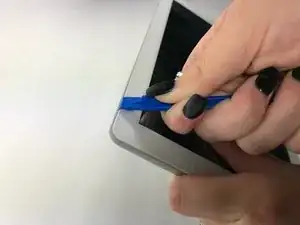
Insert the plastic opening tool between the front panel and back case at the upper left hand corner of the tablet.
-
-
-
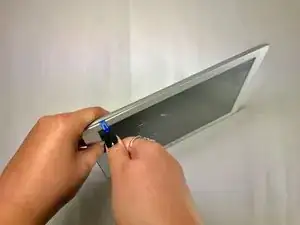
Slide the plastic opening tool along the edge of the tablet between the front panel and back case.
-
Repeat this process for the two shorter edges of the tablet leaving the top edge by the camera still snapped in place.
-
-
-
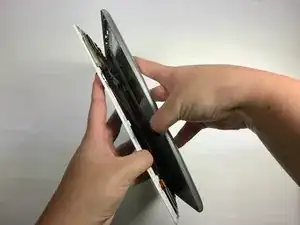
Using an unfolding motion along the top edge of the tablet, carefully separate the front panel from the back case.
-
-
-
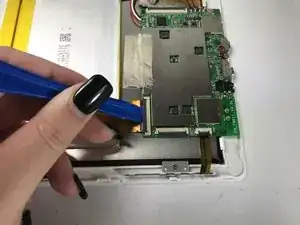
Using the plastic opening tool, lift up the black retaining flap that secures the ZIF (zero insertion force) ribbon connector over the battery to the motherboard.
-
-
-
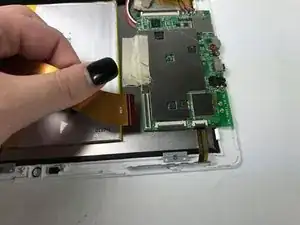
Pull the ZIF (zero insertion force) ribbon connector out from underneath the black retaining flap.
-
-
-
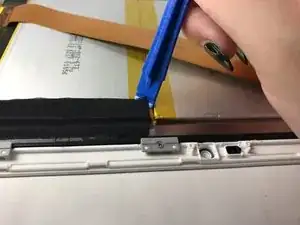
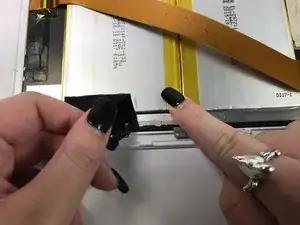
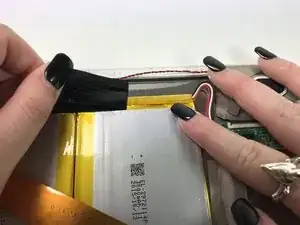
Using the plastic opening tool, remove the black tape that secures the battery to the front panel.
-
Repeat this process for the black tape securing the other side of the battery to the front panel.
-
-
-
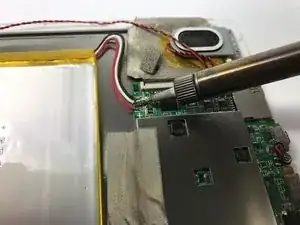
Desolder the three joints connecting the red, black, and white wires from the battery to the motherboard.
-
-
-
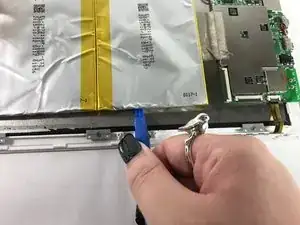
Insert the plastic opening tool between the battery and the front panel in the middle of the battery pack.
-
-
-
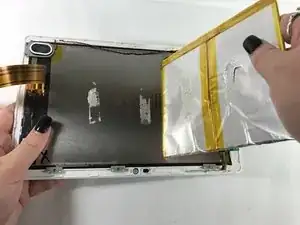
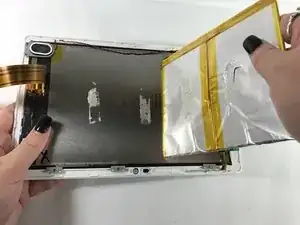
Using the plastic opening tool, pry the battery from the front panel until there is room to peel it off with your hand.
-
The battery is now free rom the device and can be replaced. To reassemble your device, follow these instructions in reverse order.
4 Kommentare
great instructions....congratulations...i was able to replace the battery in 10 minutes
I have an Insignia tablet and the battery is gone and I need to find out how much a battery will be. if it will be worth getting one or replacing the tablet
please let me know what I need to do you can email me at clarklinda10@yahoo.com
Necesito el software del la tablet insignia ns14t004, o un software parecido a insignia 10.1.
Por favor, mi correo es adair.saenz01@gmail.com
