Einleitung

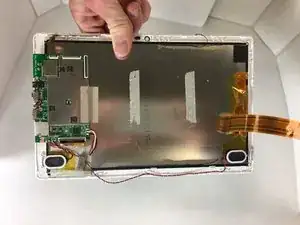
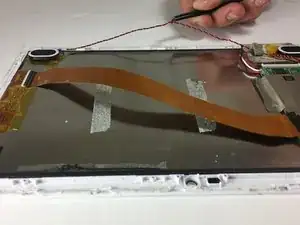
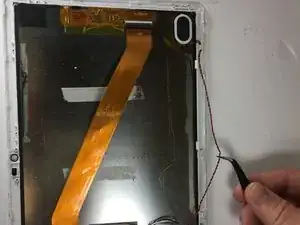
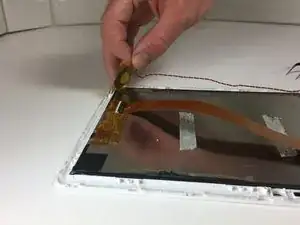
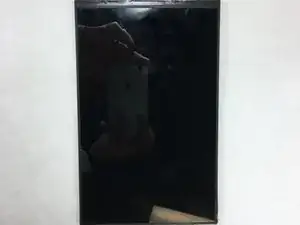
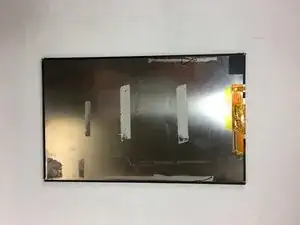
If your tablet display is not functioning or the image is distorted, you may need to replace the screen.

  1. OJrer1rPHJwsqlpT
    OJrer1rPHJwsqlpT
    gxpUc1OGGwp35Pww
    • Make sure your device is off and not connected to any power sources to avoid injury

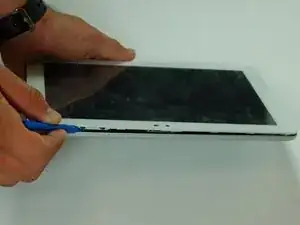
    • Use a plastic opening tool to remove the rear panel from the front case.

    • Insert the plastic opening tool between the front case and rear panel. Use a prying motion to lift the front case from the rear panel.

    • Work the tool around the perimeter of the device until the front and rear panels become separate.

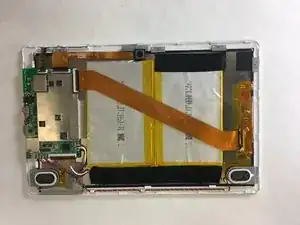
    • The volume rocker and power button will become free from the device when the front and rear panels are separated from each other. Do not worry. These pieces are easily put back into place when reassembling the tablet.

  2. uwYTLBYBqHqmJ1Tn
    uwYTLBYBqHqmJ1Tn
    DpbQeh1QC6NSRG5T
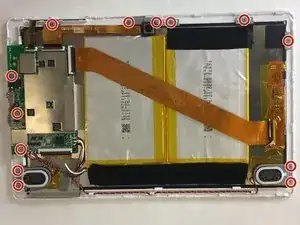
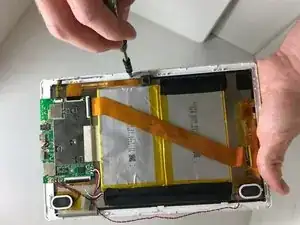
    • Use a Phillips head #00 screw driver to remove the thirteen screws.

  3. v3rBlYiKOMlGYegm
    v3rBlYiKOMlGYegm
    J1YLhSkoBoqVVini
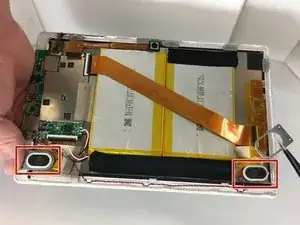
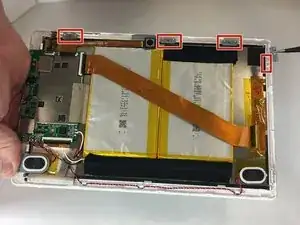
    • Use tweezers to remove the gray pieces located around the speakers and four screws that were removed in the previous step.

    • There should be six grey pieces total.

  4. WPcQJr1yNjHHMYZB
    WPcQJr1yNjHHMYZB
    XJLWWnksxoWPtQAP
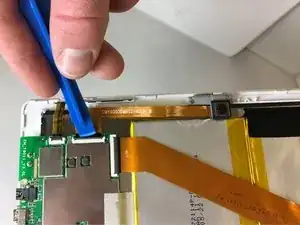
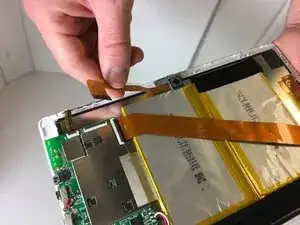
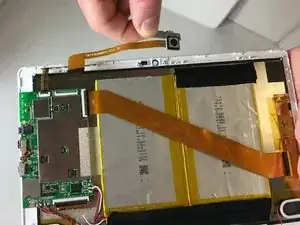
    • Use a plastic opening tool to flip up the ribbon cable connector that connects the camera to the motherboard.

  5. LU4JFZRy6xWELWc4
    • Gently lift the camera lens up from the front case.

  6. JySaYVUkNLvko5VE
    JySaYVUkNLvko5VE
    gNiViXeXOByHfFeK
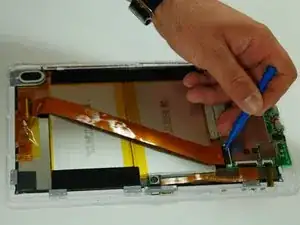
    • Use a plastic opening tool to flip the ribbon connector up in order to free the ribbon cable from the motherboard.

  7. JukiaZgR3AghBriq
    JukiaZgR3AghBriq
    YLInwhonMA3GrBQt
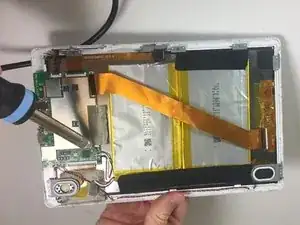
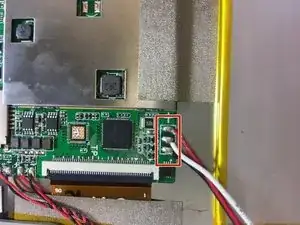
    • Free the battery from the motherboard by desoldering the red, white, and black connections one by one.

    • For soldering instructions, visit this guide.

    • Remove the soldering tip immediately once the wire has become free. Too much heat can damage the motherboard.

  8. SGxsvLmE12XCFMjX
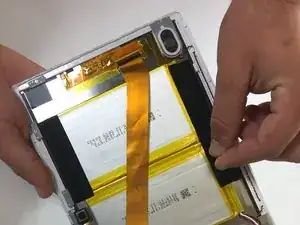
    • Peel the black tape up that is attached to the battery and front case.

  9. iWCMjlBEtOLlX1bH
    iWCMjlBEtOLlX1bH
    wpfssPRehgtVvYxe
    KQAScI11RCDPCCgb
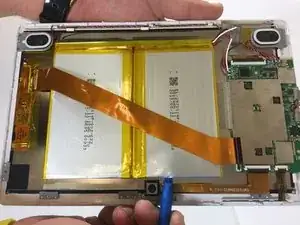
    • Use a plastic opening tool or spudger to remove the battery from the front case.

    • Place the plastic opening tool between the battery and front case. Work the tool around the perimeter of the battery until the battery is free.

    • Do not bend or puncture the battery, or the battery will leak.

  10. xQJOoCMQ1NLvYxit
    xQJOoCMQ1NLvYxit
    1XtfEAcgDSwPBZnL
    • Use tweezers to free the twisted, red and black wire from the three clips on the front case.

  11. ZYCJlfSW1llmXrtS
    ZYCJlfSW1llmXrtS
    D1MFQCfFuwfgaY6m
    YGhGBKioyrfLlnMV
    • Remove the speakers from the tablet by gently pulling the yellow tape up from the front case.

  12. i6HlZVs5AxgYlUvB
    i6HlZVs5AxgYlUvB
    cal6jRmZGJ2KMnTf
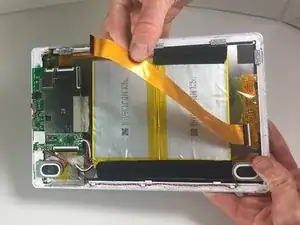
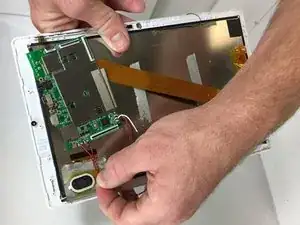
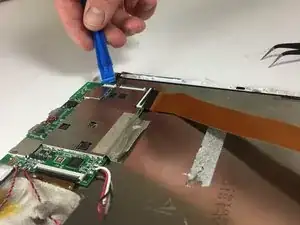
    • Use a plastic opening tool to flip up the ribbon cable connectors that connect the touch digitizer to the motherboard.

  13. dxYRHiVaPMHBpqDP
    dxYRHiVaPMHBpqDP
    VLBBZ5hxFBTCUS4i
    uKrd3XQLnqpsLItK
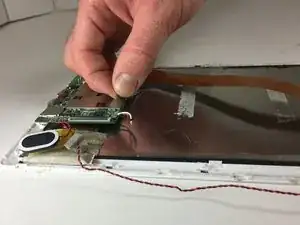
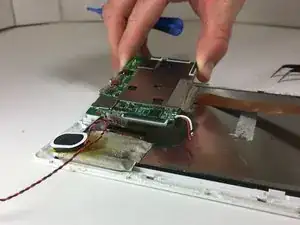
    • Gently lift the gray mesh tape up that holds the motherboard down to the front case.

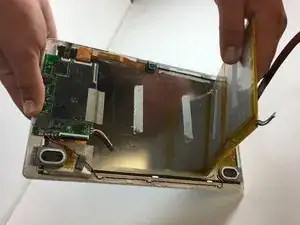
    • Lift the motherboard up from the front case.

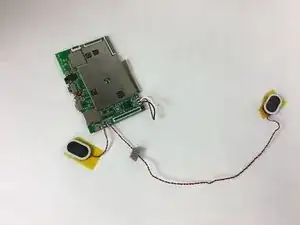
    • The speakers are directly connected to the motherboard and will come up with the motherboard.

  14. l4D5JPKeMpvqhyCW
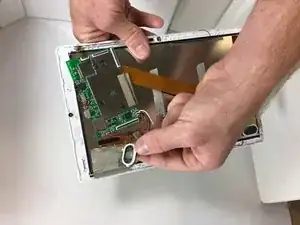
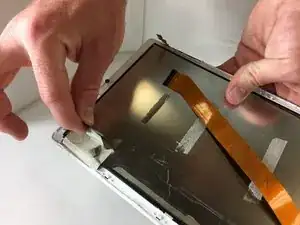
    • Peel away the grey mesh tape that holds down the touch digitizer's ribbon cable to the front case.

  15. RpBhI1Nl6M6BXP2N
    RpBhI1Nl6M6BXP2N
    W4XqocQuLOtqWKro
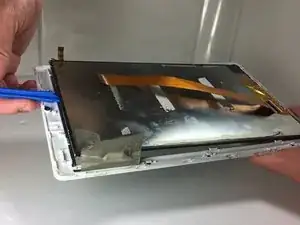
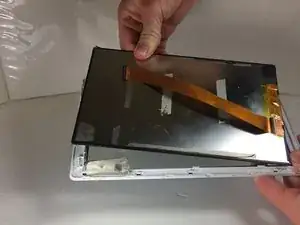
    • Use a plastic opening tool to separate the front case from the LCD screen.

    • Insert the plastic opening tool between the front case and rear LCD screen. Use a prying motion to lift the LCD screen from the front case.

  16. EtWQenA6dKZcXuXl
    EtWQenA6dKZcXuXl
    sPW5rrMHEYNQL5X1
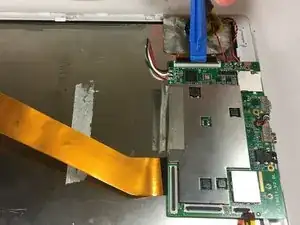
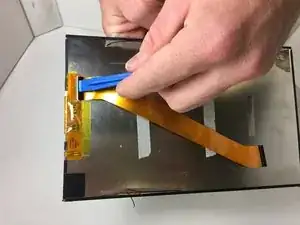
    • Use a plastic opening tool to flip up the last ribbon cable on the screen.

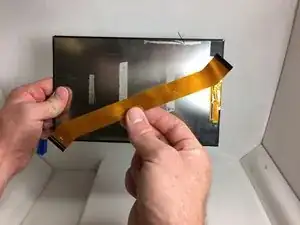
    • Free the ribbon cable from the LCD screen.

  17. XgOohGfFVKEVFF25
    XgOohGfFVKEVFF25
    hmXNAxhAHtUDcTTf
    • The screen is now free and ready to be replaced.

Abschluss

To reassemble your device, follow these instructions in reverse order.
Morgan Kidd

Mitglied seit: 10/10/16

416 Reputation

0 Kommentare