Einleitung
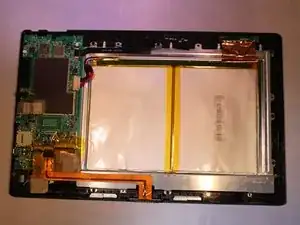
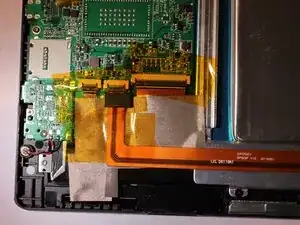
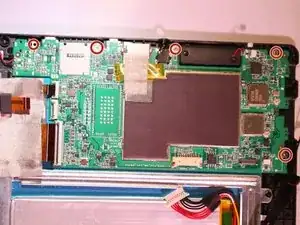
The motherboard replacement also replaces the charging port because they come as 1 component.
Werkzeuge
-
-
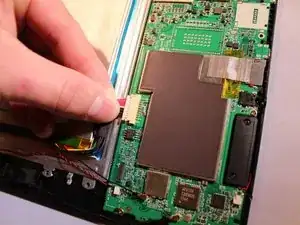
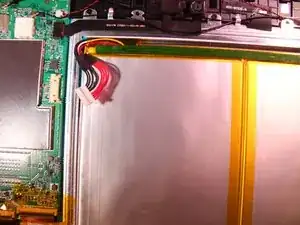
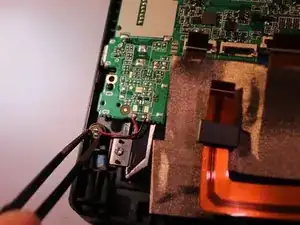
Using tweezers, remove the electrical connector that connects to the battery to remove the power to the battery.
-
-
-
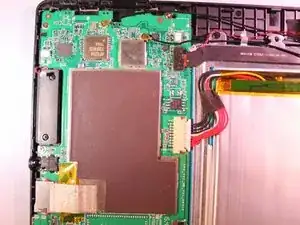
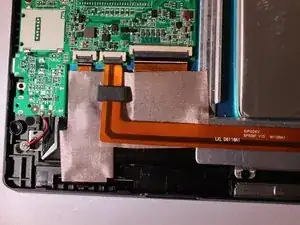
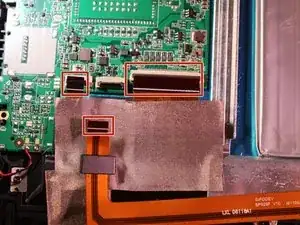
Flip up the black cover pieces to expose the 3 electrical connectors.
-
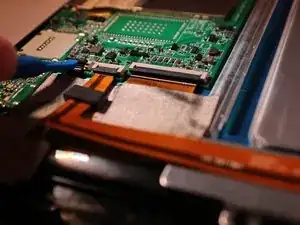
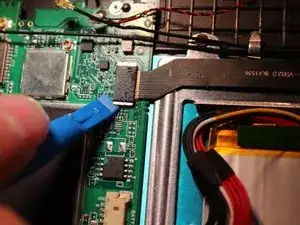
Remove 3 electrical connectors by gently pulling back on them with some tweezers.
-
-
-
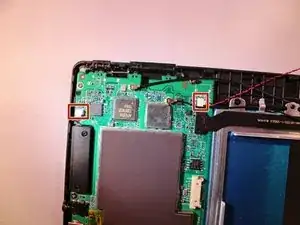
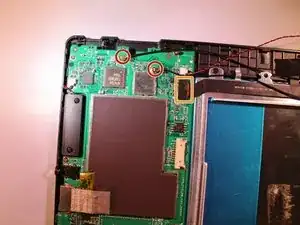
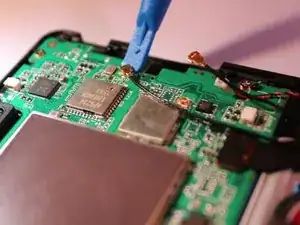
Unplug the 2 black ground wires from the motherboard by gently prying on them until they unhook from the motherboard.
-
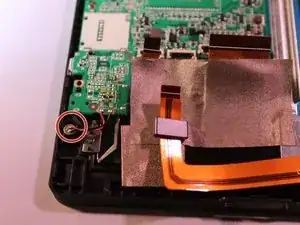
Remove the black camera connector by gently prying on it until it unhooks.
-
To reassemble your device, follow these instructions in reverse order.
2 Kommentare
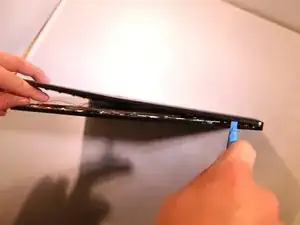
This looks great. Can you provide more detail on Step 3 (opening the case?) Are there locking tabs that I need to worry about breaking? And if so, how many? Does the cover simply snap back into place?
I need to open my unit simply to disconnect the power to clear the BIOS. I stupidly disabled my USB ports and there is no way to navigate the BIOS without the (USB) keyboard (how freaking dumb is that!)
Very nicely done. Do you suppose that the SSD can be upgraded to something larger?
