Einleitung

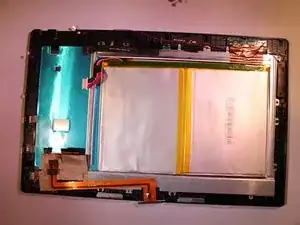
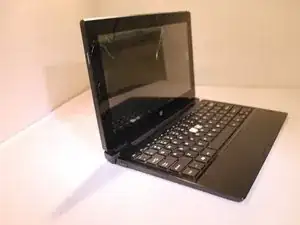
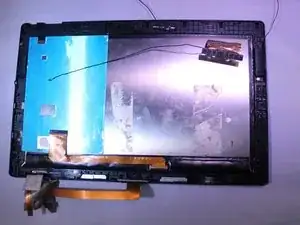
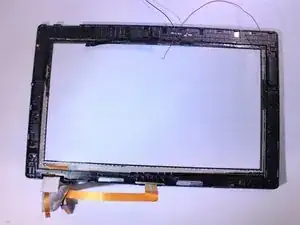
The steps provided will walk you through the necessary replacement for the screen. Complete the prerequisites before performing these tasks.

  1. GhJQoIbNCVS23m6C
    GhJQoIbNCVS23m6C
    HQtJv5BXnYfeGPK1
    WLYiYaRQMwUu6Akv
    • Before working on the device, make sure the device is off and not plugged into any power source for safety reasons. Failure to comply could result in injury.

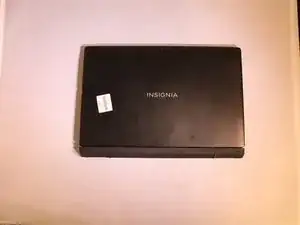
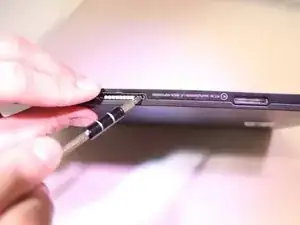
    • Place the device on a firm surface with the device screen facing down.

  2. 6Mudg4HcDSTxhOBX
    6Mudg4HcDSTxhOBX
    vHPxINmpN3ZSRSPi

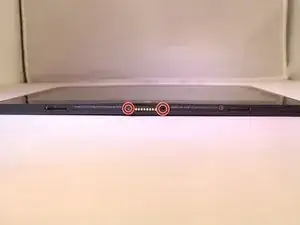
    I just checked and there are no screw holes on my Insignia 11.6” tablet!

    Mugsys RapSheet -

  3. Im3eqAXndT4QjKnn
    Im3eqAXndT4QjKnn
    WaDHvRxZKVCuCKAB
    3s3RGwQQFQ64IN36
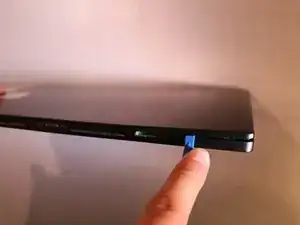
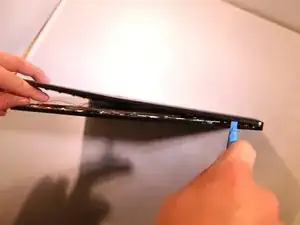
    • Using a plastic tool and the plastic card, gently pry off the back cover.

    How many locking tabs are there? I see one in the corner.

    Mugsys RapSheet -

  4. KJKOp6m1tiL3kBpM
    KJKOp6m1tiL3kBpM
    OQPu315rJWCiWaWB
    oJSaTIWqXuuVPVu4
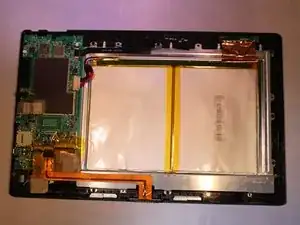
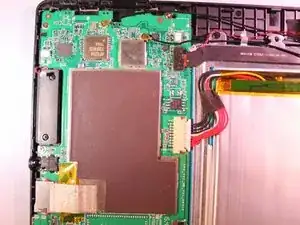
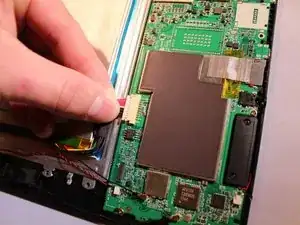
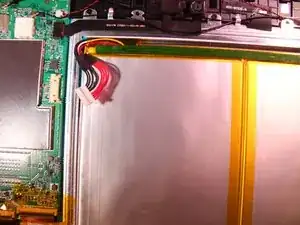
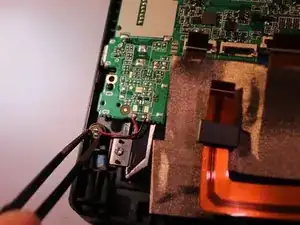
    • Using tweezers, remove the electrical connector that connects to the battery to remove the power to the battery.

  5. PBJYhAIujBpHG2b6
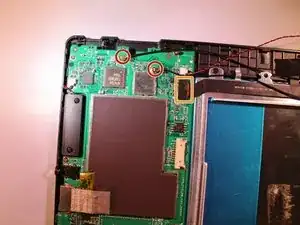
    • Unplug the 2 speaker's connection from the motherboard.

  6. kVZxe6a5OXNNUuux
    kVZxe6a5OXNNUuux
    dpr5iXXVwmYDF1tZ
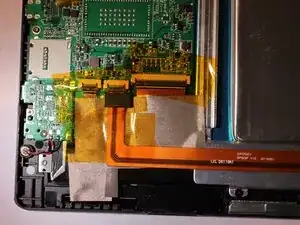
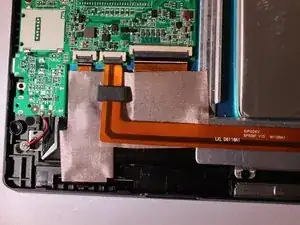
    • Peel the yellow tape off from on top of the electrical connectors.

  7. 4n2YAIcnQGIaGASp
    4n2YAIcnQGIaGASp
    oHTjUNWIryMjsYtr
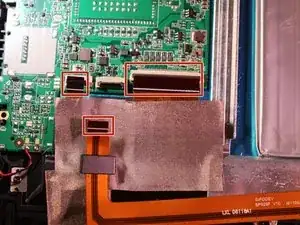
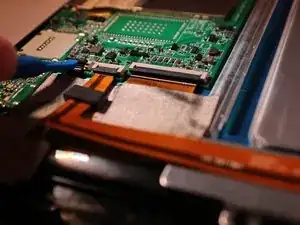
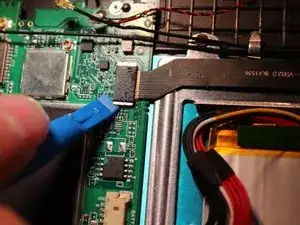
    • Flip up the black cover pieces to expose the 3 electrical connectors.

    • Remove 3 electrical connectors by gently pulling back on them with some tweezers.

  8. ftsHhRjOEPD1mMME
    ftsHhRjOEPD1mMME
    HG4qYtg1DsDwLKAJ
    XR3hRsSLqYEFS1TO
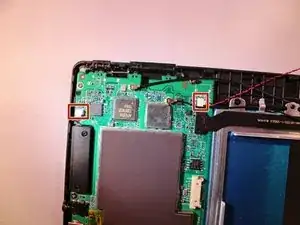
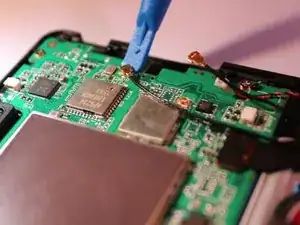
    • Unplug the 2 black ground wires from the motherboard by gently prying on them until they unhook from the motherboard.

    • Remove the black camera connector by gently prying on it until it unhooks.

  9. rJOeKLiBENRoxlgF
    rJOeKLiBENRoxlgF
    OdCApTxFdb3JkrxB
    • Using tweezers, remove the microphone from the the plastic cover.

  10. UOkfkbaYkpIEY3Ld
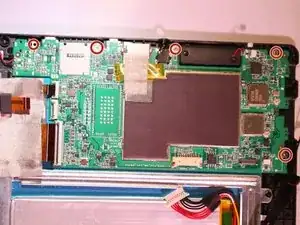
    • Remove 5 - 3.4 mm Phillips J000 screws from the motherboard.

    • Motherboard pops out.

  11. IWRWLhsUy3nB4Zw6
    IWRWLhsUy3nB4Zw6
    5s2sRe3vpfHbmXAr
    5UfSjUURdLqNJ1Br
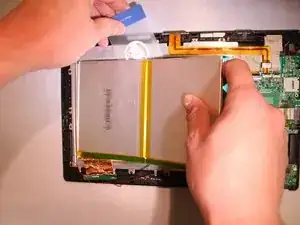
    • Remove battery by prying off with card.

  12. TW3mGNtWjMgafo6F
    TW3mGNtWjMgafo6F
    CMUlvBPWsfUuVJqu
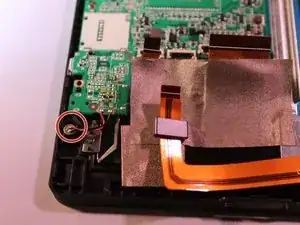
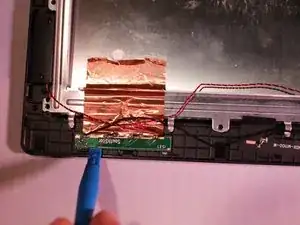
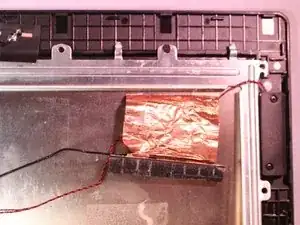
    • Peel back the copper color electrical connector with blue opening tool.

  13. V6HQeVfY4GKXhQHV
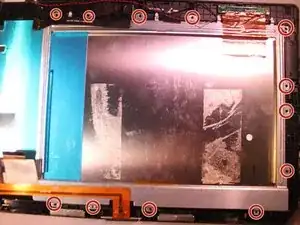
    • Remove 12 - 4.15mm J000 Phillips screws from the metal bracket.

    • Bracket will then come off.

  14. KrVRCIyrTNwlmmZf
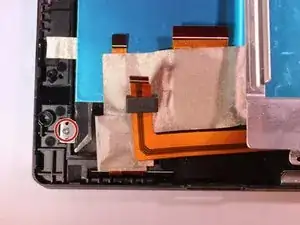
    • Remove 1 - 3.4 mm J000 Phillips screw from metal plate bracket.

  15. IqswMG2tNOgHVZJT
    IqswMG2tNOgHVZJT
    uEH2XEZyRFVZJkJy
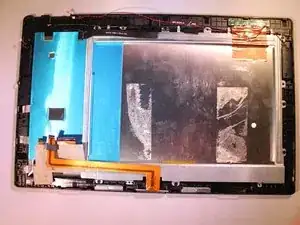
    • Remove screen from case by prying with a card.

Abschluss

To reassemble your device, follow these instructions in reverse order.

Connor Sweeney

Mitglied seit: 28/09/16

422 Reputation

6 Kommentare

The Flex 11.6" Model# NS-P11W7100 DOEST HAVE THOSE SCREWS RIGHT THERE!!!!!

Charles Kinnison -

yeah, thats the one I have. its quite a bit different. the speaker wires are soldered, too…

Joshua Francis -

mine doesn’t look like that…

Joshua Francis -

where can i get a new screen to buy?
florence sefaa -

Do you sell the insignia ns-p11w7100 tablet 11.6 inches screen? I need on to fix my broken part.

florence sefaa -

My Flex 11.6” model NS-P11W7100 touchscreen is broken . Please help me get part to buy.

florence sefaa -