Einleitung

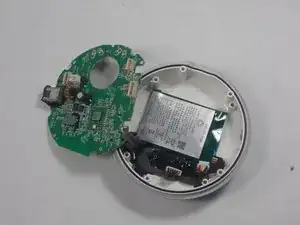
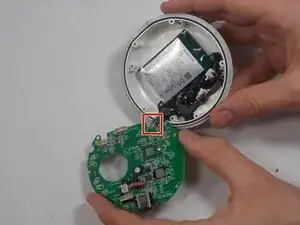
This guide is to help you replace the motherboard in a JBL Clip 3 speaker.

If none of your devices will connect to your JBL Clip 3 speaker, the problem could be a faulty Bluetooth chip in the motherboard. Before using this guide, try connecting alternative devices to ensure that it is, in fact, the JBL Clip 3 that will not connect. Once you confirm that the problem is specifically with the JBL Clip speaker, use this guide to replace the motherboard.

Note: Before beginning, make sure to power off the JBL Clip 3, and disconnect it from any external power sources.

  1. BOpGc6lTaVddjyCM
    BOpGc6lTaVddjyCM
    CBDVHEIwKLZZdQDZ
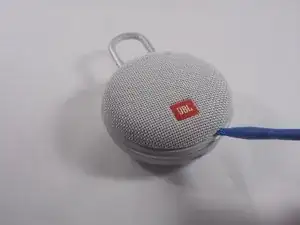
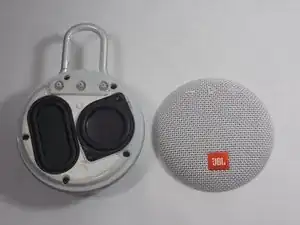
    • Insert the iFixit opening tool between the speaker grill and speaker housing and pry around the entire perimeter of the device until the grill releases.

    • A strong adhesive attaches the grill to the housing, and requires some time and patience to break. Use mild heat to loosen the adhesive if necessary.

  2. HdU4vrKWjkmoUv3j
    HdU4vrKWjkmoUv3j
    x5KDxtNd5PC1unXY
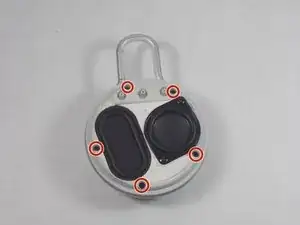
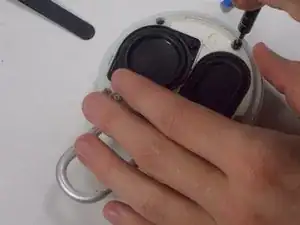
    • Use a Phillips #1 screwdriver to remove the five 6.3 mm screws around the perimeter.

  3. EgNqUvkMwuHOOLqO
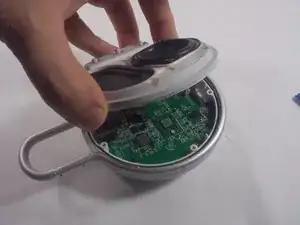
    • Separate the speaker housing from the rest of the body.

    • This requires minimal force; they are not glued together.

  4. QlGUcNlJZwq1uMXj
    QlGUcNlJZwq1uMXj
    6sAsMitOoVoDCbKR
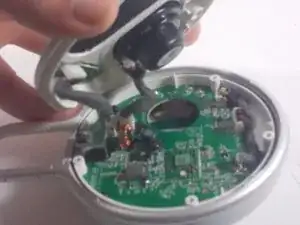
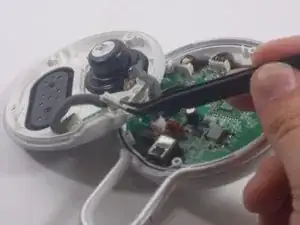
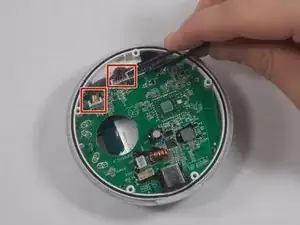
    • Use tweezers to remove the 2 pin and 4 pin connectors from the motherboard.

  5. iBIlM1OGdIpKGU2J
    iBIlM1OGdIpKGU2J
    FVPFqgZYmmROMqOK
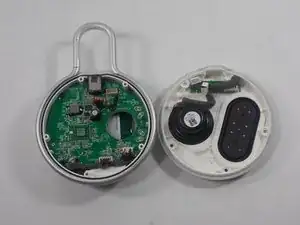
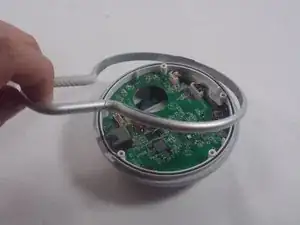
    • Lift the metal carabiner clip from the speaker housing.

    • They are not glued together and should separate easily.

    • There are alignment tabs on the clip so the whole assembly will only reassemble in one orientation.

  6. XbrPJUlCwbATKnHp
    XbrPJUlCwbATKnHp
    rkYRboKMJTgZAboS
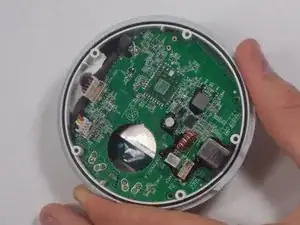
    • Use a pair of tweezers to release the two cable connections from the motherboard.

    • The wires connecting to the battery are not very long, so be careful when removing them.

  7. LyTD1JBcjfNiDQWw
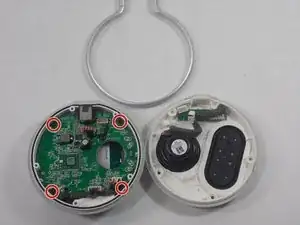
    • Use a Phillips #1 screwdriver to remove the four screws.

  8. cHubdIMPkCTMSaYQ
    cHubdIMPkCTMSaYQ
    UJulKkIosIHjl1Sh
    • Lift the motherboard away from the speaker housing.

    • Desolder the two contact points.

Abschluss

To reassemble your device, follow these instructions in reverse order.
Tyler Molden

Mitglied seit: 28/03/22

423 Reputation

0 Kommentare