Einleitung
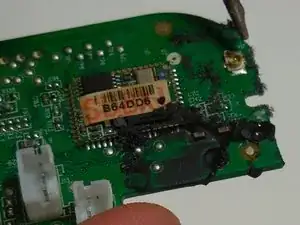
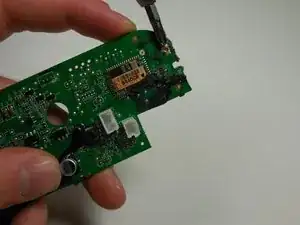
Within this guide users will be learning how to replace the Bluetooth U.FL antenna connector that the JBL Flip uses.
Please, check available distrbutors of this parts here:
https://octopart.com/u.fl-r-smt%2810%29-...
And more information about the U.FL connector here:
https://en.wikipedia.org/wiki/Hirose_U.F...
If you do not know how to safely solder/unsolder, please visit the following link Wie man Lötverbindungen herstellt und entlötet.
Werkzeuge
-
-
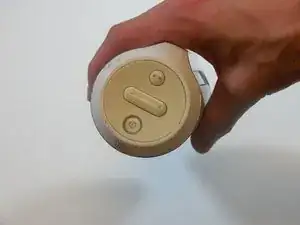
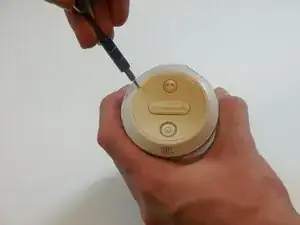
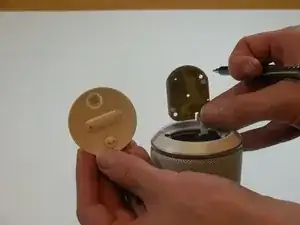
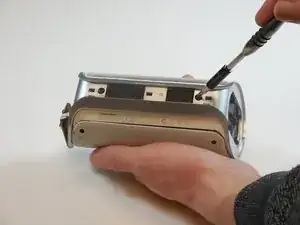
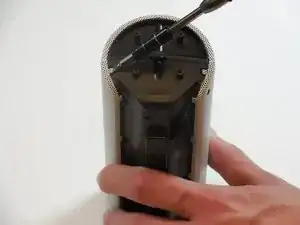
On the end with the buttons, remove the end cap using the flat head screwdriver to get between the rubber lining and the plastic.
-
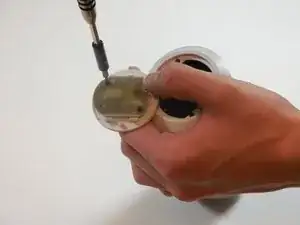
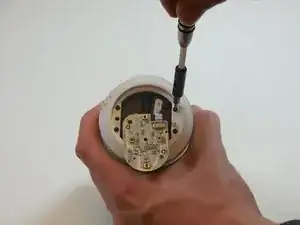
After the cap is removed, unscrew the two 3.3mm screws using a size 1 ph screw driver.
-
-
-
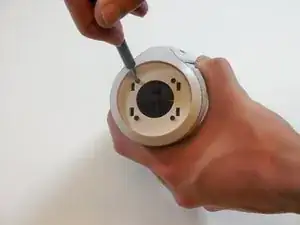
Unscrew four 3.3mm screws on each end of the JBL using a size 1 ph screw driver (8 screws total).
-
-
-
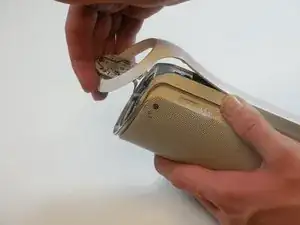
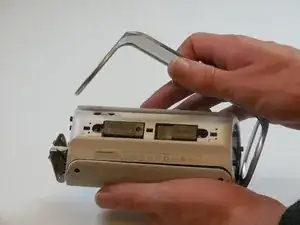
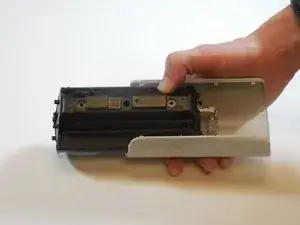
Remove outermost white casing by gently lifting up on one side.
-
Remove two 5mm screws holding the silver back plate in place with a size 2 ph screw driver.
-
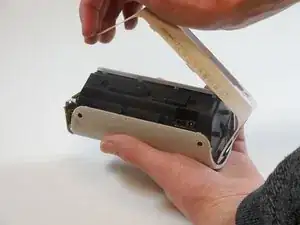
Gently lift up and remove the silver casing.
-
-
-
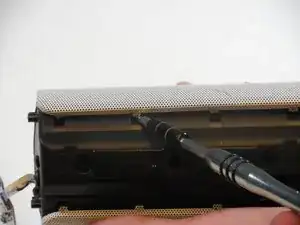
Pry the four tabs on each side of the speaker cover (8 tabs total).
-
Pry the two tabs on each end to remove the cover (4 tabs total).
-
Slide speaker out of metal speaker cover.
-
-
-
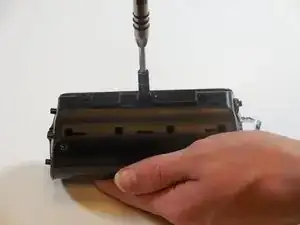
Remove 5mm screw in the middle of the back of the device with a size 2 ph screw driver.
-
Unscrew the two 5mm screws on each side using a size 2 ph screwdriver.
-
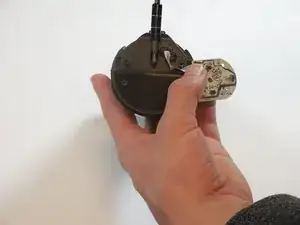
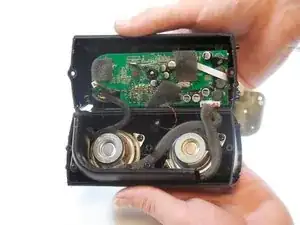
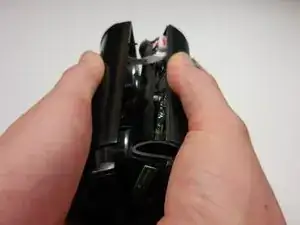
Open the speaker.
-
-
-
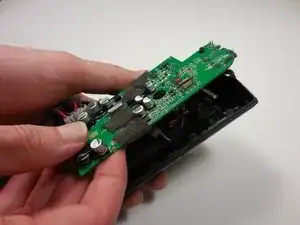
Disconnect all cables that are attached to the motherboard so that it resembles the step picture.
-
-
-
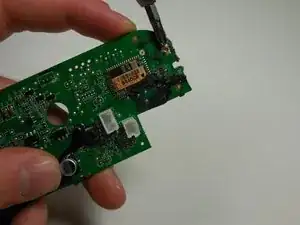
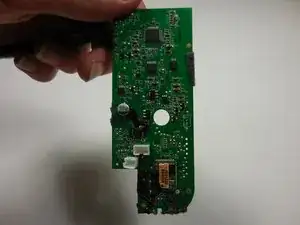
Use the soldering iron to desolder the U.FL antenna connector. You might need to use a desoldering braid wire to remove the excess of solder.
-
Clean the PCB pads of any excess of solder with the soldering braid wire before continuing.
-
Place the new U.FL connector on the pads where the desoldered connector was. Make sure the orientation of the connector is the same as before.
-
Solder the new U.FL connector to the PCB. Avoid exessive heat and/or prolongated soldering time during this step.
-
To reassemble your device, follow these instructions in reverse order.
Be careful when connecting again the mini coaxial cable to the just replaced U.FL antenna connector, so it does not get damaged again.
2 Kommentare
Where can i buy this awm flat cable that is connected to a stering buttons
Kuba -
Hi, nice instructions. However, the description and text on the guide are misleading. The damaged part is the U.FL connector for the Bluetooth antenna, but not the antenna itself. I have edited some text on the guide for a better description of what is being repaired.
