Einleitung

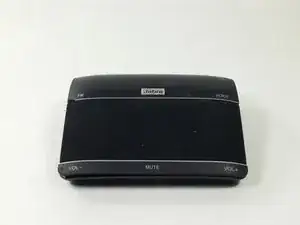
In this guide you will be replacing the microphone of the Jabra Freeway.

  1. JZ1kbyq36KgRa2Dh
    JZ1kbyq36KgRa2Dh
    Fw4XHZrBNLiqpVB2
    IfTnmBFpWbdrQbj5
    • Turn off the device before proceeding. Failure to do so may result in device damage or injury to oneself.

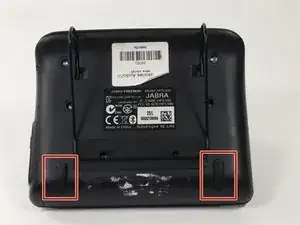
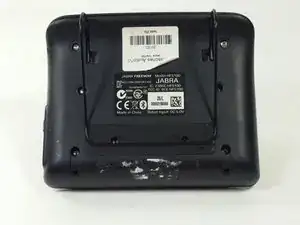
    • Remove the rubber pads from the bottom of the device using the spudger.

  2. KPnPeNlQqtn5a5it
    KPnPeNlQqtn5a5it
    FHYOm41ybChElndJ
    oGQvYjxCONXuQGxW
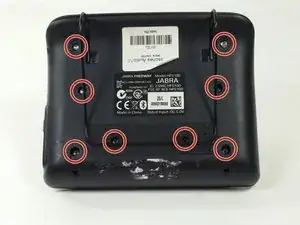
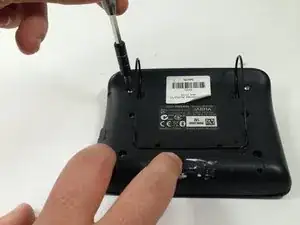
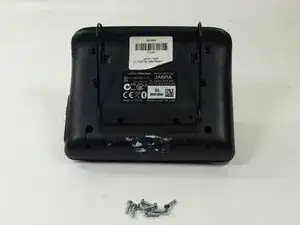
    • Remove the eight 6mm T9 screws.

    • Two of these screws are underneath the foam padding. This padding is glued on and will be destroyed in this process. Poking through the foam minimizes the damage to the device.

  3. Yiaa6D3oSIEsx1mq
    Yiaa6D3oSIEsx1mq
    eO1aE2MeKRBTJeUP
    qNa4IjVlNnxU2v4h
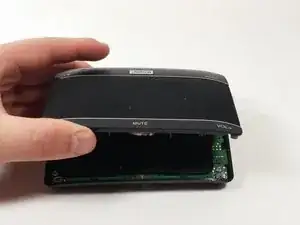
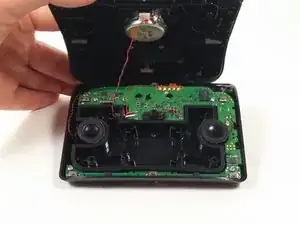
    • Gently lift the front panel off of the device and carefully rest it to the side.

  4. OYBlfnpQMvemvsKJ
    OYBlfnpQMvemvsKJ
    HZjnXCRUYADwCBeL
    EMIFhBTETEr2Si3c
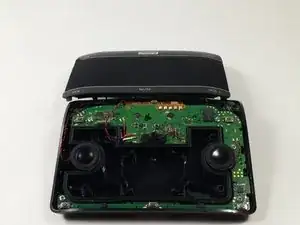
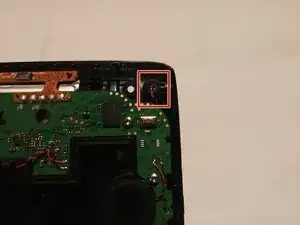
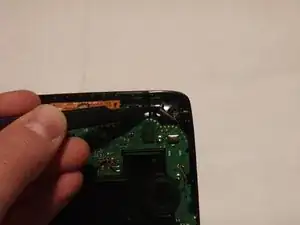
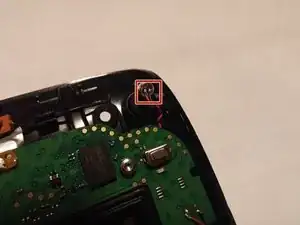
    • Remove the microphone from the microphone holding slot.

  5. ETDwXE64GfAxIAL1
    • Desolder the two wires connecting to the microphone.

    • Please refer to the soldering technique guide for instructions on desoldering and soldering.

Abschluss

To reassemble your device, follow these instructions in reverse order.

Alec Wilson

Mitglied seit: 19/10/16

714 Reputation

2 Kommentare

Perfect, thank you.

Edmond Lleshi -

Based on my limited experience with this device, the component being replaced here is the secondary, or noise-cancelling microphone - not to be confused with the primary microphone. The other video showing replacement of the motion detector seems to be actually replacing the primary microphone.

Steve MacLeod -