Einleitung

  1. U224BwRqPPQoxqEx
    U224BwRqPPQoxqEx
    AwlpEvUCxIOEMKTj
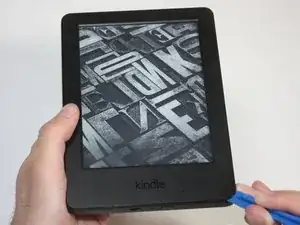
    • Power off your Kindle before beginning disassembly.

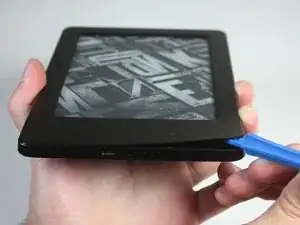
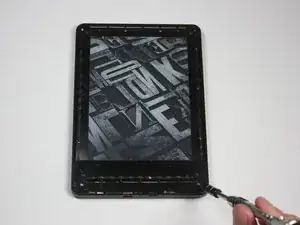
    • At each corner, use the blue plastic opening tool to unhook and separate the front panel from the adhesive.

    • Run the tool along the seams to pry open the front panel.

  2. tIMKotWQsDZPImRJ
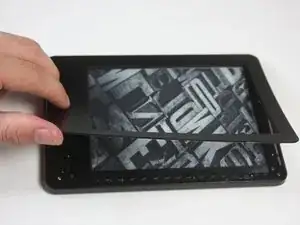
    • Peel the front panel off to remove it from the Kindle.

    • If this is the first time the front panel has been removed, the adhesive may require a significant amount of force to undo.

    • To prevent damaging the front panel, peel the panel from the corners towards the middle of the Kindle.

    • When reassembling your device, if you are replacing the front panel, additional adhesive may be required.

    What is the adhesive you are using resecure the screen? Would Tesa 61395 Tape work (4mm) or would this create protrusion?

    Camble Scott -

  3. DSrvV1cL3BKDbRYS
    DSrvV1cL3BKDbRYS
    N5hIl4JWJ6REHBDs
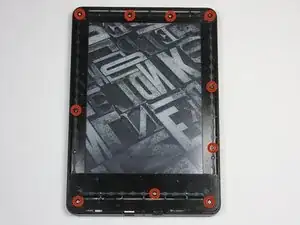
    • Remove the ten 5.0 mm T5 Torx screws.

    • A magnetized screw mat can help you keep track of your screws.

    You will break the newer vision of kindle just like this. there is a peg that connect the top center of the screen to the back case. Remove the black double sided tape in the center and push this peg back .

    Kyle Darnell -

    If you see black double sided tape at the top of your Kindle, as the commenter above did, you are on the wrong model—have a look here to see if this is your model: Kindle Paperwhite 3 Bildschirm/Touch Panel austauschen

    Lipsmeyer -

  4. kMq4PUsvd141fy2l
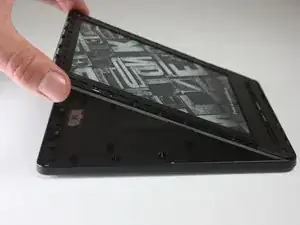
    • Working evenly along the corners and edges, separate the internal contents from the back panel.

    • There are many clips securing the screen to the back panel. Force will be required to remove the back, but you should never feel that the Kindle may break.

Abschluss

To reassemble your device, follow these instructions in reverse order.
Abby Roulier

Mitglied seit: 08/02/15

867 Reputation

0 Kommentare