Einleitung
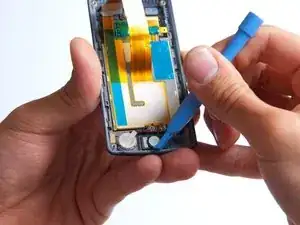
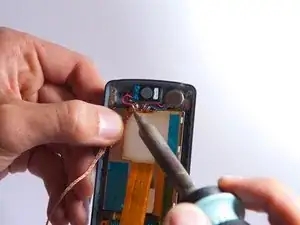
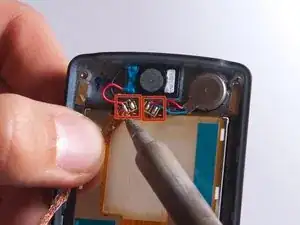
Replacing the speaker requires soldering and extensive disassembly. Refer to iFixit's soldering guide if you have never used a soldering iron or if you need a refresher.
Werkzeuge
-
-
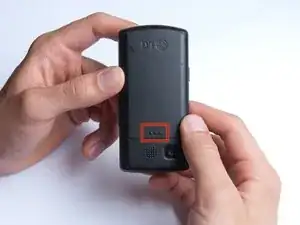
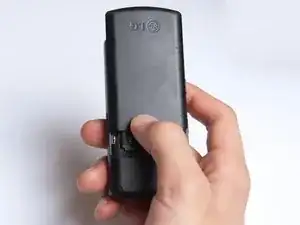
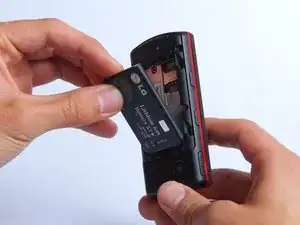
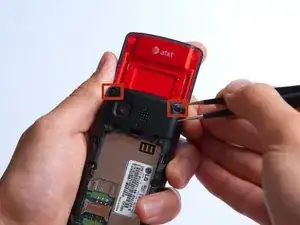
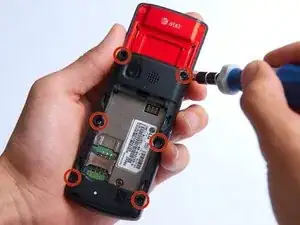
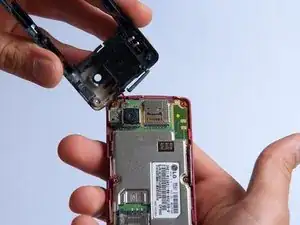
On the back of the phone, place your thumb on the three raised bumps and slide the back cover upward.
-
-
-
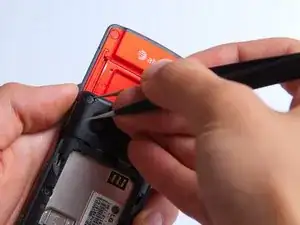
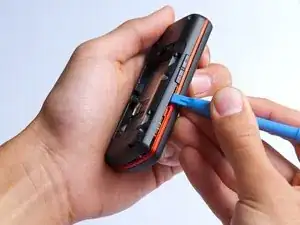
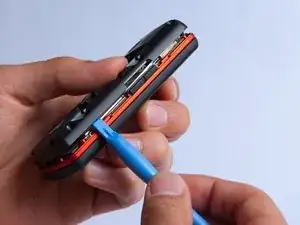
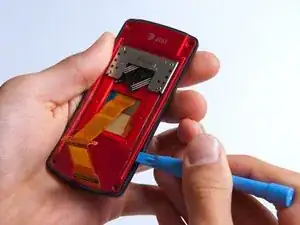
Use the plastic opening tool to pry the back cover off. Insert the tool between the back cover and red mid section and go around the entire phone.
-
-
-
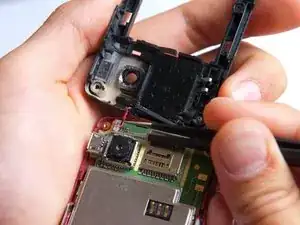
Use the tweezers to remove the red and black wires connecting the speaker to the green motherboard by pinching the sides of the plastic base near the motherboard.
-
Set the back cover with the speaker aside.
-
-
-
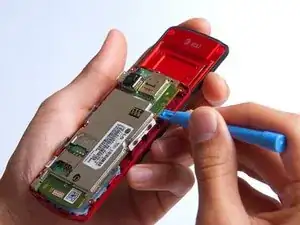
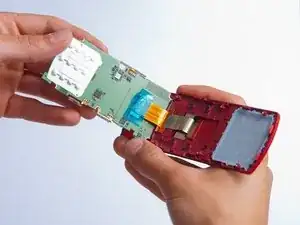
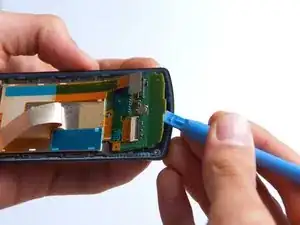
Use the plastic opening tool to gently lift the snapped-in motherboard from the front panel.
-
-
-
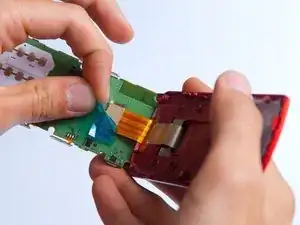
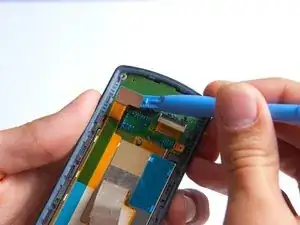
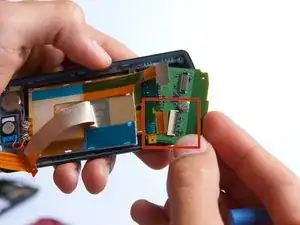
With the plastic opening tool, gently pry the LCD connector from the motherboard.
-
Set the motherboard aside.
-
-
-
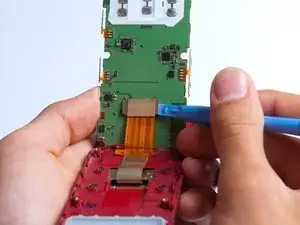
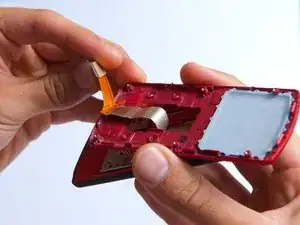
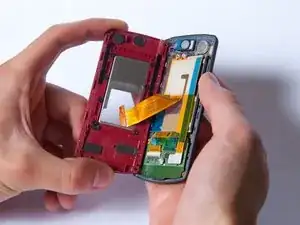
Gently pull the orange ribbon from the number pad casing.
-
Set the number pad case to the side once it is detached from the ribbon.
-
-
-
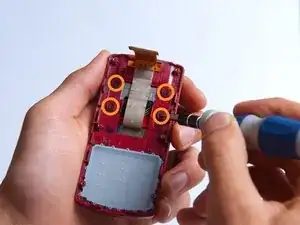
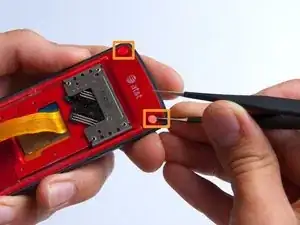
Pry the red sliding backing from the front cover by inserting the plastic opening tool in between the two sections and going around the entire phone.
-
Set the red sliding backing and front cover to the side.
-
-
-
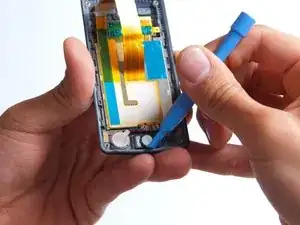
Gently pry the LCD ribbon from the left side of the front cover using the plastic opening tool.
-
-
-
Use the plastic opening tool to partially lift up the keyboard from the front of the phone.
-
Slowly rotate the keyboard clockwise while pulling it to the right to disconnect the second LCD ribbon from the keyboard.
-
Remove the keyboard from the phone and set aside.
-
-
-
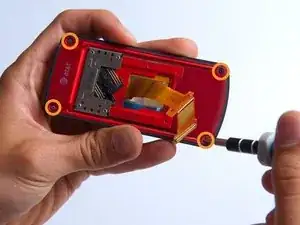
Use a soldering iron to desolder the lead junctions. If you have never used a soldering iron or you need a refresher, check out iFixit's soldering guide.
-
Separate the speaker from the LCD screen.
-
To reassemble your device, follow these instructions in reverse order.
