Einleitung
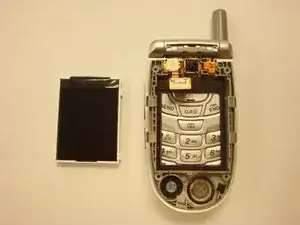
This guide will go step-by-step through the process of accessing the phone's main display. Pictures and instructions accompany each step in the guide.
-
-
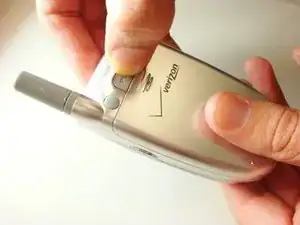
Push down on the gray "PUSH" button on the back side of the phone.
-
Slide back case downward. Then, lift and remove case.
-
-
-
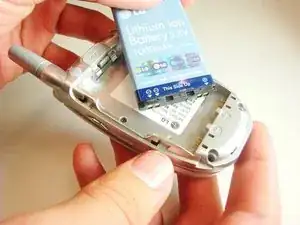
Align gold prongs with gold plates on the bottom of the battery. Make sure the "This side up" is showing.
-
Push battery flat against the back of the phone until it clicks into place.
-
-
-
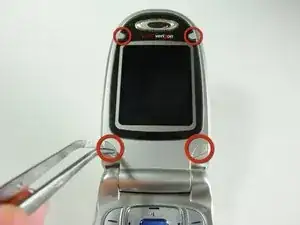
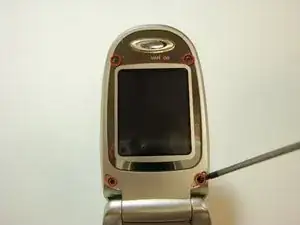
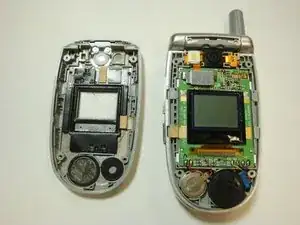
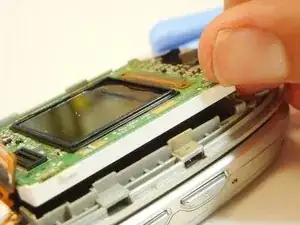
Once all the screws have been removed, use a plastic opener tool to pry the case from the rest of the phone.
-
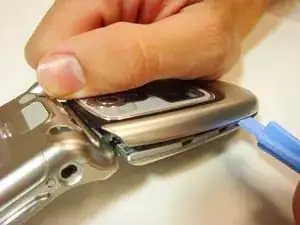
Insert the opener tool into the seem between the case and the phone. Apply pressure to separate the two pieces.
-
Do this across the entire length of the seem until the case is no longer attached to the phone.
-
-
-
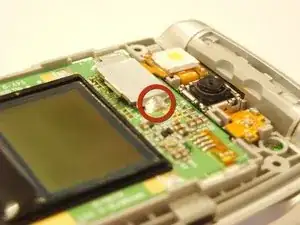
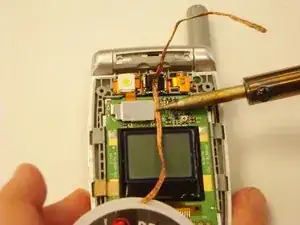
Locate the solder on the side of the metal plate on the top half of the phone.
-
Place a piece of solder wick on top of the solder.
-
To desolder the connection, very carefully place the tip of the soldering iron on top of the solder wick. Hold it steady until the solder is soaked up into the solder wick.
-
Cut off the used solder wick with pliers and repeat this step if any solder remains.
-
-
-
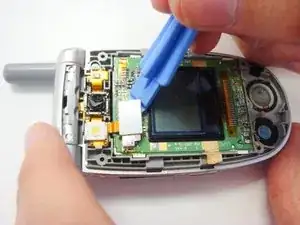
After the solder has been removed, pry off the camera assembly connection shield with the plastic opening tool.
-
To reassemble your device, follow these instructions in reverse order.