Einleitung
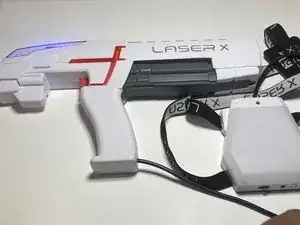
This guide shows the process of repairing a Laser X 88016 that does not have operable flashing LED lights when powered on, nor when in use. The three LED wires soldered to the circuit board for these laser guns can easily detach, as these laser guns are operated in rigorous competition between both kids and adults. Caution: the ability to properly operate a soldering iron is necessary to complete this repair. If you are uncertain of how to properly operate a soldering iron, please refer to the following link: Wie man Lötverbindungen herstellt und entlötet. This guide will demonstrate how to render the LED lights of the Laser X 88016 operable again and how to disassemble the receiver in which the circuit board for the LED lights reside.
Werkzeuge
-
-
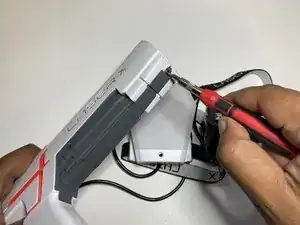
Using a Phillips #0 screwdriver, remove the one 9.6 mm screw from the bottom of the laser gun and pull off the battery cover.
-
Remove the three AAA batteries.
-
-
-
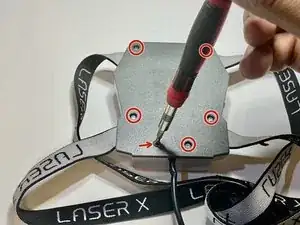
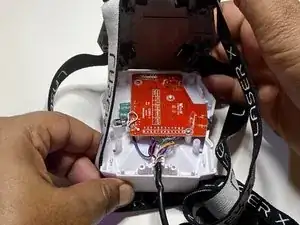
Using the Phillips #0 screwdriver, remove the six 9.6 mm screws located on the back of the receiver to expose the circuit board.
-
-
-
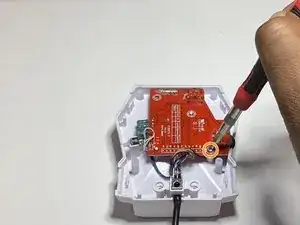
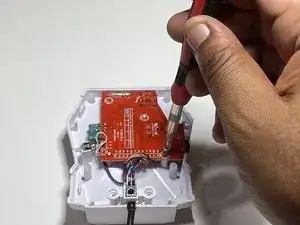
Remove the 9.6mm screw fixing the circuit board to the receivers front cover using the Phillips #0 screwdriver.
-
-
-
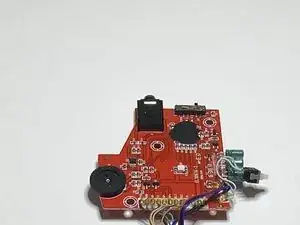
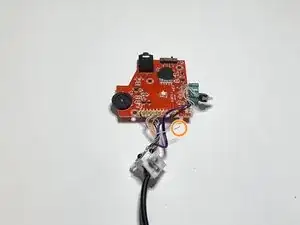
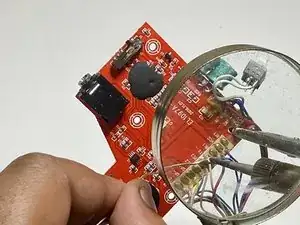
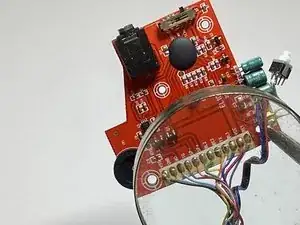
Identify the LED wires on the circuit board and determine where the wires have become disconnected or shorted.
-
-
-
Use a helping hand to hold circuit board steady for soldering.
-
Solder the disconnected wire to the circuit board (in this case, the white wire to the node labeled TX.
-
-
-
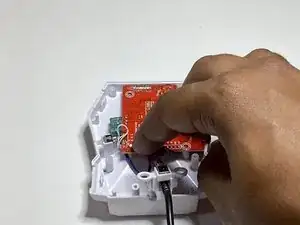
Reattach the circuit board to the receiver's front plate.
-
Put the batteries back in the laser gun and test for LED lights functionality.
-
To reassemble your device, follow these instructions in reverse order.
