Einleitung
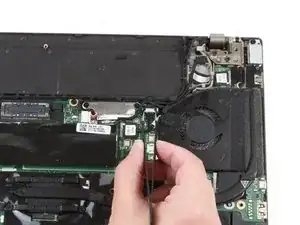
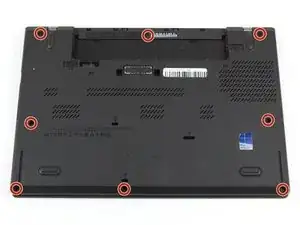
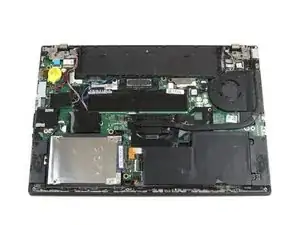
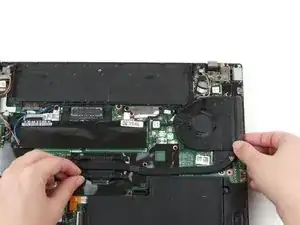
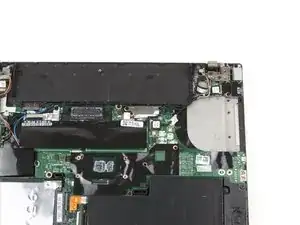
Use this guide to replace the fan and heat sink in a Lenovo ThinkPad T460 laptop.
The heat sink transfers heat from the laptop’s CPU to the fan, which redirects the heat away from the laptop’s internal components. The fan and heat sink work together to prevent the laptop from overheating, which can cause damage to the device.
Some signs that your fan and heat sink may be faulty include audible humming, rattling, or overheating. Before attempting to replace the fan and heat sink, see if you can troubleshoot any fan and heat sink issues. Always clean the thermal paste when separating the heat sink and CPU and reapply fresh paste before reassembling.
Make sure to disable the internal battery, power down your device, and disconnect from any external power sources before you begin.
Werkzeuge
-
-
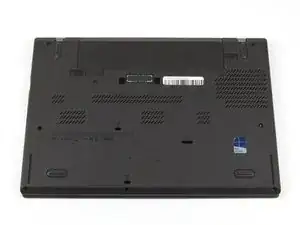
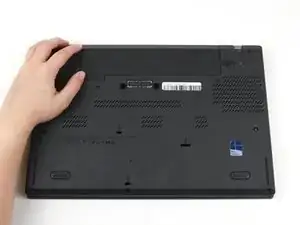
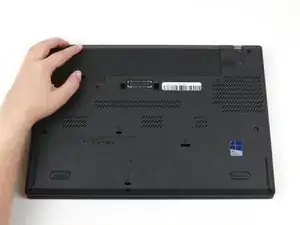
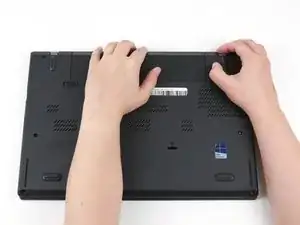
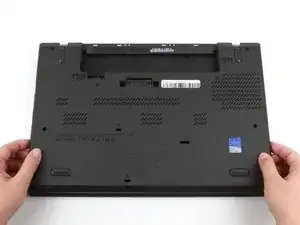
Place the laptop so that the bottom is facing upwards.
-
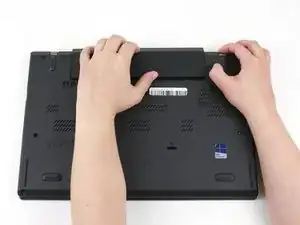
Slide the latch on the left side of the battery to the left until it clicks in place.
-
-
-
Slide the latch on the right side of the battery to the right and hold it in place with your thumb.
-
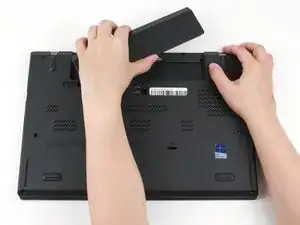
Use your other hand to slide the battery towards the back of the laptop.
-
Lift the battery up and away from the laptop.
-
-
-
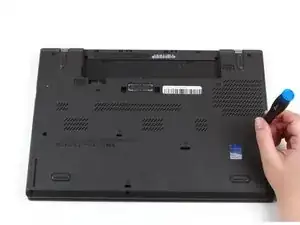
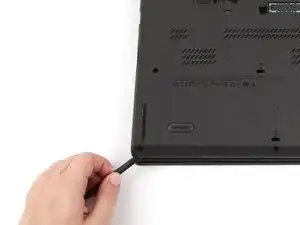
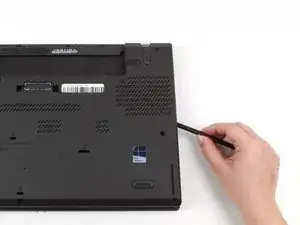
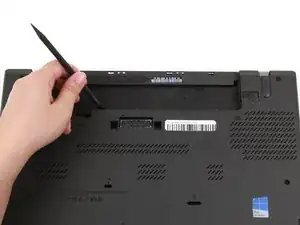
Insert the flat end of a spudger in between the bottom cover and the rest of the laptop, starting in the lower left corner.
-
Pry the lower left corner of the bottom cover up by a few millimeters.
-
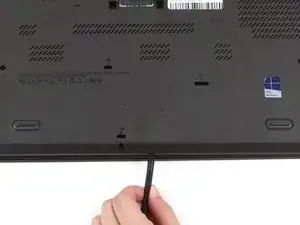
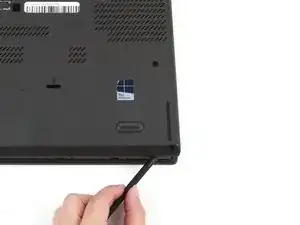
Slide the spudger along the bottom of the laptop to release the clips until you reach the lower right corner.
-
-
-
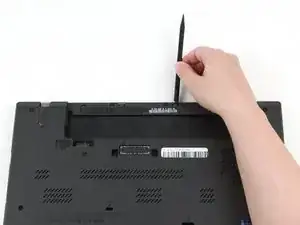
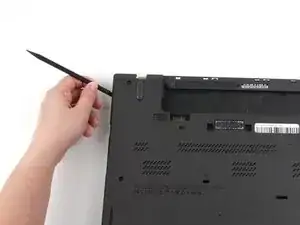
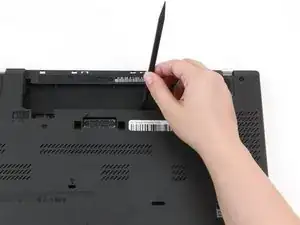
Use the spudger to pry the upper left corner up by a few millimeters.
-
Pry up the sections of the bottom cover with printed logos of the ports.
-
-
-
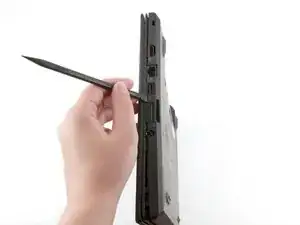
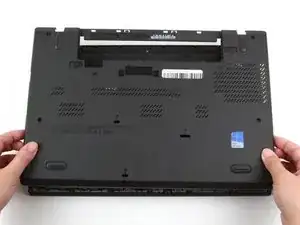
Use the spudger to pry up the bottom cover in the lower portion of the external battery compartment by a few millimeters.
-
-
-
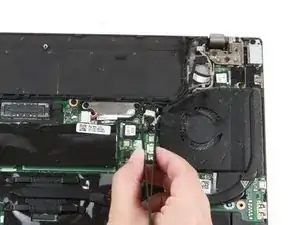
Use a pair of blunt nose tweezers to pull the white fan connector out of its socket on the motherboard.
-
-
-
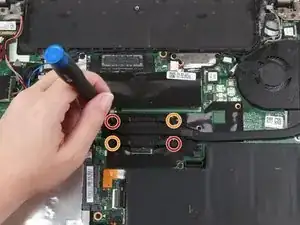
Use a Phillips #1 screwdriver to loosen the first pair of captive screws on the fan assembly in a crosswise pattern.
-
Use a Phillips #1 screwdriver to loosen the second pair of captive screws on the fan assembly in a crosswise pattern.
-
To reassemble your device, follow these instructions in reverse order.
Take your e-waste to an R2 or e-Stewards certified recycler.
Repair didn’t go as planned? Try some basic troubleshooting, or ask our Answers community for help.
