Einleitung

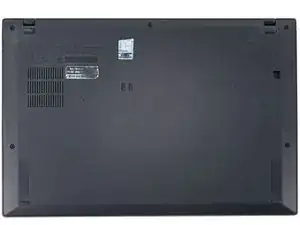
In the guide you will learn how to remove and replace the thermal fan assembly in the Lenovo ThinkPad X1 Carbon 7th Gen.

Damage to the computer can cause the fan to stop working, causing the computer to over heat, risking damage to the other components.

Before attempting any guide, ensure you shutdown and unplug your device.

  1. xjUTndxP5QoSGLm1
    xjUTndxP5QoSGLm1
    xQlcma2edcb4NRgB
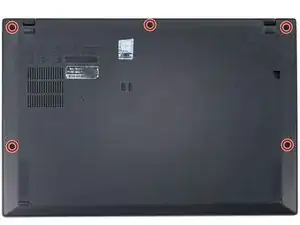
    • Use a Phillips #1 screwdriver to loosen the five captive screws securing the back cover.

  2. dNJZNyWIerbt5ycp
    dNJZNyWIerbt5ycp
    IS2TTkcFxt1PAVtE
    k6MWeuOQ1ZgPfvZf
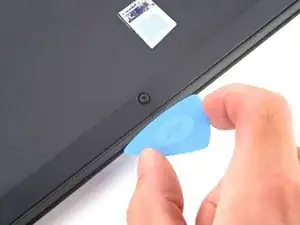
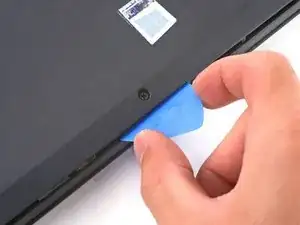
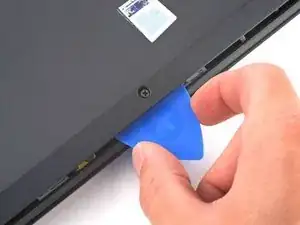
    • Insert an opening pick at a 45˚ angle between the back cover and frame near the rear middle screw.

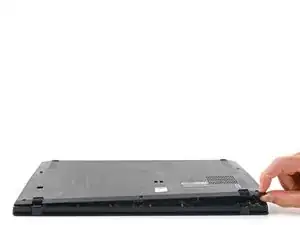
    • Pry up on the pick to release the clips securing the back cover to the frame.

    • You will hear several clicks while prying up.

  3. W5K1uGLZ1U5RUdPk
    W5K1uGLZ1U5RUdPk
    DTNWxxJF4lEpZsWY
    GnFK6P6bhrixKaSV
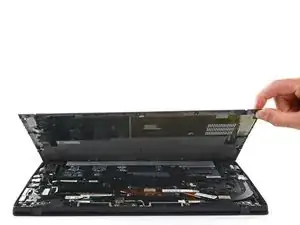
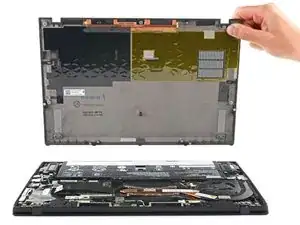
    • Lift the back cover up and remove it from the chassis.

    • You will hear several clicks while lifting up.

    • During reassembly, this is a good point to power on your laptop and test all functions before sealing it up. Be sure to power your laptop back down before you continue working.

  4. wWPvhNd4DwQAmmDD
    wWPvhNd4DwQAmmDD
    pp4OGoNbnPOgVATc
    jKALbWmdWxYYvdtE
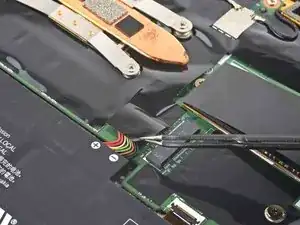
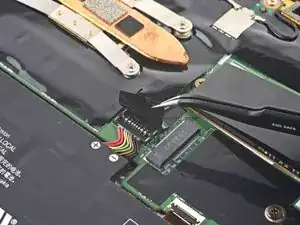
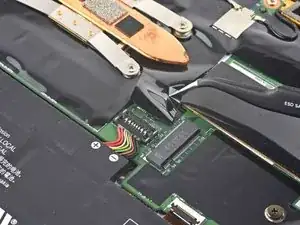
    • Use tweezers or your fingers to peel back the plastic shield covering the battery connector.

  5. LTRRXCXUeqbc3bAR
    LTRRXCXUeqbc3bAR
    pGZgvU1cnLCYJnLU
    ghVHpXcuiGICLsKA
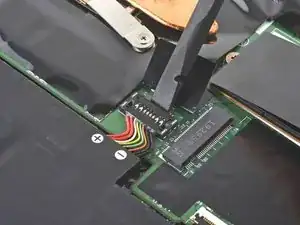
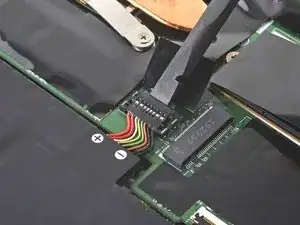
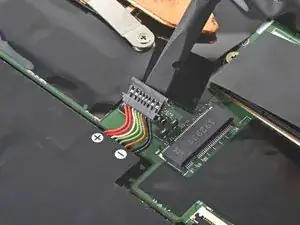
    • Use the flat end of a spudger to pry up on and disconnect the battery cable.

  6. xveaRVlk2SdumDXA
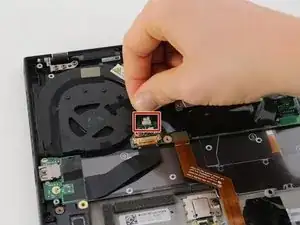
    • Grab the thermal fan assembly connector with your fingers and gently pull upwards to disconnect it from the motherboard.

    The connector had a black dot on the top from the assembly and so did the replacement so you know you are trying to plug it in correctly.

    Jonathan Mergy -

  7. 4audVMHPQGDaO6DT
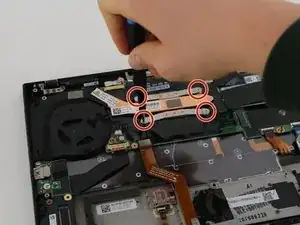
    • Remove four 3mm Phillips #0 heat sink screws following the numerical order engraved into the heat sink.

  8. LZ5LsNAZ2sYqTkDb
    LZ5LsNAZ2sYqTkDb
    Y4OLEfrEVhhKKWqg
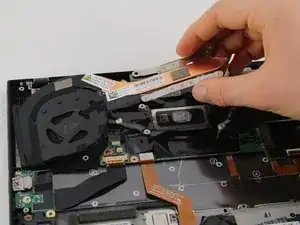
    • Grab the heat sink mounting brackets and lift up to remove the thermal fan assembly.

    • Heat sink may still be hot if laptop was recently powered off.

    • When removing the heatsink, it's always good to apply a new layer of thermal paste, as it helps the heat sink pull heat away from the CPU.

    Not an old laptop, but this assembly did get loud quickly. Replacement has really improved the sound again.

    Jonathan Mergy -

    What is the other die next to the bigger cpu die? - are we supposed to put thermal paste on this as well?

    Antony Santiago - 2 minutes ago

    Antony Santiago -

    I answered my own question - You Do NOT put thermal paste on the smaller die (PCH). Looks like this would damage the PCH since thermal energy from the CPU would then be directed towards the PCH if paste is applied on the PCH.

    references:

    https://www.reddit.com/r/thinkpad/commen...

    https://www.dell.com/support/kbdoc/en-lc...

    Antony Santiago -

    My old Thinkpad immediately dropped about 30° C after I replaced the thermal paste. The old paste had apparently gotten too hard to be effective and the laptop had shut down a few times because of the heat. Thankfully, there doesn't seem to be any permanent damage. I confirmed that the fan was working before reassembly.

    This is an easy maintenance item. The instructions and the photos are excellent. I used Arctic Silver 5, which appears to be the the same paste that was used by Lenovo.

    James McAllister -

Abschluss

To reassemble your device, follow these instructions in reverse order.
Jaxon Haws

Mitglied seit: 23/01/20

538 Reputation

0 Kommentare