Einleitung
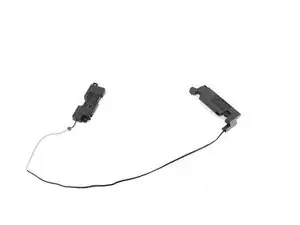
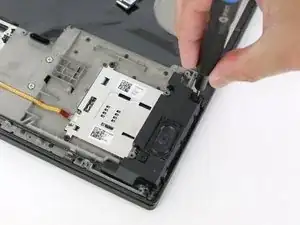
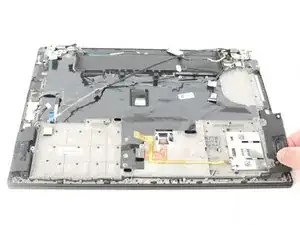
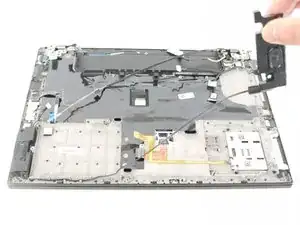
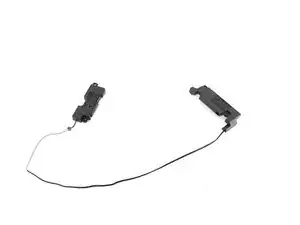
The speakers of a laptop are essential for listening to music, watching videos, etc. Faulty or broken speakers can be extremely frustrating. Symptoms of a set of faulty speakers can include the following:
- Erratic or distorted sound
- Volume is on but no sound is coming out
- Mute button is on but sound keeps playing
- Random sounds are playing.
If your Lenovo ThinkPad T450 is experiencing any of the symptoms above, it may be time to replace the speakers in your device. Follow these instructions to replace the speakers in your device.
Werkzeuge
-
-
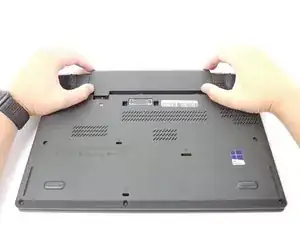
Using your hands, slide the two locking tabs away from each other to release the battery.
-
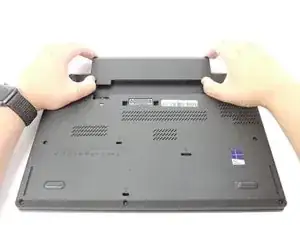
Slide the battery up and out of the device.
-
-
-
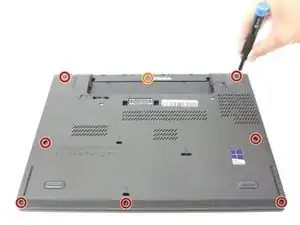
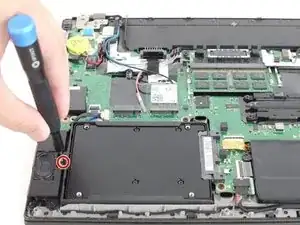
Using the JIS #00 screwdriver, unscrew seven screws from the back cover.
-
Use the JIS #00 screwdriver to remove the single 2.8 mm screw from the back cover.
-
-
-
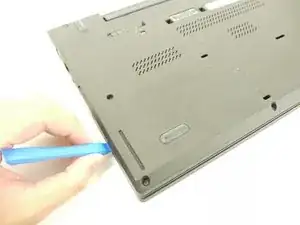
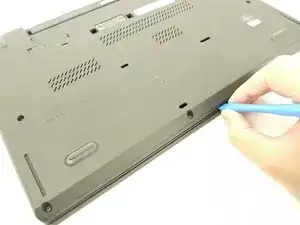
Insert a plastic opening tool into the edges of the laptop and work your way around the edges to pry off the back cover from the device.
-
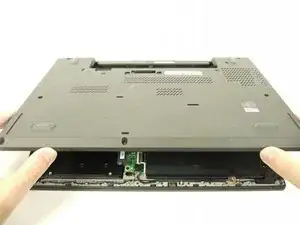
Remove the back cover from the device.
-
-
-
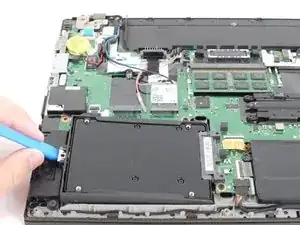
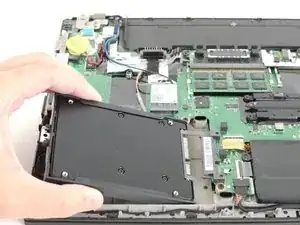
Using the JIS #00 screwdriver, remove the single 2.8 mm screw securing the SSD to the device.
-
-
-
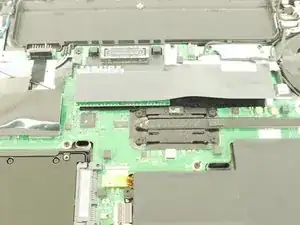
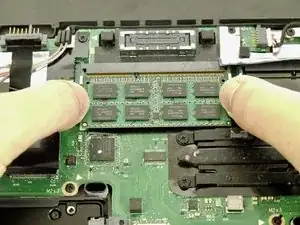
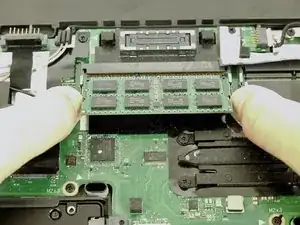
Using your fingers, push the two clips securing the RAM away from each other to release the RAM.
-
Remove the RAM stick from the device.
-
-
-
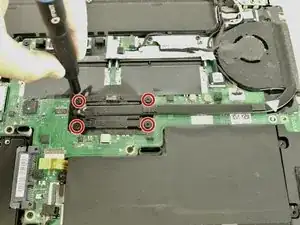
Using the JIS #00 screwdriver, unscrew the four screws securing the fan and heatsink assembly to the motherboard.
-
-
-
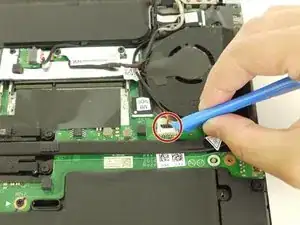
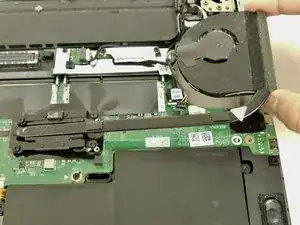
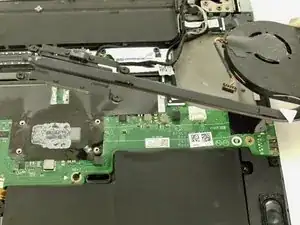
Disconnect the fan and heatsink assembly from the motherboard using the plastic opening tool.
-
-
-
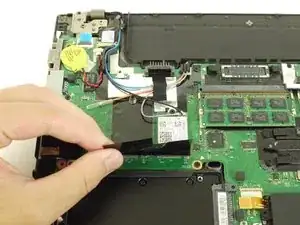
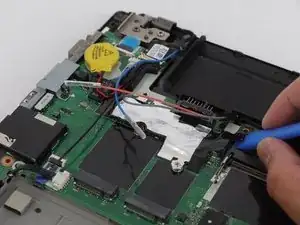
Use the plastic opening tool to remove the black piece of tape holding the cables together.
-
-
-
Use the JIS #00 screwdriver to remove the single 2.8 mm screw from the motherboard.
-
Remove the black plastic covering the motherboard.
-
-
-
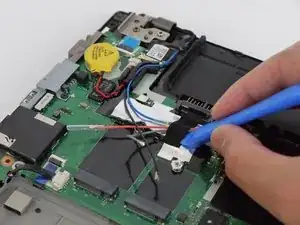
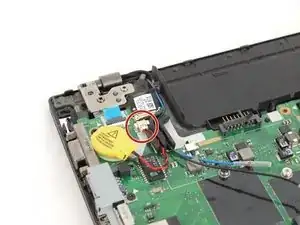
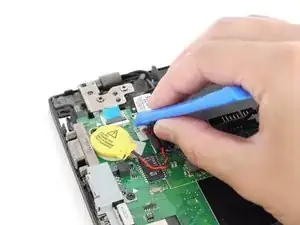
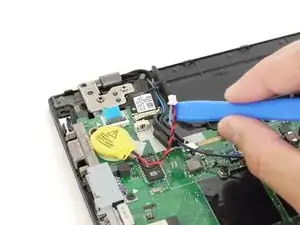
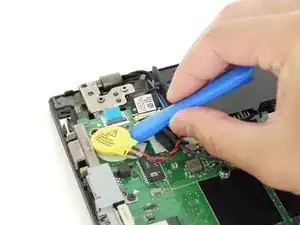
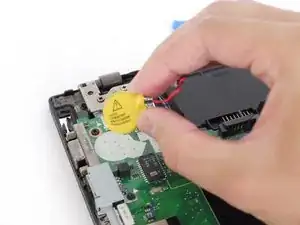
Insert the plastic opening tool underneath the CMOS battery and pry it up and away from the motherboard.
-
-
-
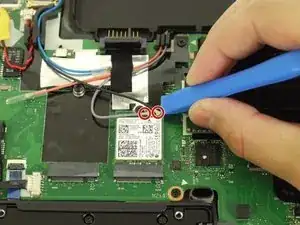
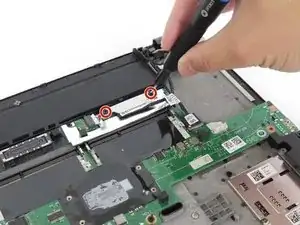
Use the JIS #00 screwdriver to remove two 2.8 mm screws securing the display cable bracket to the motherboard.
-
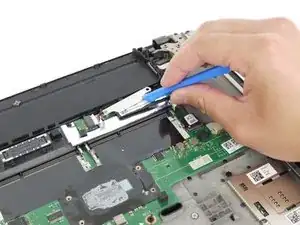
Remove the display cable bracket from the device.
-
-
-
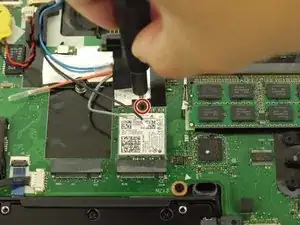
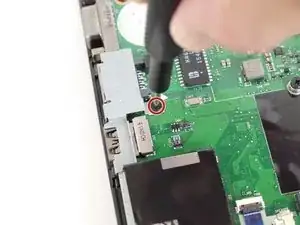
Using the JIS #00 screwdriver, remove the single 5 mm screw securing the bracket to the motherboard.
-
Remove the metal bracket from the device.
-
-
-
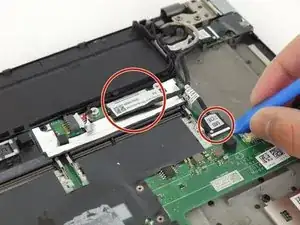
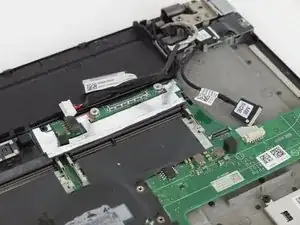
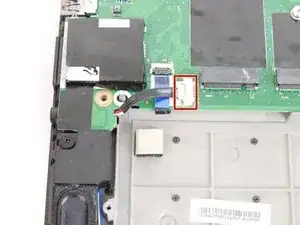
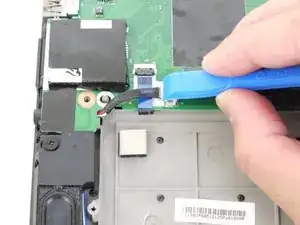
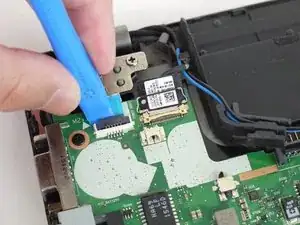
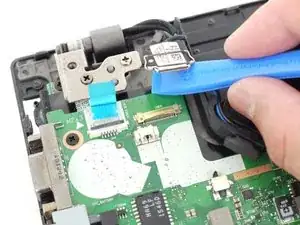
Using the plastic opening tool, flip up the locking tab on the zero insertion force (ZIF) connector and disconnect the cable from the motherboard.
-
-
-
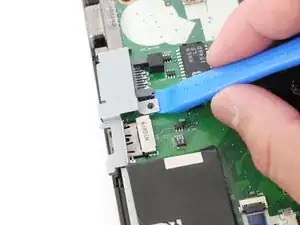
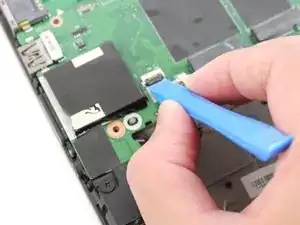
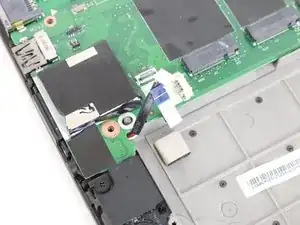
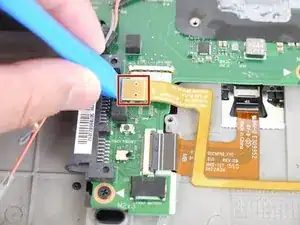
Using a plastic opening tool, disconnect the smartcard reader cable from the motherboard.
-
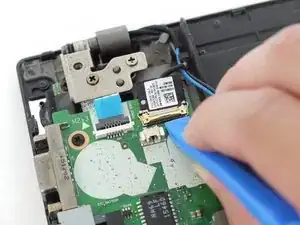
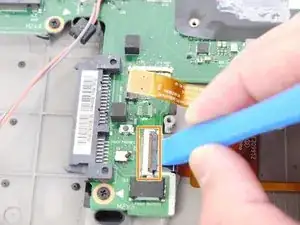
Using the same plastic opening tool, flip up the locking tab and disconnect the trackpad cable from the motherboard.
-
-
-
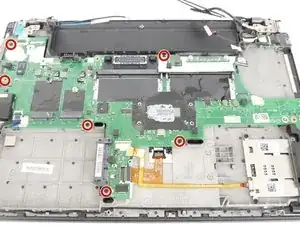
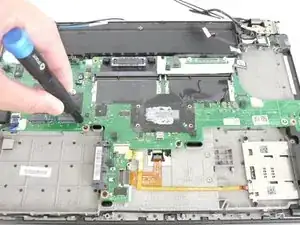
Using the JIS #00 screwdriver, remove six 2.8 mm screws securing the motherboard to the device.
-
-
-
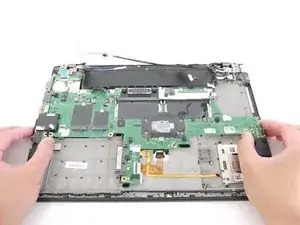
Carefully grab the motherboard and lift it up slightly off of the device.
-
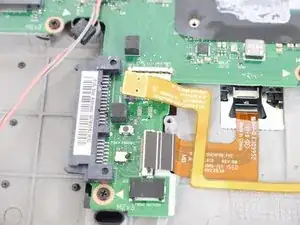
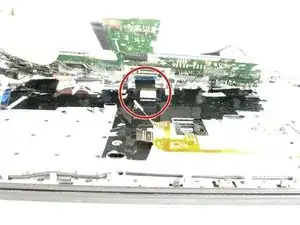
Disconnect the ZIF connector and remove the motherboard from the device.
-
-
-
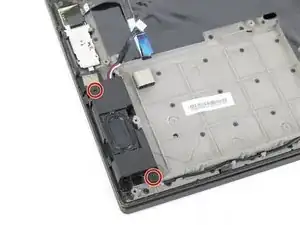
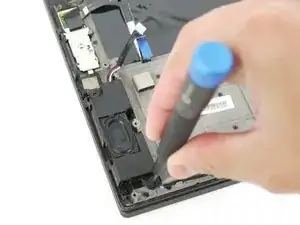
Using the JIS #00 screwdriver, remove the two 4.2 mm screws securing the left-side speaker to the device.
-
-
-
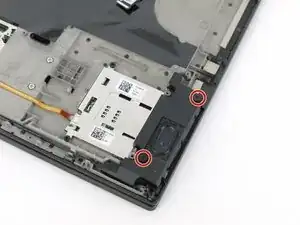
Use the same JIS #00 screwdriver to remove two 4.2 mm screws from the right-side speaker.
-
To reassemble your device, follow these instructions in reverse order.
Take your e-waste to an R2 or e-Stewards certified recycler.
