Einleitung

Use this guide to replace the battery in your Lenovo Yoga 6 13ALC6 Laptop.

For your safety, discharge the battery below 25% before disassembling your device. This reduces the risk of fire if the battery is accidentally damaged during the repair. If your battery is swollen, take appropriate precautions.

  1. lcarxyckpCNGJVRF
    lcarxyckpCNGJVRF
    NO3tjkG1LGOsDfOV
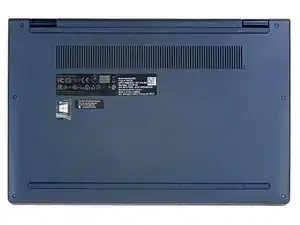
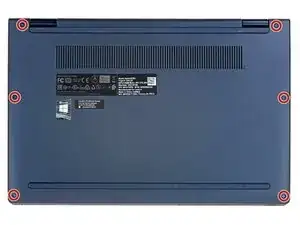
    • Use a T5 Torx screwdriver to remove the six 7.2 mm screws securing the lower case.

  2. i2QjZdbSgHfPFBU5
    i2QjZdbSgHfPFBU5
    c6VY5qx4lOouq26G
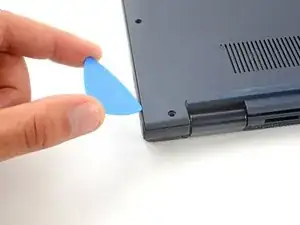
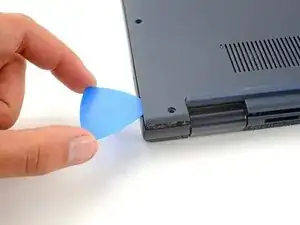
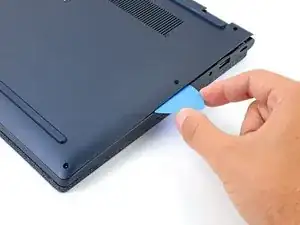
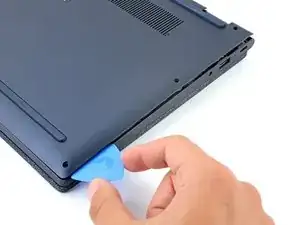
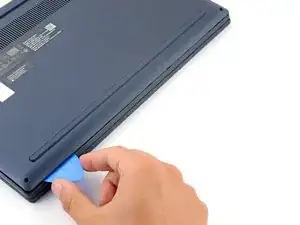
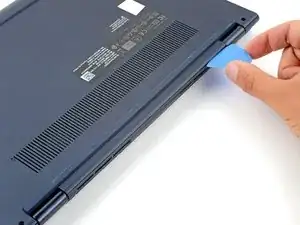
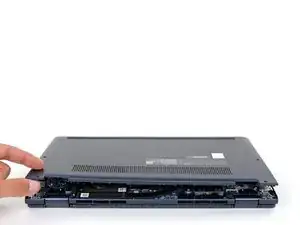
    • Insert an opening pick between the lower case and the chassis at a hinge corner.

    • Pry up with the pick to release the clips securing the lower case.

    • Repeat the process on the other hinge corner.

  3. Js1yKUI4N5MsqAZI
    Js1yKUI4N5MsqAZI
    4ZXMUMOBLEltJDKf
    TONGkTXghTpCowQa
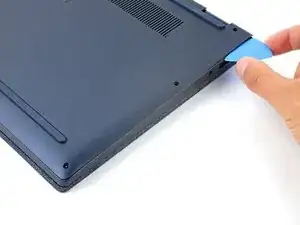
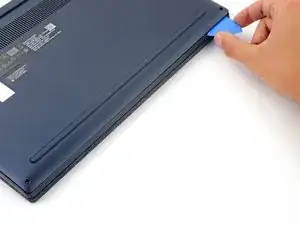
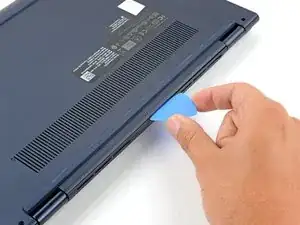
    • Slide the pick along the right edge to release the clips securing the lower case.

  4. iYrQT5LHpSJhAMQy
    iYrQT5LHpSJhAMQy
    RYLWhDFhaDDQxcVj
    nyVAkNdsPd3DEOV3
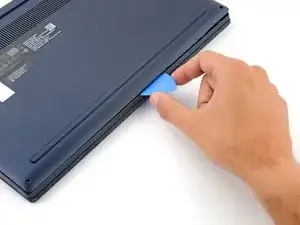
    • Continue sliding the opening pick along the front and left edges to release the remaining clips.

  5. IWikfFHy4uAWRtSO
    IWikfFHy4uAWRtSO
    lJEVoHJFSKHuycnV
    rm4SciKuZEBp3kwR
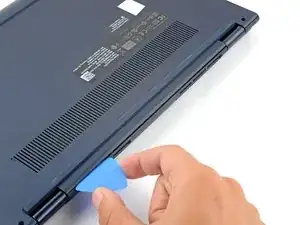
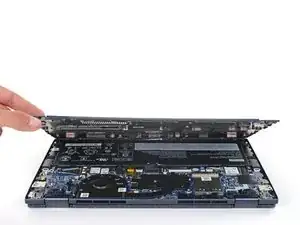
    • Insert the pick on the hinge edge and slide along the entire edge to release all of the clips.

  6. JQm4NToW1KWqe3Tj
    JQm4NToW1KWqe3Tj
    l5plgiQP3xGZ61Qb
    Em3WhF1oUSQxYGBx
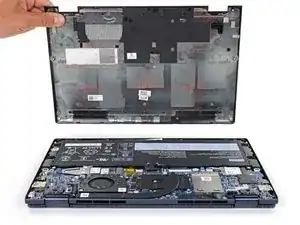
    • Lift the lower case from the chassis and remove it.

    • During reassembly, this is a good point to power on your laptop and test all functions before sealing it up. Be sure to power your laptop back down before you continue working.

  7. CtassExJxZIAKny1
    CtassExJxZIAKny1
    bkwLlDoNRW2feDYd
    FXMDvFrOOUdtL2d2
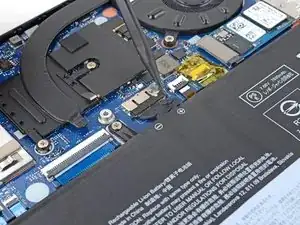
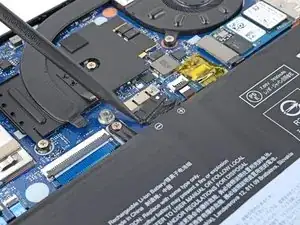
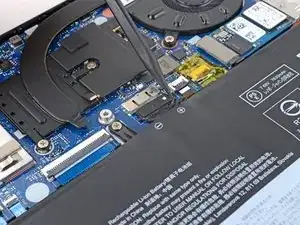
    • Use the pointed end of a spudger to push each side of the battery connector until it comes out of the socket.

  8. kAosGValbCsZqyyx
    kAosGValbCsZqyyx
    Bli6w2mjAgVGf1Qr
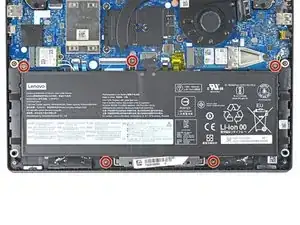
    • Use a Phillips screwdriver to remove the five 4.2 mm-long screws securing the battery.

  9. YHg2drQ4nvmALGA1
    YHg2drQ4nvmALGA1
    WYtLoVImFvVtI14G
    hMSPFsUBLkw3avIH
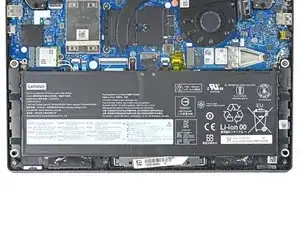
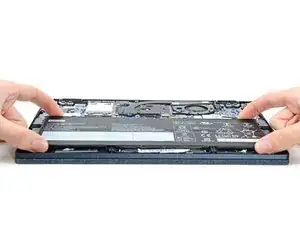
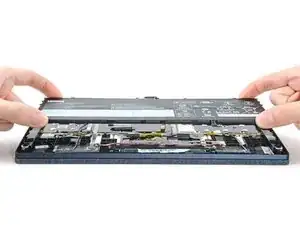
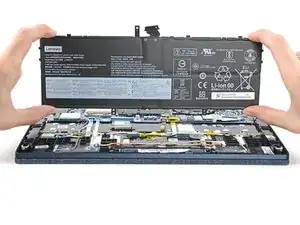
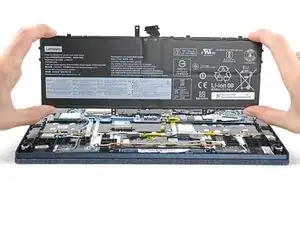
    • Lift the battery straight out of its recess and remove it.

Abschluss

To reassemble your device, follow these instructions in reverse order.

For optimal performance, calibrate your newly installed battery after completing this guide.

Take your e-waste to an R2 or e-Stewards certified recycler.

Repair didn’t go as planned? Try some basic troubleshooting, or ask our Answers community for help.
Alex Diaz-Kokaisl

Mitglied seit: 16/01/22

69204 Reputation

0 Kommentare