Einleitung
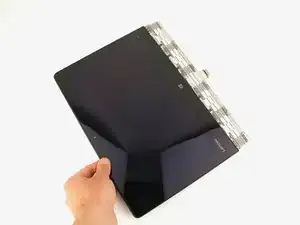
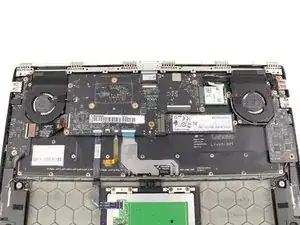
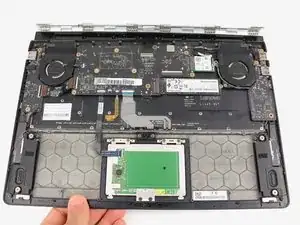
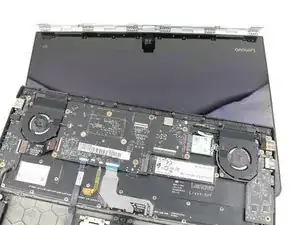
This guide will show you how to replace the display assembly in the Lenovo Yoga 900-13ISK. The display assembly contains the display, touch control board, digitizer, and webcam. If you are having issues with any of these components, such as a flickering, glitchy, or cracked display, a loss of touchscreen functionality, or a broken webcam, replacing the display assembly should alleviate any and all of these issues.
Note that the display assembly can be further disassembled to replace the display, screen, digitizer, and touch control board as a single unit. However, this does require dealing with adhesive and some very delicate webcam and microphone boards. If you’re up to the challenge, or if your display replacement unit did not include the back panel and hinge, you can see how to replace the display here.
Be sure to unplug and completely turn off your device before you start working.
Werkzeuge
-
-
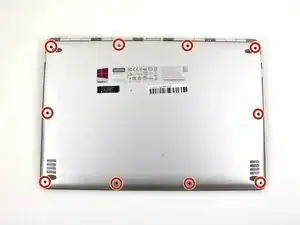
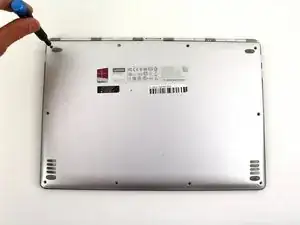
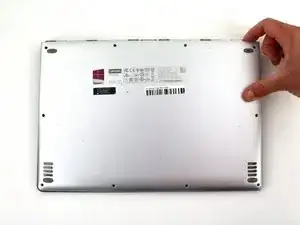
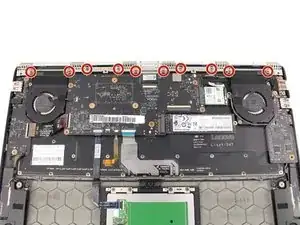
Using a T5 Torx screwdriver, remove the ten 5.5 mm screws from the back case of the laptop.
-
-
-
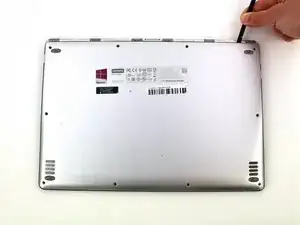
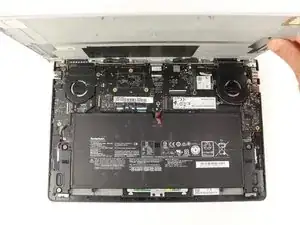
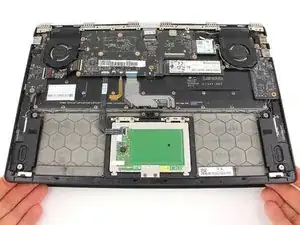
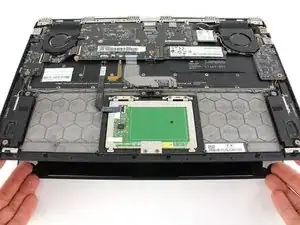
Use a spudger to pry open the back case at the hinges of the laptop.
-
Use your fingers to completely pop off the back cover.
-
-
-
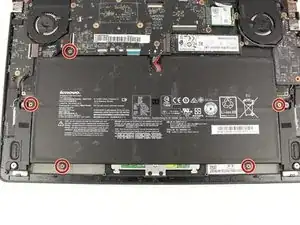
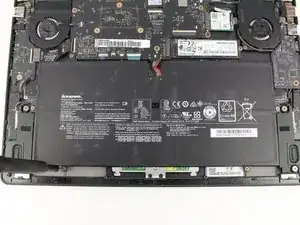
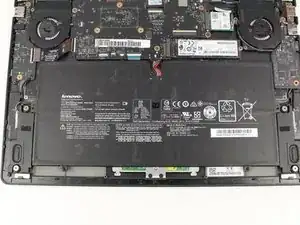
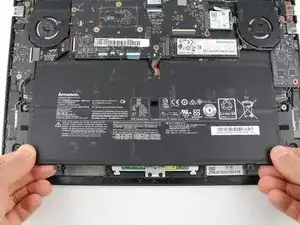
Grab the bottom corners of the battery and gently pull the battery until the cable disconnects from the connector on the motherboard.
-
-
-
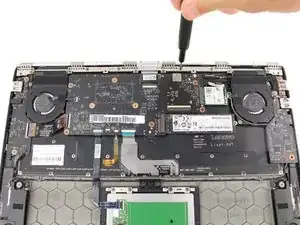
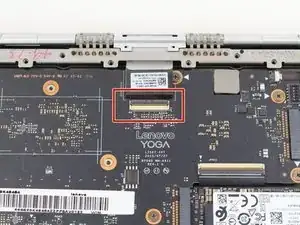
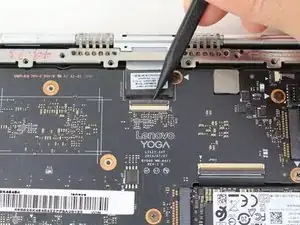
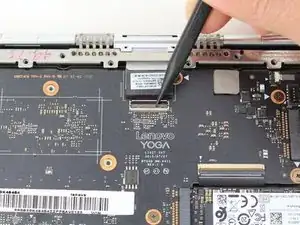
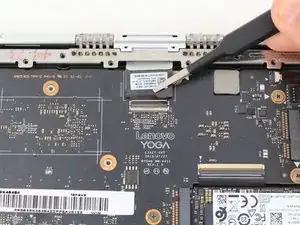
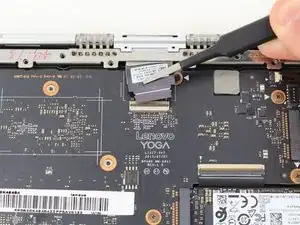
Use the pointed end of a spudger to lift the hinged locking flap of the display ZIF connector.
-
To reassemble your device, follow these instructions in reverse order.
