Einleitung
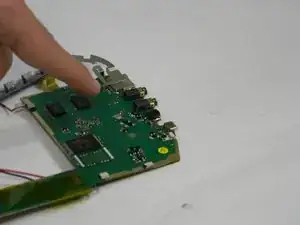
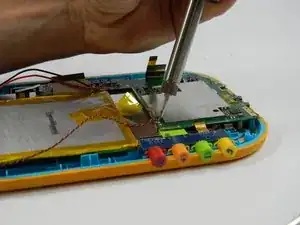
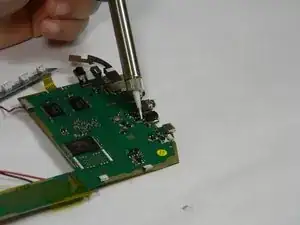
This guide requires soldering skills and the removal of both the battery and the motherboard. This is one of the harder guides.
Werkzeuge
-
-
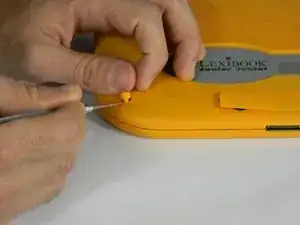
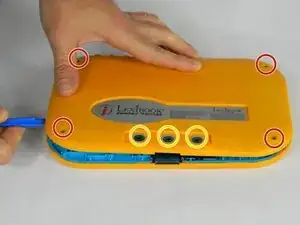
With the device screen face down, use the metal spudger to remove the small rubber circles on all four corners of the device. The screws should now be revealed.
-
Using the metal spudger, pry open the small, long rubber rectangle on the back of the device to reveal more screws.
-
-
-
Using a Phillips #00 screwdriver, remove the four 6.8mm screws from the four corners of the device.
-
Using the same screwdriver, remove the three screws that were behind the rubber rectangle. These screws do not come out of the device.
-
Use the plastic opening tool to gently pry open the back panel of the tablet.
-
-
-
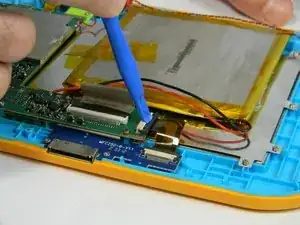
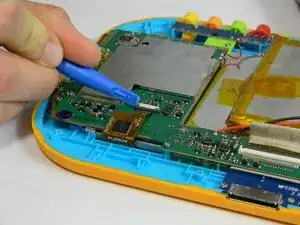
Using the plastic opening tool, gently push the two small, black and white switches out in the direction of the ribbon wires.
-
Slowly pull the ribbon wire out of the switch to free it.
-
-
-
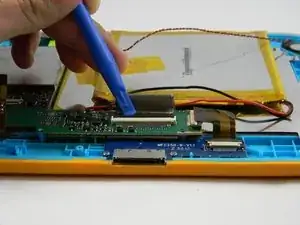
Push the larger black and white strip leading to a ribbon wire upward using the plastic opening tool.
-
Carefully pull the ribbon wire out of the switch
-
-
-
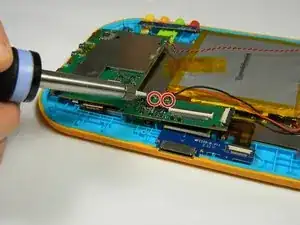
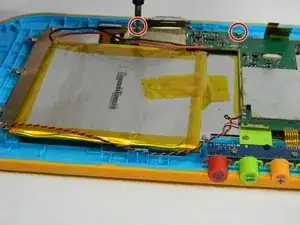
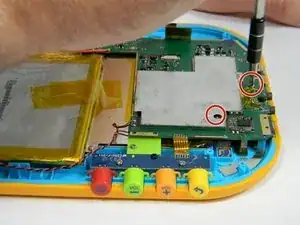
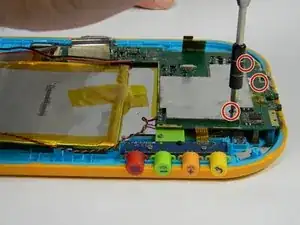
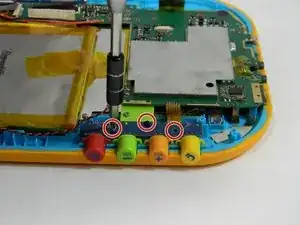
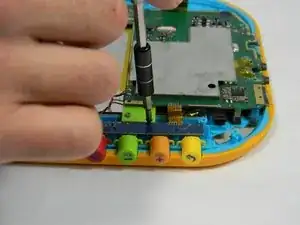
Unscrew the five 4 mm screws around the perimeter of the motherboard using the ph00 size phillips head screwdriver.
-
To reassemble your device, follow these instructions in reverse order.
