Einleitung
Diese Anleitung hilft dir dabei, die Logitech MX Keys-Tastatur auseinanderzunehmen.
Werkzeuge
-
-
Entferne die Gummi-Füße von der Unterseite.
-
Entferne die drei Schrauben, welche sich hinter den oberen Gummi-Füßen befinden.
-
Beachte, dass die linke Schraube nach rechts versetzt liegt und nicht in der Mitte eingeschraubt ist/wird.
-
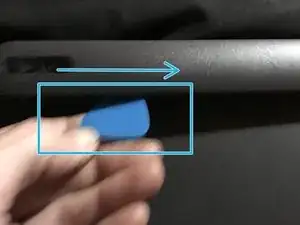
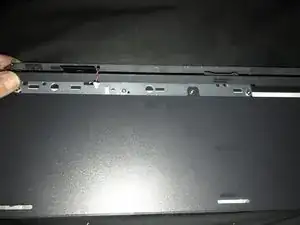
Benutze ein geeignetes Werkzeug aus Kunststoff, um die hintere Gehäuseabdeckung zu entfernen.
-
-
-
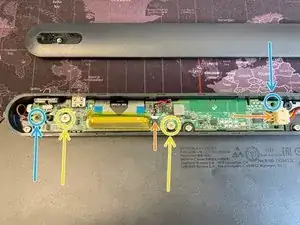
Entferne den Akku. Er ist leicht auf der Unterseite festgeklebt.
-
Entferne die zwei etwas größeren, silbernen Kreuzschlitzschrauben, welche die Platine im Gehäuse halten.
-
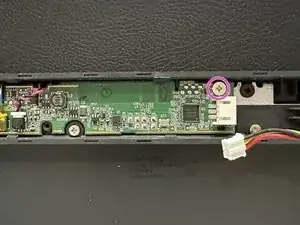
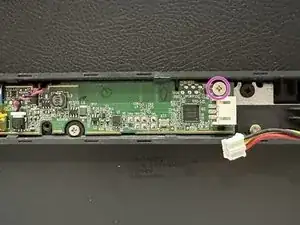
Entferne die kleine schwarze Schraube in der oberen rechten Ecke.
-
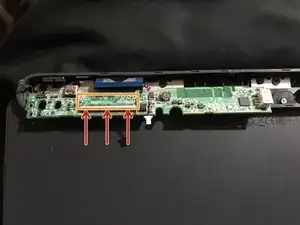
Ziehe das orangene Klebeband, welches das Flachbandkabel sichert, vorsichtig ab. Lege es zur Seite und hebe es für den Wiederzusammenbau auf
-
Entferne die Platine.
-
-
-
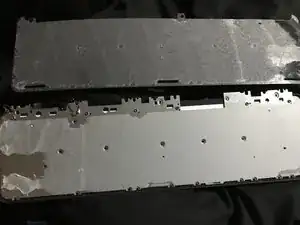
Die großflächig verklebte Rückseite kann nun vorsichtig und am Besten mithilfe von ein wenig Isopropyl-Alkohol vom Rest des Gehäuses entfernt werden, indem du langsam von der oberen linken Ecke aus anfängst, sie zu entfernen
-
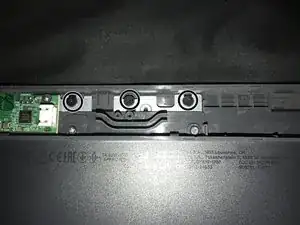
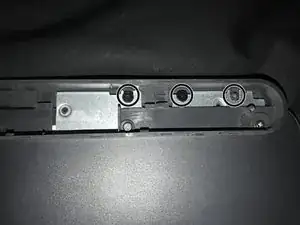
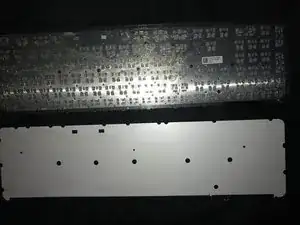
Entferne alle schwarzen Phillips-Schrauben und entferne anschließend die Metallplatte.
-
Um das Gerät anschließend wieder zusammenzubauen, befolge die Anleitung in umgekehrter Reihenfolge.
3 Kommentare
Do you know how I can turn the keyboard backlight so it stays on, even if if t runs down the battery faster.
I really need that back light. I am willing to risk breaking my keyboard for the reward of having the light. If I am really lucky changing the circuit to add a manual switch for that dang back light :)
I have basic skills and I am still learning...
Thank to all the Content Makers and Fix-It guide makers...!
perhaps I could find the correct voltage for the light and prob with a test light to find the circuit for the back light with out damaging something important, like the old days_?
nazo -
Hello,
Excellent tutorial!
Could you show me where the 2 red and black wires are connected (data cable I think)?
Mine got cut by accident.
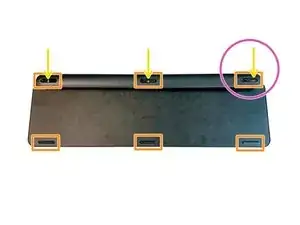


Bottom three feet are not blocking any screws or clips, they can remain.
There is a plastic film covering the screw holes, it can be peeled back and replaced.
Cristina Vasco -