Einleitung

Use this guide to replace the feet (also called skates or pads) on your Logitech MX Master 2s.

  1. L3ieXIxOwUbQOvXr
    • If you're planning to reuse your mouse feet, you'll need to thoroughly heat them for a clean removal.

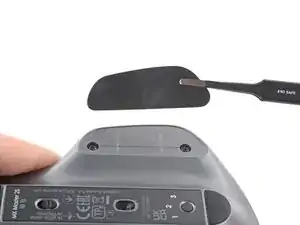
    • Power off your mouse and turn it over.

    • Heat an iOpener and apply it to the bottom of the mouse for two minutes.

    • A hair dryer may also be used, but be careful not to overheat the mouse—the plastic body may warp or melt.

  2. oZlwvmNoxkipHlm3
    oZlwvmNoxkipHlm3
    Tw1dycW22mNfwZJd
    cuptEmHOZGU4hU3N
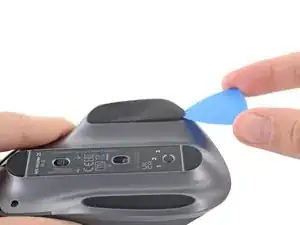
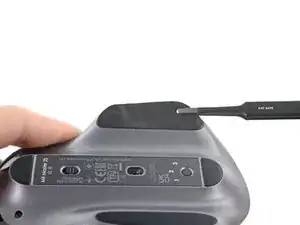
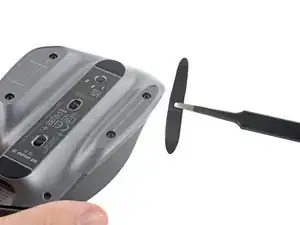
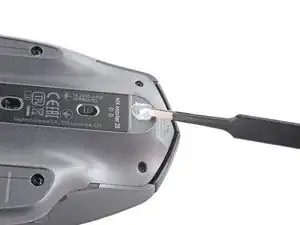
    • Insert an opening pick between the mouse foot and the body.

    • Make sure the pick is underneath the foot and the adhesive layer. It's easy to separate these two layers.

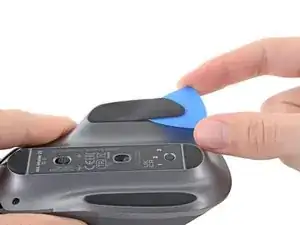
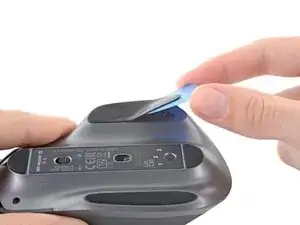
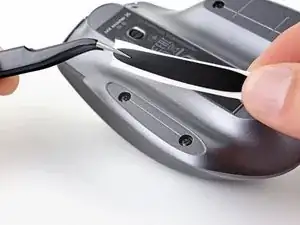
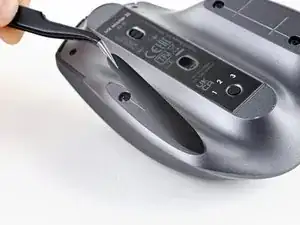
    • Slide the pick under the foot to separate the adhesive.

    • If the pick feels stuck, apply more heat before continuing.

  3. 4KiRFZu2yTnM36GS
    4KiRFZu2yTnM36GS
    JIhnCfARYODQCVW4
    • Use tweezers, or your fingers, to remove the mouse foot.

  4. LIedCFUQKOhNDF6u
    LIedCFUQKOhNDF6u
    yZ52staNGjEYICtX
    DQcFLYIBkxfnEmLi
    • Repeat the previous two steps for the three remaining feet.

  5. MVCTdwiIpdpoQmws
    MVCTdwiIpdpoQmws
    DW1SSDV5fukhORdO
    TAcJMAXROxdqgQnF
    • For installing new mouse feet or reusing your old ones:

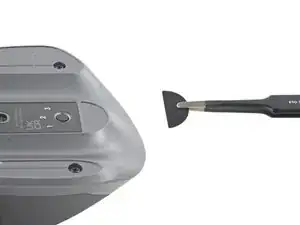
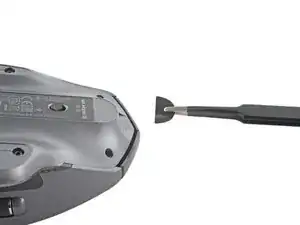
    • Use a pair of tweezers or a spudger to remove any large chunks of leftover adhesive.

    • Thoroughly clean the bottom of the mouse with isopropyl alcohol and a lint-free of microfiber cloth, and allow the surface to dry completely.

    • Peel your new mouse feet away from their adhesive liners and press them firmly into place.

Abschluss

Compare your new replacement part to the original part—you may need to transfer remaining components or remove adhesive backings from the new part before installing.

To reassemble your device, follow the above steps in reverse order.

Alex Diaz-Kokaisl

Mitglied seit: 16/01/22

69204 Reputation

0 Kommentare