Einleitung
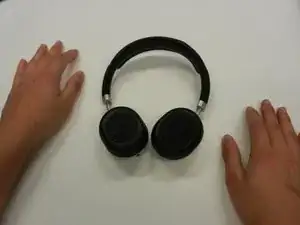
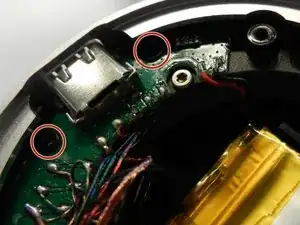
You will want to disassemble the right side of the headphones. You will need to know how to solder before beginning this guide. If you don't know how to solder, click here for a great guide.
Werkzeuge
-
-
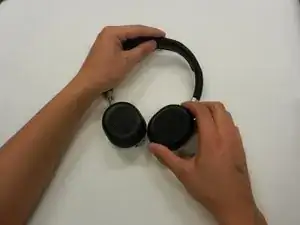
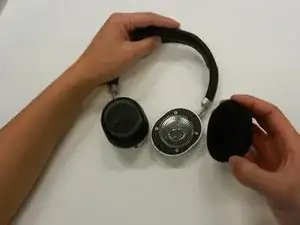
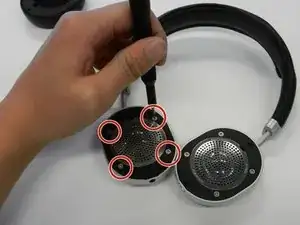
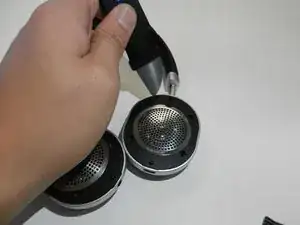
Pull the cushion off of the desired side by gripping the top of the headphones and pulling the cushion off.
-
-
-
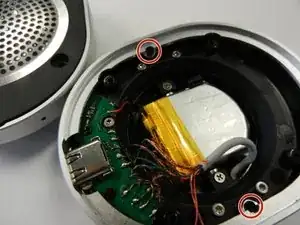
Remove the two 2mm screws pictured with a JIS #00 screwdriver.
-
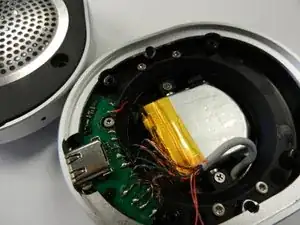
Gently pull the silver cover off of the ear piece.
-
-
-
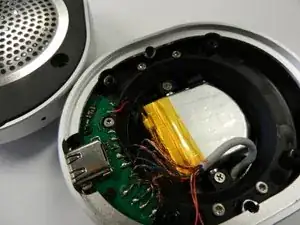
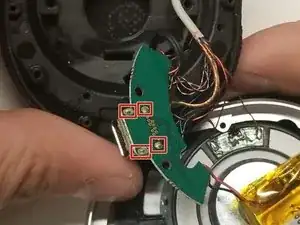
Lift up the mother board with the attached charging port to see the soldering points. You must desolder these points in order to detach (and re-attach) the charging port.
-
Abschluss
To reassemble your device, follow these instructions in reverse order.
