Einleitung
This is a guide to replace the microphone in the device. Make sure to follow all the steps correctly and handle with care.
Werkzeuge
-
-
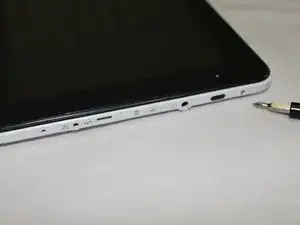
Using a J00 Phillips-head screwdriver, remove the two screws located at the bottom of the device.
-
-
-
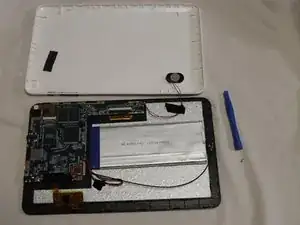
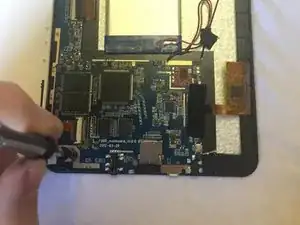
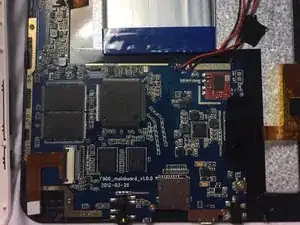
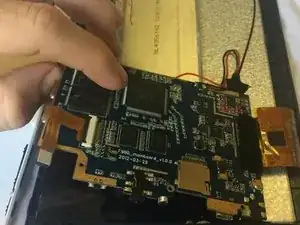
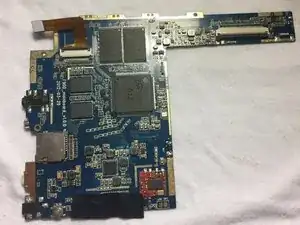
Using a +00 Phillips head screwdriver, remove the screws securing the motherboard to the device housing.
-
-
-
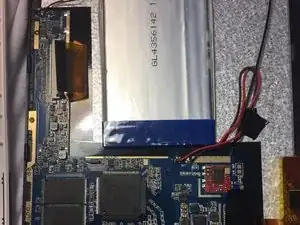
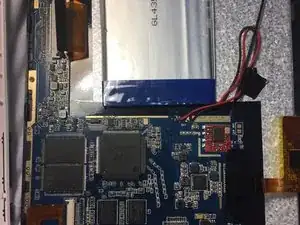
Desolder the two black and red wires connected to the motherboard.
-
Unclip and remove the ribbon cables attached to the motherboard.
-
-
-
Flip the motherboard over to bring the underside into view.
-
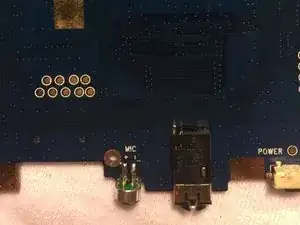
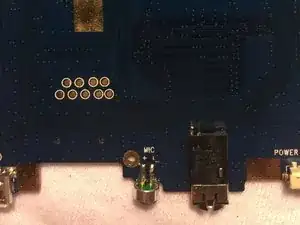
Find and desolder the microphone near the bottom of the motherboard and remove it.
-
Solder the new microphone in its place.
-
Abschluss
To reassemble your device, follow these instructions in reverse order.
