Einleitung

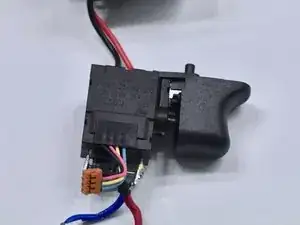
If you need to replace the trigger on your Milwaukee M18 cordless power drill (Model # 2606-20) see this guide on how to remove it. The trigger is what tells the drill to start moving when pulled. Some reasons to replace the trigger are if it is obstructed or it is not engaging. The final steps require some soldering, so see our How to Solder and Desolder Connections Guide for more information on soldering best practice.

  1. xqfiuFqru4XEJeNR
    xqfiuFqru4XEJeNR
    pOQq4VFyr2Gev1HX
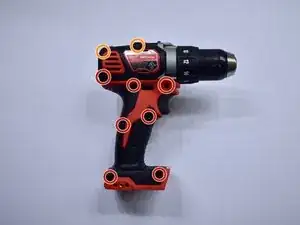
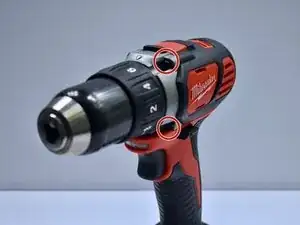
    • Remove the seven 18 mm screws, using the T3 Torx Screwdriver, from the handle area of the case.

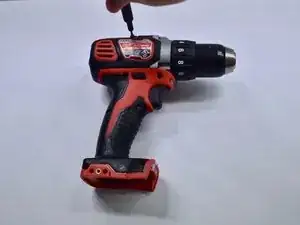
    • Remove the two 21 mm screws, using the T3 Torx Screwdriver, from the top of the case.

    Make sure to check all steps for end punctuation.

    Alex Watkins -

  2. RLxxQN4ubGHFItuP
    RLxxQN4ubGHFItuP
    1QKb2DbPYpecIQ1C
    V5yCOMB6W3xMmrQE
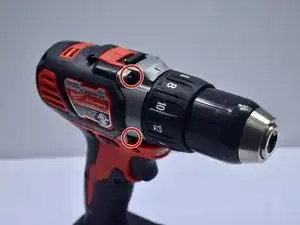
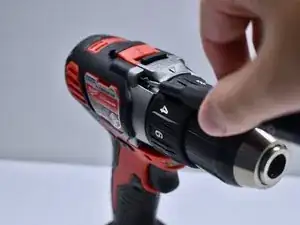
    • Remove the four 20 mm screws, using the T3 Torx Screwdriver, from the front of the case.

  3. XQgwuZsVhHPLDMie
    XQgwuZsVhHPLDMie
    GtWFeGCWJaAAeCOP
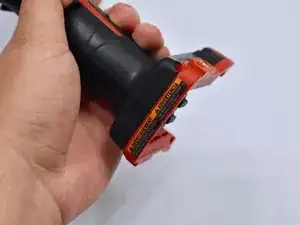
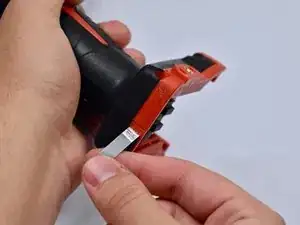
    • Peel back the sticker at the bottom of the drill handle.

  4. FHXF2ImMtJCsQmIB
    FHXF2ImMtJCsQmIB
    PfAp2eFETfQcANj6
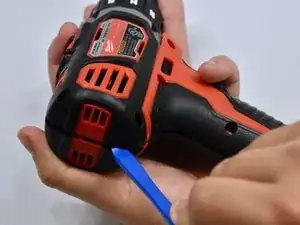
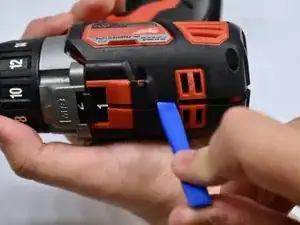
    • Open the case by sliding the opening tool all the way around the case to pry it apart.

  5. MAGLSWoGnrAtLZsi
    MAGLSWoGnrAtLZsi
    Q4dBFayDIFJ4Oadt
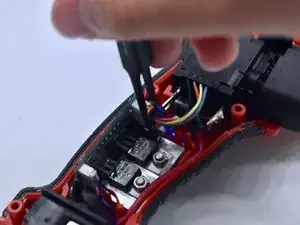
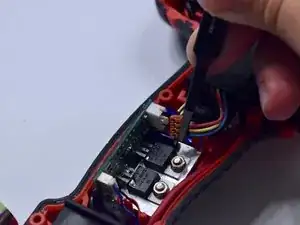
    • Unplug the 4-pin connector, using the tweezers, from the circuit board.

  6. NnuiXykJFbjB3daC
    NnuiXykJFbjB3daC
    p1CukjRDQj6ekLtC
    WZQLa3Xxo5TIjUKt
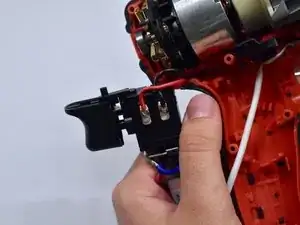
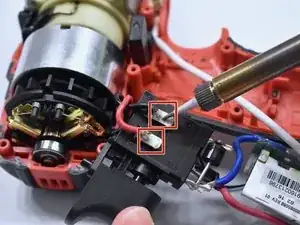
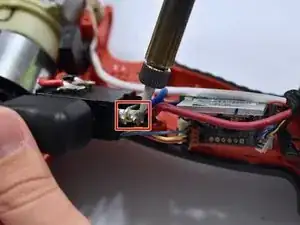
    • Desolder the wires soldered to the trigger.

Abschluss

To reassemble your device, follow these instructions in reverse order.
Markus Eldridge

Mitglied seit: 25/09/19

853 Reputation

0 Kommentare