Einleitung
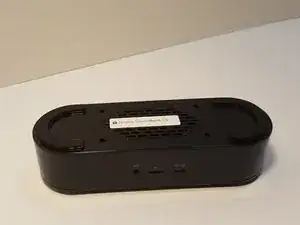
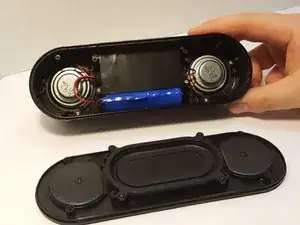
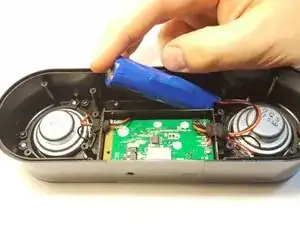
This guide provides step by step comprehensive method for the replacement of the motherboard from the speaker. unfortunately the battery is soldered into the motherboard via wires, therefore this replacement guide will be a bit more difficult than a normal battery replacement guide.
Werkzeuge
-
-
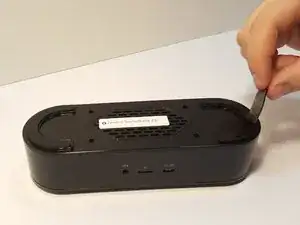
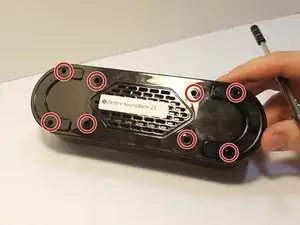
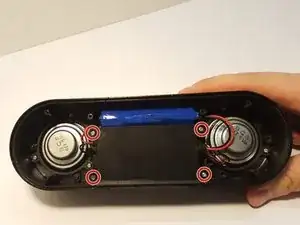
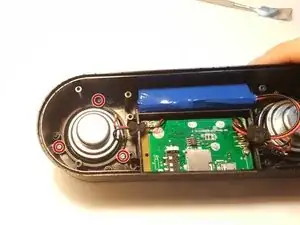
Remove the four 4.5 mm silver Phillips screws that secure the plastic panel covering the motherboard.
-
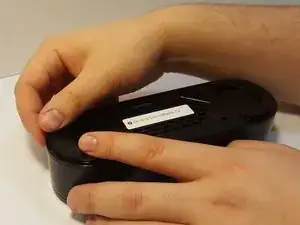
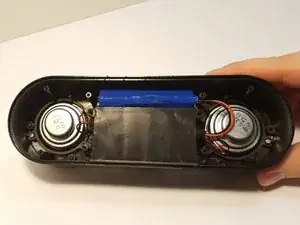
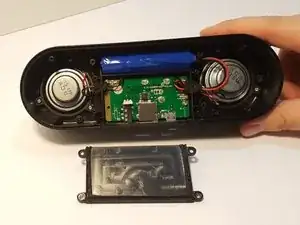
Remove the plastic panel.
-
-
-
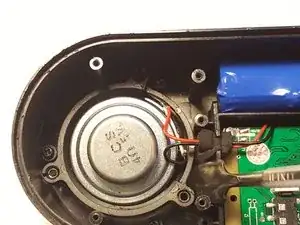
Remove the pressure-fitted foam from the slot by hand.
-
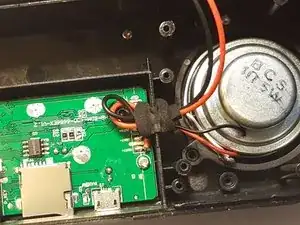
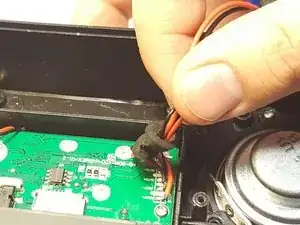
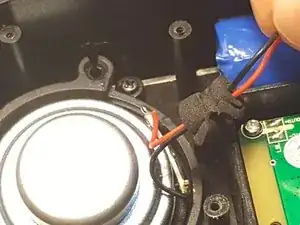
Unravel and remove foam from the wires.
-
-
-
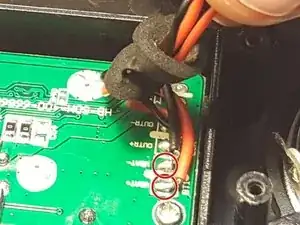
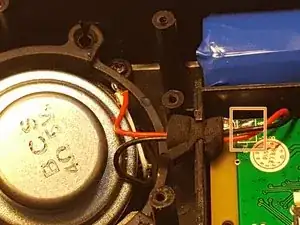
Desolder the speaker joints from the motherboard. Follow this How To Solder guide for help with desoldering.
-
-
-
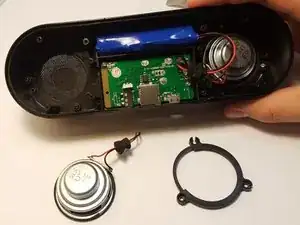
Remove the speaker from the motherboard.
-
Remove the speaker ring.
-
Repeat Steps 5-7 with the other speaker.
-
-
-
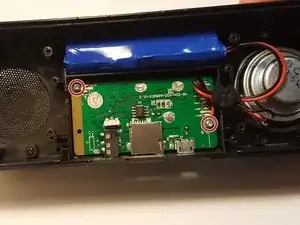
Remove these two 4.5 mm Philips silver screws holding down the motherboard.
-
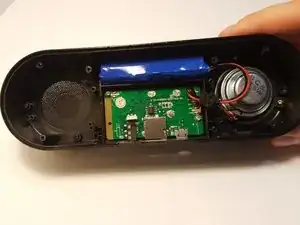
The motherboard should be able to be lifted right out of the housing.
-
-
-
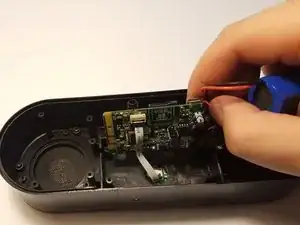
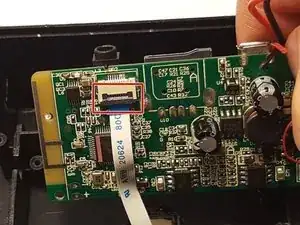
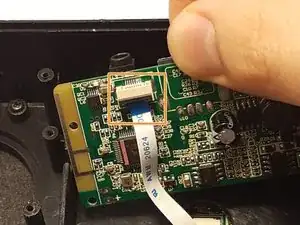
Using a spudger or plastic opening tool, lift flap on the ribbon cable ZIF connector.
-
Using a plastic pry tool or fine tip plastic tool to open the clamp.
-
Using the tool, try lifting the clamp up on either location, noted by the blue arrow.
-
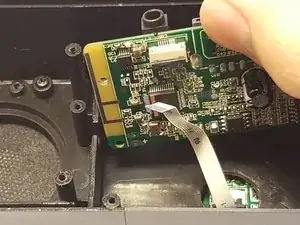
The ribbon should pop out, if not you should be able to slide it out from the clamp.
-
To reassemble your device, follow these instructions in reverse order.

