Einleitung
Diese Anleitung zeigt dir, wie du den Akku im Motorola Moto 360 der 2. Generation austauschen kannst. Die Teilenummern sind FW3S für das 42 mm Modell und FW3L für das 46 mm Modell.
Werkzeuge
Ersatzteile
-
-
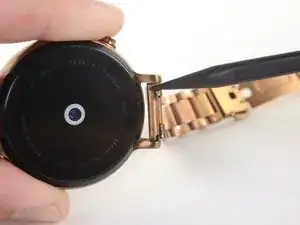
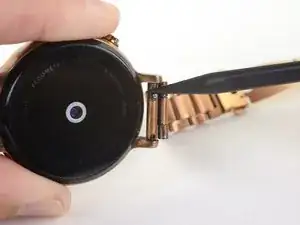
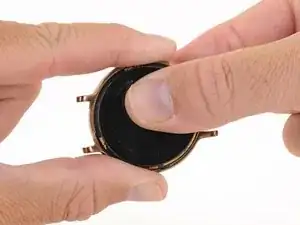
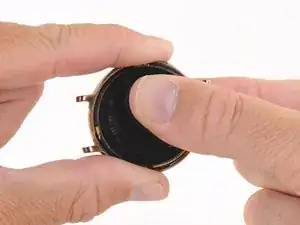
Drücke den Stift am Armband mit dem Finger oder der Spudgerspitze zusammen.
-
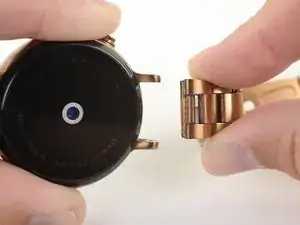
Wenn der Stift zusammengedrückt ist, lässt sich das Armband entfernen.
-
-
-
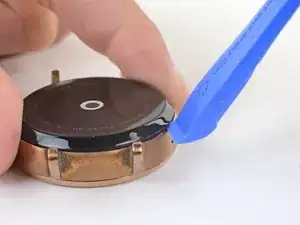
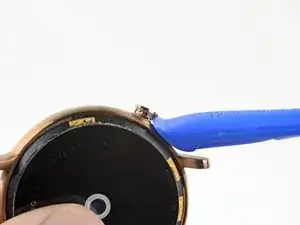
Setze ein Öffnungswerkzeug in die Einbuchtung bei der Mikrofonöffnung ein.
-
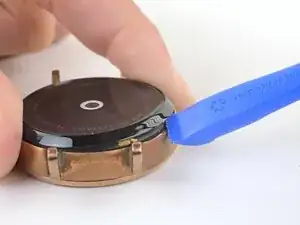
Schiebe das Öffnungswerkzeug um den ganzen Zierring herum, wobei du leicht nach oben hebelst, um den Kleber aufzuschneiden, mit dem der Ring an der Uhr befestigt ist.
-
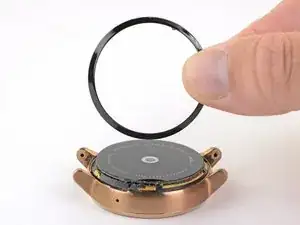
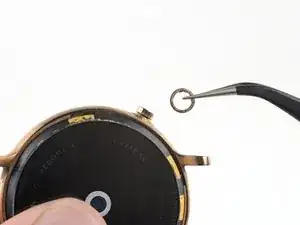
Entferne den Zierring.
-
-
-
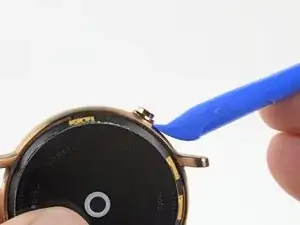
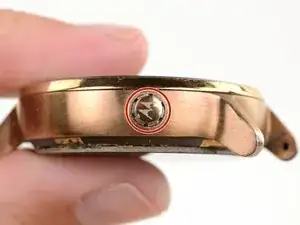
Heble den Zierring an der Taste langsam mit einem Öffnungswerkzeug gerade nach oben ab.
-
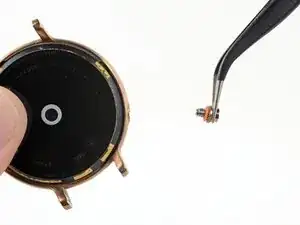
Entferne den Zierring.
-
-
-
Halte das äußere Gehäuse fest und drehe die innere Einheit der Uhr im Uhrzeigersinn, bis es nicht mehr geht.
-
-
-
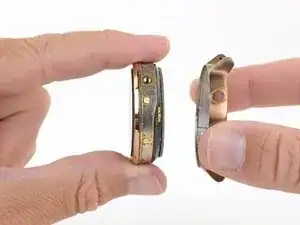
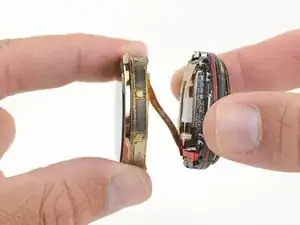
Halte das äußere Gehäuse gut fest und drücke gegen die Unterseite der inneren Einheit, so dass sie sich vom Rahmen löst.
-
-
-
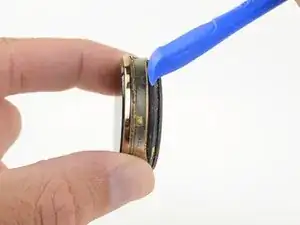
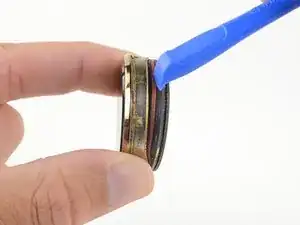
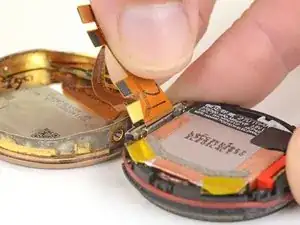
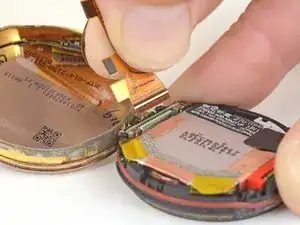
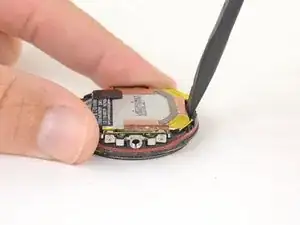
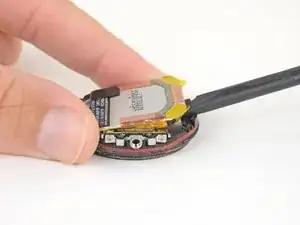
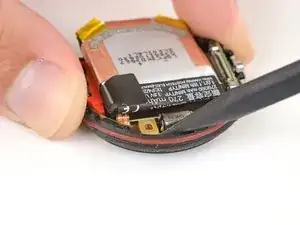
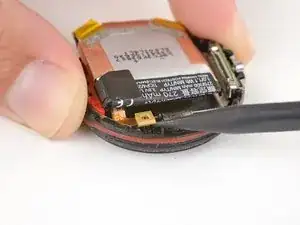
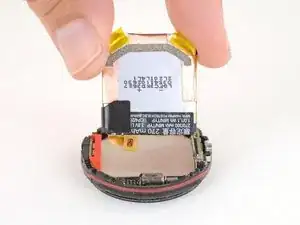
Heble die untere Einheit aus Plastik mit einem Fingernagel oder einem Öffnungswerkzeug vom Display weg
-
-
-
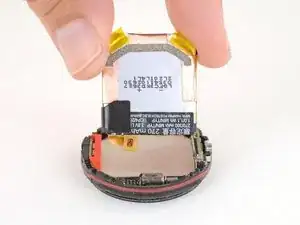
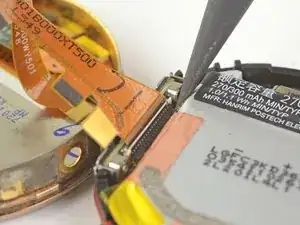
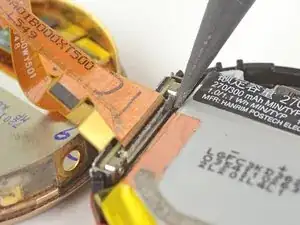
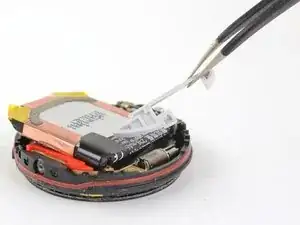
Entferne den kleinen Gummistreifen zwischen dem Akku und dem ZIF-Verbinder des Displays mit einer Pinzette.
-
Um dein Gerät wieder zusammenzusetzen, folge den Schritten in umgekehrter Reihenfolge.
26 Kommentare
Hi,
bei mir hat die Anleitung zu 100 % gepasst.
Meine Moto läuft nun wieder mit neuem Akku.
thomas01 -
Just went through with this. Had a few comments/suggestions for anyone trying this:
Step 1
- I moistened a small hand towel (you could probably use a paperwork) and microwaved it. I put it in a ziplock bag and it worked fine.
Step 2
- I only had two small flat head screw drivers (from an electronics repair kit.) I used one to pry near the microphone then worked the other around. The adhesive is a strip so it may come off on the ring in some areas and the watch body on others. At the end I scraped it from the body and reapplied it to the ring and it seemed to work well when I reassembled.
Step 3
- My watch had a gold ring and I couldn’t find a way to remove it at first. I ended up just using my smallest flat head and got underneath it to pry it off. Went pretty fast after that.
Ben -
We’ve updated this guide with better photos and instructions. Thank you for your comments and suggestions!
Step 3 (continued)
- As for removing the button, use a small flat head and place it at an angle in one of the spanner sockets. Then gentle tap the end with another object to loosen the screw. Once loosened, it unscrewed pretty easily by using one screw driver.
Step 4
- Similar to step 2, I inserted one then walked one around the outside gentle prying out the innards. Slipping the flat head between the gasket and the inside of the body takes some finesse but once you get about half way around it’s not too bad.
- The innards have a lip that runs around 2/3 the way around that goes under a lip on the body. I found this the most challenging part on removing and reinserting the innards. Just use a screw driver to pry away the body and then use a second to push in the innards. It takes some work. I tore a few parts of the gasket so I don’t think i’ll be swimming with this anymore, but the ring (first step) gives a decent seal against sweat and moisture.
Ben -
