Einleitung
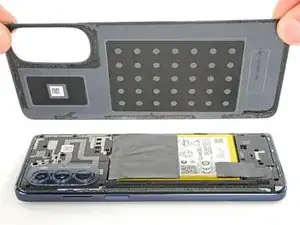
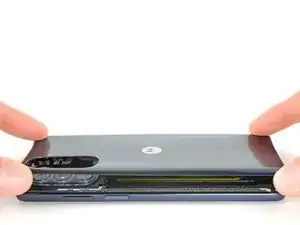
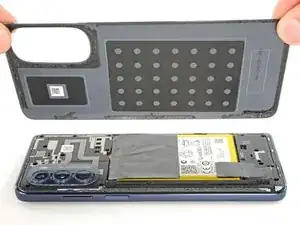
Use this guide to open your 2022 Motorola Moto G Stylus 5G by removing and replacing the back cover.
Werkzeuge
Ersatzteile
-
-
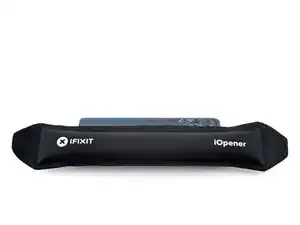
Heat an iOpener and apply it to the edge of the back cover with the SIM card slot for two minutes.
-
-
-
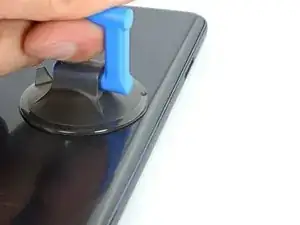
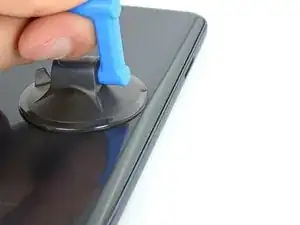
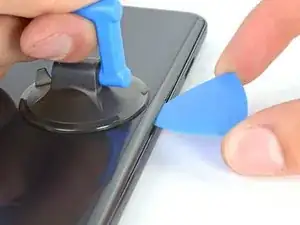
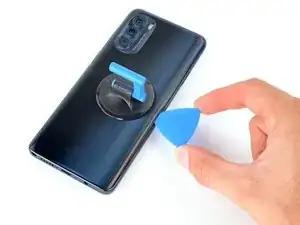
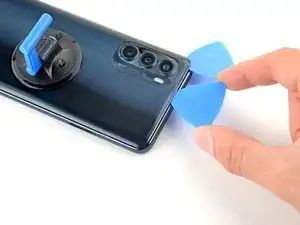
Apply a suction cup to the back cover, as close to the center of the right edge as possible.
-
Pull up on the suction cup with strong, steady force to create a gap between the cover and the frame.
-
Insert an opening pick into the gap.
-
-
-
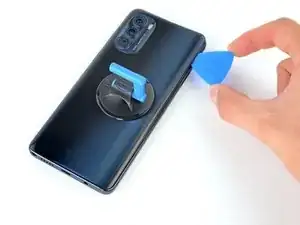
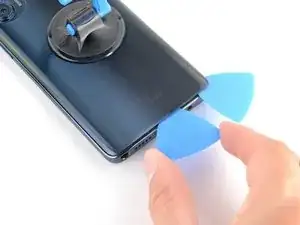
Slide your opening pick back and forth along the right edge to slice through the adhesive.
-
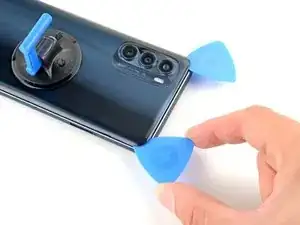
Leave the pick in at the bottom right corner to prevent the adhesive from resealing.
-
-
-
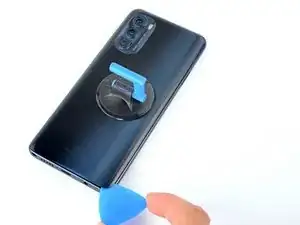
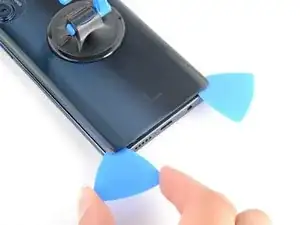
Insert a second opening pick into the bottom right corner.
-
Slide this opening pick along the bottom edge to the bottom left corner to slice through the adhesive.
-
Leave the pick inserted to prevent the bottom edge from resealing.
-
-
-
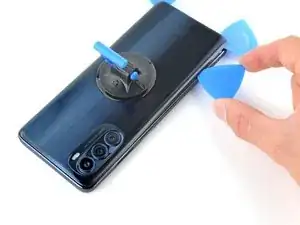
Insert a third opening pick into the bottom right corner.
-
Slide this opening pick along the left edge to slice the adhesive.
-
Leave the pick inserted in the top left corner to prevent the left edge from resealing.
-
-
-
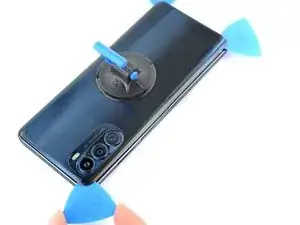
Insert a fourth pick into the top left corner.
-
Slide the pick to the top right corner to slice the top adhesive.
-
-
-
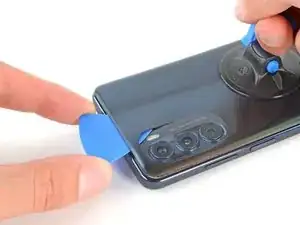
Slide an opening pick between the camera bezel and the back cover.
-
Slide the opening pick around the camera bezel to separate the back cover from the frame.
-
-
-
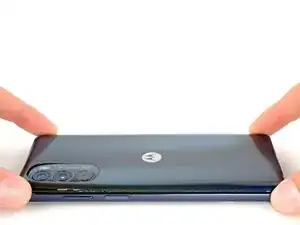
Grab and remove the back cover by lifting it away from the phone.
-
To adhere the back cover with custom-cut adhesives, follow this guide.
-
To adhere the back cover with tape, follow this guide.
-
To reassemble your device, follow these instructions in reverse order.
Take your e-waste to an R2 or e-Stewards certified recycler.
Repair didn’t go as planned? Try some basic troubleshooting, or ask our Answers community for help.
