Einleitung
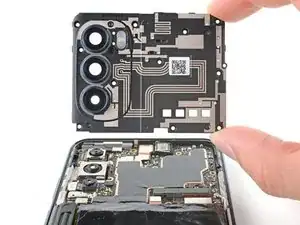
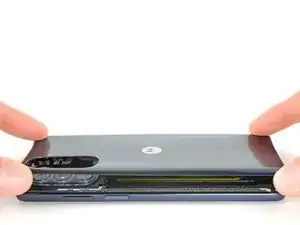
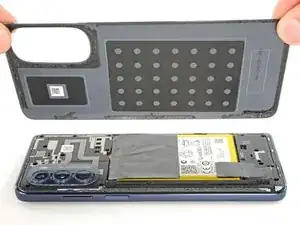
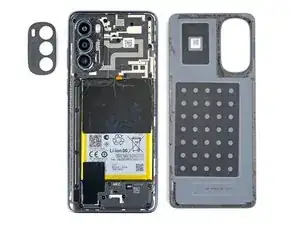
Use this guide to remove and replace the motherboard cover in your 2022 Motorola Moto G Stylus 5G.
This part includes the LED flash unit, NFC antenna, and camera lens covers. Although not demonstrated in this guide, the camera lens covers can be removed with heat and prying.
Werkzeuge
-
-
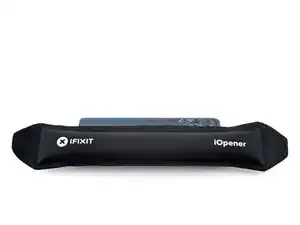
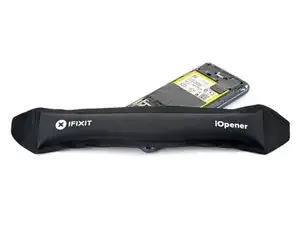
Heat an iOpener and apply it to the edge of the back cover with the SIM card slot for two minutes.
-
-
-
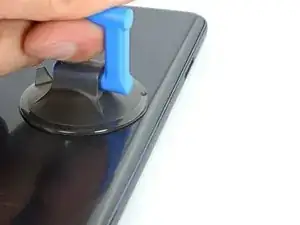
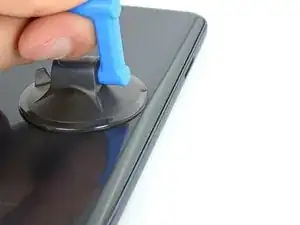
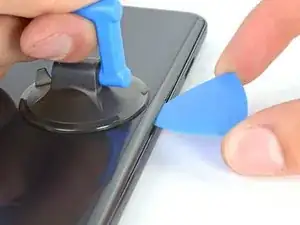
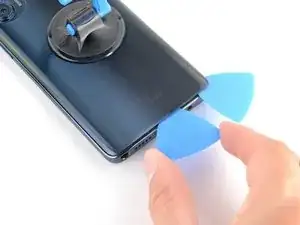
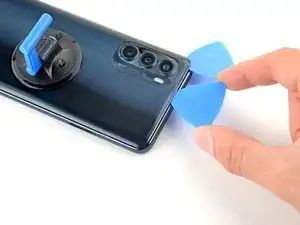
Apply a suction cup to the back cover, as close to the center of the right edge as possible.
-
Pull up on the suction cup with strong, steady force to create a gap between the cover and the frame.
-
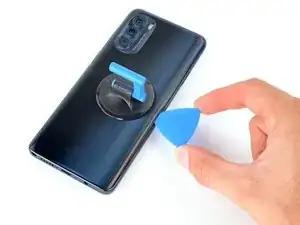
Insert an opening pick into the gap.
-
-
-
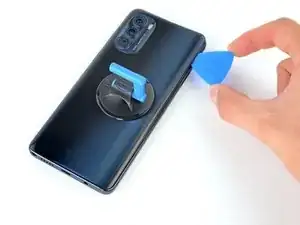
Slide your opening pick back and forth along the right edge to slice through the adhesive.
-
Leave the pick in at the bottom right corner to prevent the adhesive from resealing.
-
-
-
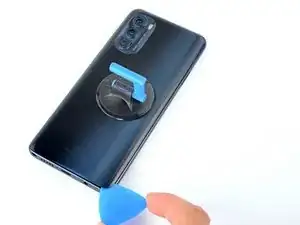
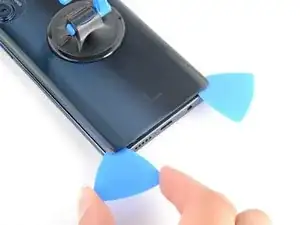
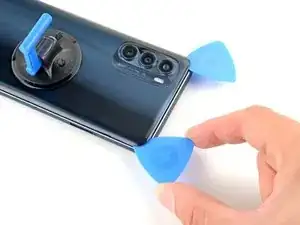
Insert a second opening pick into the bottom right corner.
-
Slide this opening pick along the bottom edge to the bottom left corner to slice through the adhesive.
-
Leave the pick inserted to prevent the bottom edge from resealing.
-
-
-
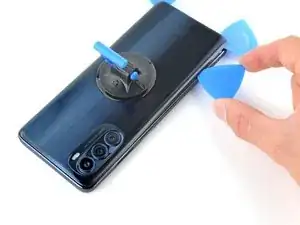
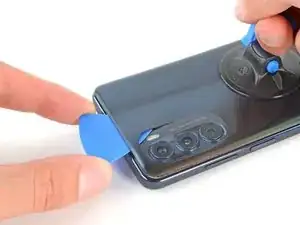
Insert a third opening pick into the bottom right corner.
-
Slide this opening pick along the left edge to slice the adhesive.
-
Leave the pick inserted in the top left corner to prevent the left edge from resealing.
-
-
-
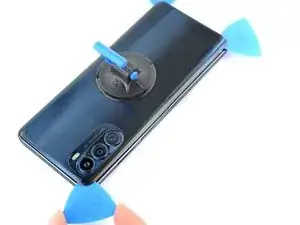
Insert a fourth pick into the top left corner.
-
Slide the pick to the top right corner to slice the top adhesive.
-
-
-
Slide an opening pick between the camera bezel and the back cover.
-
Slide the opening pick around the camera bezel to separate the back cover from the frame.
-
-
-
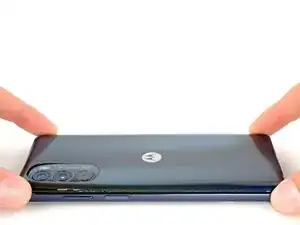
Grab and remove the back cover by lifting it away from the phone.
-
To adhere the back cover with custom-cut adhesives, follow this guide.
-
To adhere the back cover with tape, follow this guide.
-
-
-
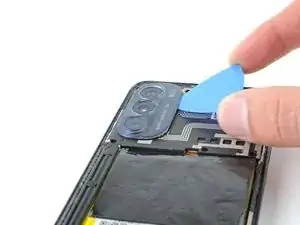
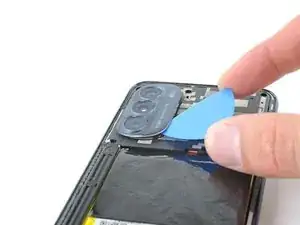
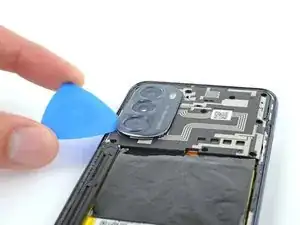
Insert an opening pick under the camera bezel.
-
Slide the pick around the perimeter of the bezel to slice the adhesive.
-
-
-
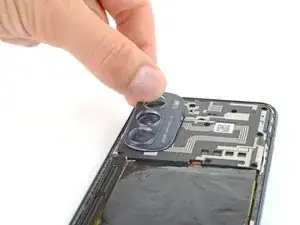
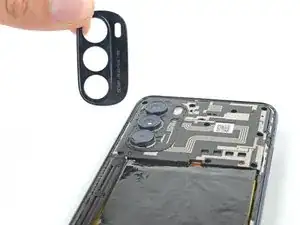
Grab and remove the camera bezel.
-
This is a good point to test your phone before sealing it up. Follow this guide to perform a hardware test. Be sure to power your phone back down completely before you continue working.
-
To adhere the camera bezel with custom-cut adhesives, follow this guide.
-
To adhere the camera bezel with tape, follow this guide.
-
-
-
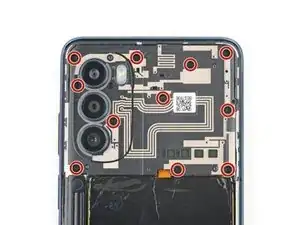
Use a Phillips screwdriver to remove the eleven 4.1 mm-long screws securing the motherboard cover.
-
-
-
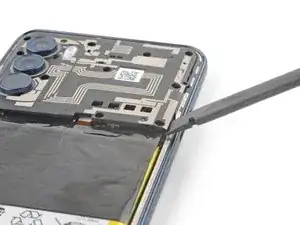
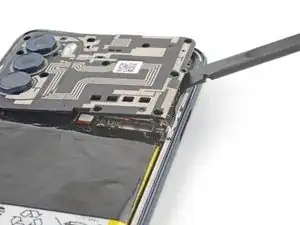
Insert a spudger between the bottom right corner of the cover and the frame.
-
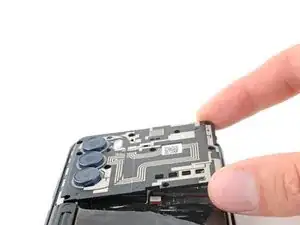
Pry up to release the clips securing the cover.
-
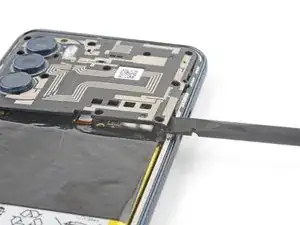
Slide the spudger toward the top of the cover and pry to release the right edge.
-
To reassemble your device, follow these instructions in reverse order.
Take your e-waste to an R2 or e-Stewards certified recycler.
Repair didn’t go as planned? Try some basic troubleshooting, or ask our Answers community for help.
