Einleitung

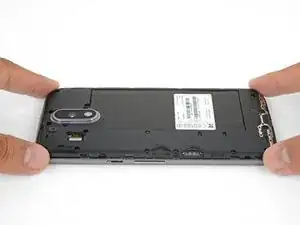
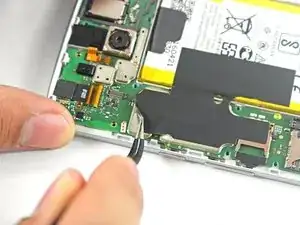
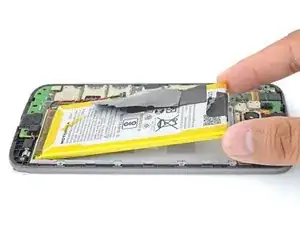
This guide will walk you through the process of replacing the volume buttons in a Motorola Moto G4 Plus phone.

  1. lxT1UwKFgURyGcaK
    lxT1UwKFgURyGcaK
    1jye2DaRjg6xaoVK
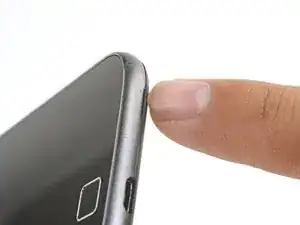
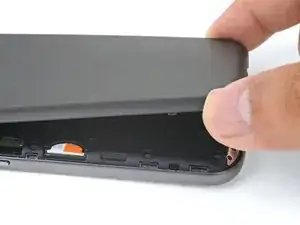
    • Insert a fingernail or a spudger into the notch on bottom edge of the phone near the charging port.

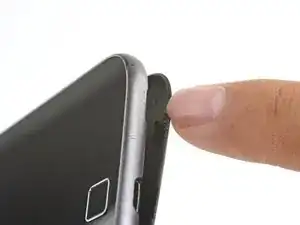
    • Pry the back cover away from the body of the phone.

  2. bYe3O62W1Wt2gtmv
    bYe3O62W1Wt2gtmv
    ZRw4LGhEDAptG1C1
    GYFrkRTtyKQlEd4B
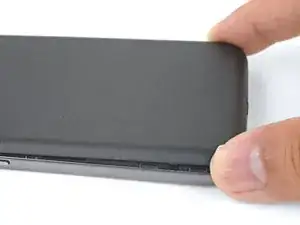
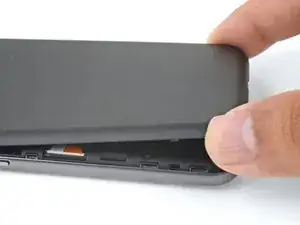
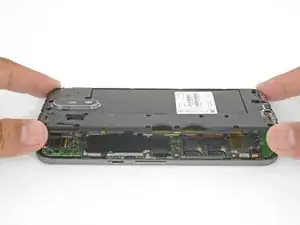
    • Continue to gently lift the back cover until all plastic clips have been released.

    • Remove the back cover.

    • To reinstall the back cover, align the cover over the body and gently press all around the edges until you feel the clips snap into place.

  3. MaIl6GDNwMyW3grX
    MaIl6GDNwMyW3grX
    GW6DOBihck1UBAjI
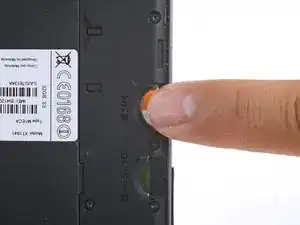
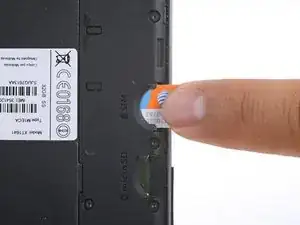
    • Slide out and remove the SIM card.

    Tenho un Motorola g4 plus 64 G

    El celular se volvía loco abriendo y cerrando aplicaciones

    Ahora no reconoce la tarjeta SIM

    Internet y Wasapp funciona

    Alguien sabe donde lo reparan soy de Argentina Buenos Aires CABA

    Florencia Garrido -

  4. Y2bjMadRQCjPq6bx
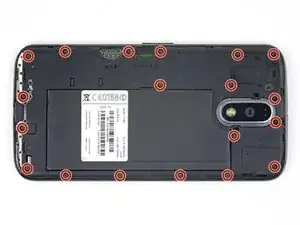
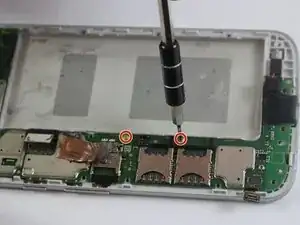
    • Remove the nineteen 3.1 mm T3 screws securing the midframe.

    A pair of binocular magnifiers is helpful here. Also, a magnetic pickup will help pull the tiny screws out of their counterbores.

    John Fossey -

    Well I'm stuck. 3 screw heads are stripped on mine, not lucky as they are two on USB port end and screw in-between two SIM slots. Phone bought new and this is 1st time screws have been touched, could see they were already stripped before getting screwdriver near them. Any tips on removing stripped screws?

    Mark Wintle -

    Hi Mark,

    I’m sorry to hear that! You can try some techniques from the stripped screw guide.

    Arthur Shi -

  5. GWhTNtKHDQJSDPMj
    GWhTNtKHDQJSDPMj
    NHQGAZWDKlNcbEPB
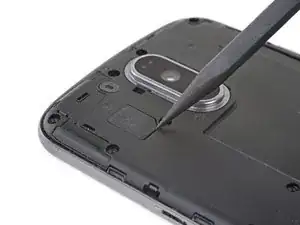
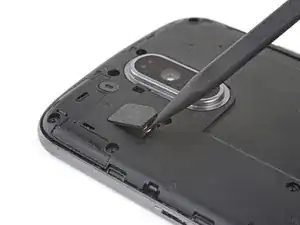
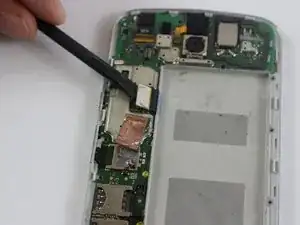
    • Use the point of a spudger to pry up the rubber cover over the camera flash connector.

    • Remove the rubber cover.

  6. OJ5Fd4d5Z2XoxdSJ
    OJ5Fd4d5Z2XoxdSJ
    jgbdAx6g5ACgeNYZ
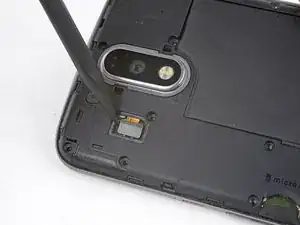
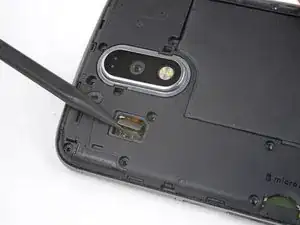
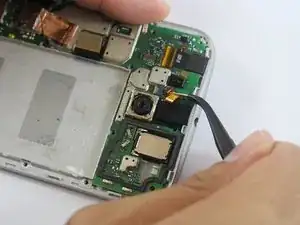
    • Use the point of a spudger to pry up and disconnect the camera flash connector.

  7. W32KIcqo5YIFpbJE
    W32KIcqo5YIFpbJE
    BvV2RE33Xg4YIrS2
    XyJnRSGqnQMNF6GM
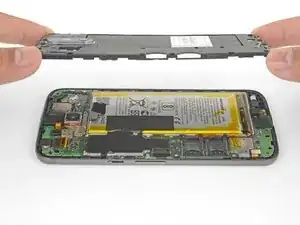
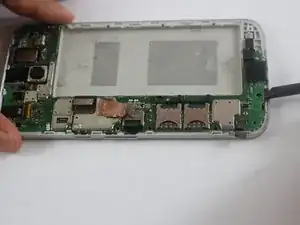
    • Loosen the midframe along the edges and lift it away from the body.

    • Remove the midframe.

  8. cKHNL1FamCU5dnJR
    cKHNL1FamCU5dnJR
    gtZvU3O3HOCkIVVa
    • Be very careful not to puncture the battery with any sharp tools. A damaged lithium-ion battery can catch fire and/or explode.

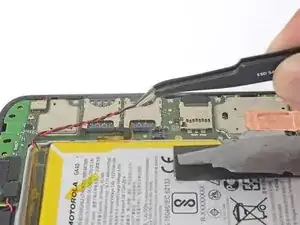
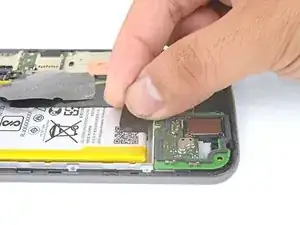
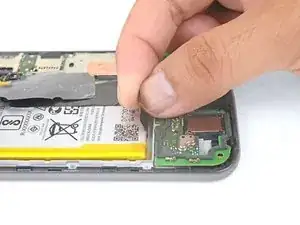
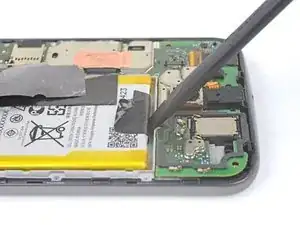
    • Peel up and remove the tape securing the battery wires.

    • Peel up and remove the black tape that bridges the battery and the phone.

    • While neither tape pieces are necessary for the operation of the phone, save them if they are in good condition for the reinstallation process.

  9. Bfp1NnsXcvWBibdD
    Bfp1NnsXcvWBibdD
    4dnSoBQCeltW12NK
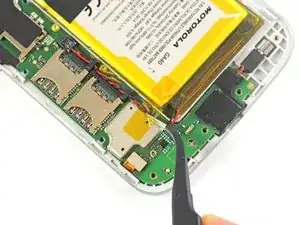
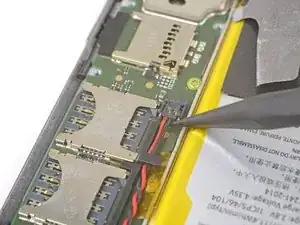
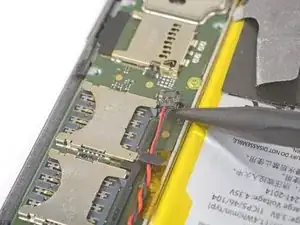
    • Slip the point of a spudger underneath the red and black battery wires and gently pry straight up.

    • Do not pull the plug out, or you will tear the board socket out. Be careful where you pry. Do not pry against the board socket.

    • During reassembly, align the connector in its socket, then press straight down to reconnect it.

  10. nt22DOKrSYEXRwXJ
    nt22DOKrSYEXRwXJ
    jKLniTeXpWZsqVEH
    • Use tweezers or your fingers to de-route the battery wires from the plastic brackets.

  11. ZKWAJrj2tjMODGja
    ZKWAJrj2tjMODGja
    jGKF3XeKMqHHDGOB
    y1OsQoSImBTLGvGG
    • Peel the black pull tab from battery and pull slowly but firmly to separate the battery from the frame.

    • A few drops of high concentration (90% or higher) isopropyl alcohol along each side may help soften the adhesive.

    • If the pull tab breaks, use a spudger to gently pry around the edges of the battery until it comes loose.

    • Don't deform or puncture the battery—it can catch fire and/or explode if damaged.

    • Never reinstall a damaged or deformed battery. Replace the battery.

    Does anybody know, what the black tape covering the metal cans an the battey is made of? It seems to have a heat insulating effect.

    David Kilias -

    No, but the tape completely separated from itself when I removed it. Glue separated from the backing. I figure the glue in the frame is holding it well enough.

    Alan Kristensen -

    I found prying the battery out was the trickiest part of this job. Take your time and pry with the plastic tool, working from the end away from the wires, but try not to deform the battery in the process. It does finally come out.

    John Fossey -

    Hi, I cannot remove the Battery, it has too strong glue. Any Ideas?

    Regards

    Moritz Strack -

    You can try to drip some high concentration isopropyl alcohol along the battery edge to help loosen the adhesive.

    Arthur Shi -

  12. ehBg24hidmq3SD3u
    • Remove the battery.

    • To install a battery, orient the new battery such that the wires exit near the bottom of the phone, and the battery connector is on the motherboard side.

    • Clean off any adhesive residue which may prevent the battery from sitting flush against the frame. Use a few strips of adhesive included in the battery kit or some double-sided tape to secure the battery to the frame.

  13. p4fRxIsKcN5bmuoQ
    p4fRxIsKcN5bmuoQ
    BCYZ5IEo4CGE2MG5
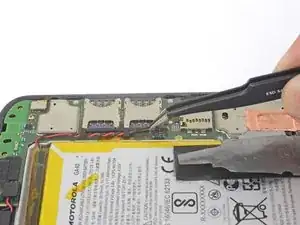
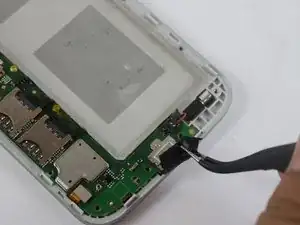
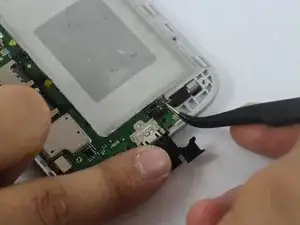
    • Using tweezers, lift up the black silicon piece connecting the motherboard to the front casing.

    • Using tweezers, remove the red and black cable connecting the motherboard to the front casing.

  14. c6FsARJNLpZiqUTq
    c6FsARJNLpZiqUTq
    nB5MvPLFiFpXUYTP
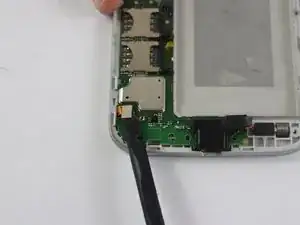
    • Using a spudger, remove the two metal pieces connecting the motherboard to the front casing.

    What is the purpose of that metal piece that is connected to the motherboard on the bottom left-hand side.

    Rondre Weaver -

    Its for the fingerprint scanner (only on the G4 Plus)

    bob fredderson -

  15. UMDnFDv1addyiwGN
    • Using tweezers, remove the yellow film connecting the rear camera to the motherboard.

    • The film is connected by an adhesive, so it may take some jostling to remove.

  16. 44XYAJVIKjYAKFKZ
    • Remove two 4.0 mm T3 Torx screws connecting the motherboard to the front casing.

  17. hIxbeNsBurhjjfGI
    • Using a spudger, lift up and remove the motherboard.

  18. f5xvW2Iptj1qA16W
    • Using tweezers, remove the volume buttons.

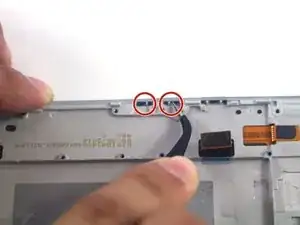
    To remove the buttons all that you have to do is push the little silver things in the red circles outwards (along the direction that the buttons move). I could already see them once the midframe was removed (step 7). I only realized this once I got here (step 18), but would it not be possible to skip steps 8 to 17 if all that you are doing is replacing the button(s)?

    Additionally the button that I wanted to replace (power button) had already fallen out. Putting the new button into place only requires pushing it in from the outside, so in this case no disassembly should be required at all. (I ended up replacing volume button, which did have to be pushed out, the battery and camera lens cover too so the above steps were still useful for me though).

    Nevenoe Guegan -

Abschluss

To reassemble your device, follow these instructions in reverse order.
Sami Taha

Mitglied seit: 20/02/17

151 Reputation

0 Kommentare