Einleitung
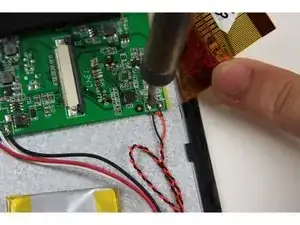
Use this guide to replace a broken speaker.This replacement guide requires a Soldering Iron, it would be very helpful to heat the iron up before starting this guide, this process can take 3-4 minutes. You should refer to iFixit's soldering guide to help with the desoldering/soldering process.
Werkzeuge
-
-
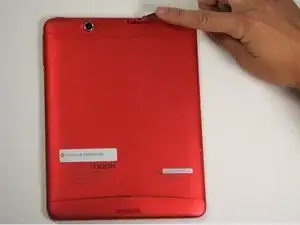
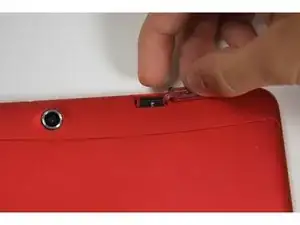
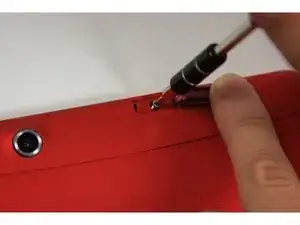
Using your finger, open the plastic tab to the right of the rear-facing camera.
-
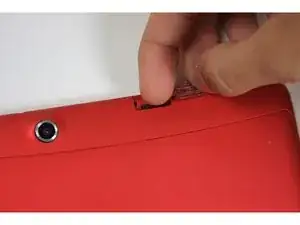
Wedge your fingernail in between the back panel and the plastic tab and pull the plastic tab towards your body.
-
-
-
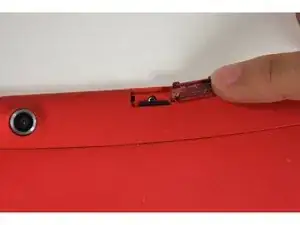
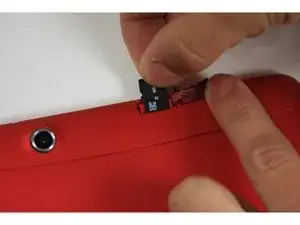
Using your finger, remove the SD card by pressing down on top of it (toward the bottom of the device) until you hear a clicking sound.
-
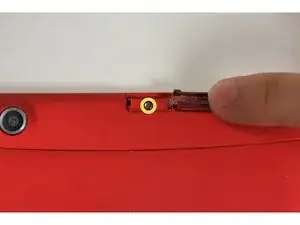
Once the card pops out, use your finger to pull the card completely out of the SD card slot.
-
-
-
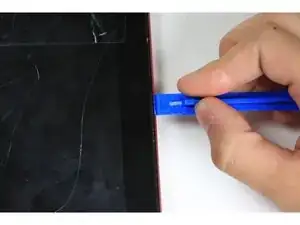
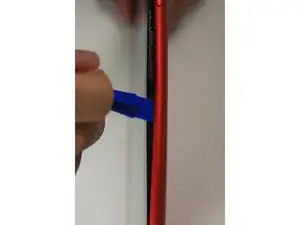
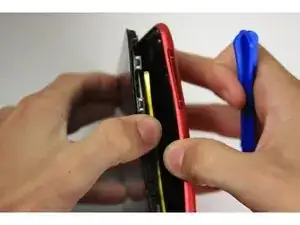
Use the plastic opening tool to separate the back panel by carefully sliding the narrow end of the tool between the front glass and back panel.
-
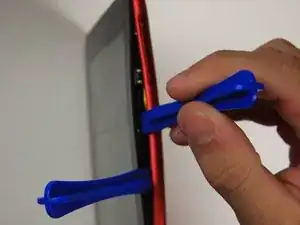
Use a second plastic opening tool to help pry the front glass from the back panel.
-
-
-
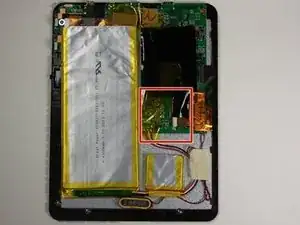
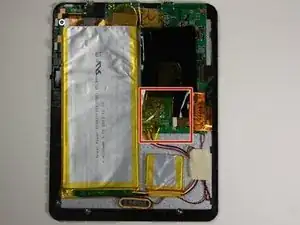
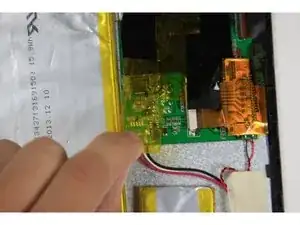
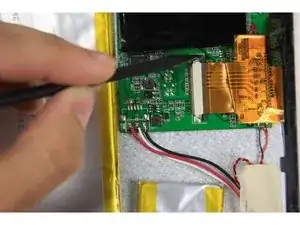
Using the sharp end of the spudger, release the black latches on both sides of the white ribbon connector by pushing them to the right (out away from the center of the device).
-
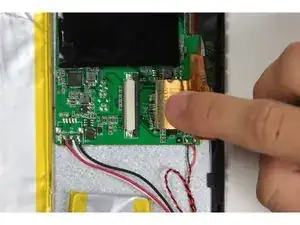
Using your finger, disconnect the gold ribbon from the white ribbon connector.
-
-
-
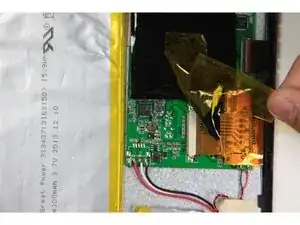
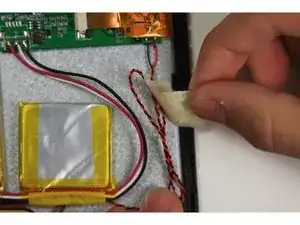
Remove the masking tape covering black and red wires that connect the speaker to the right side of the bottom of the motherboard.
-
-
-
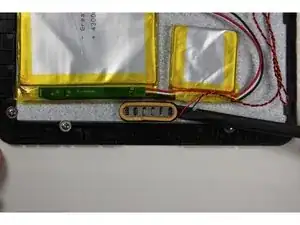
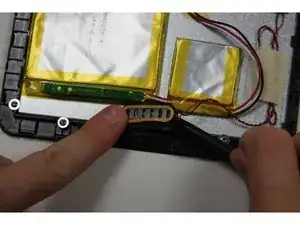
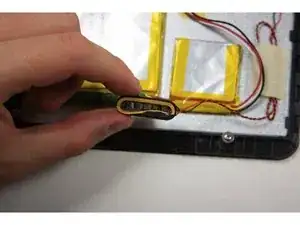
Using the flat end of the spudger, remove the speaker from the device by sliding the spudger underneath the speaker.
-
To reassemble your device, follow these instructions in reverse order.


jhtrtih0rthk[riiyih0riyihtri0okhi00rtiyro-yiy0iy[oytrkoih0it
9turiyrithjhtohtitujhtprit0ryryt9it[thohotjhri0-trhjirt-nm otjhphyuhjr0i trirt-t
jtiophkr
Aaron carlin -