Einleitung
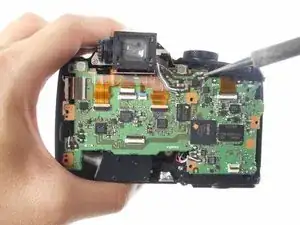
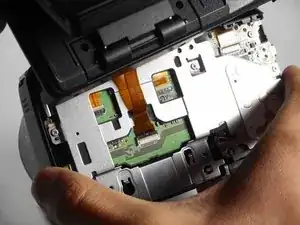
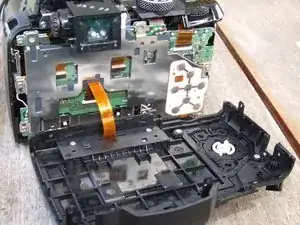
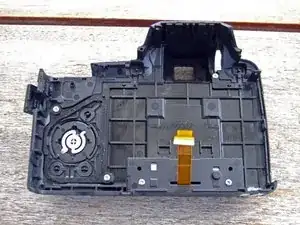
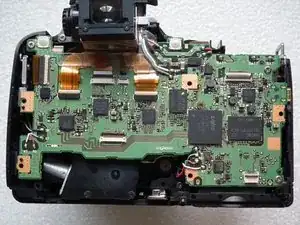
If the camera powers on but does not function properly (refuses to take pictures, fails to navigate the memory card, prevents access to settings, etc.), you may need to replace the motherboard.
Werkzeuge
-
-
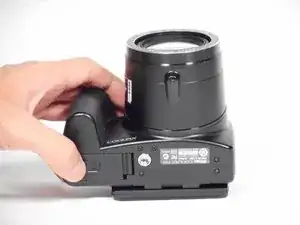
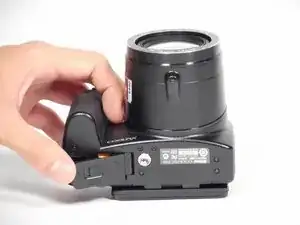
Use your finger to push the notch of the compartment door to the center of the camera body.
-
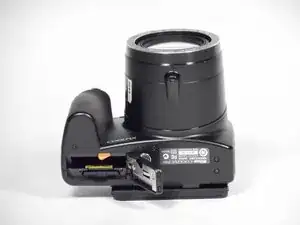
Release the compartment door, and it will swing open.
-
Remove the existing battery with your fingers.
-
-
-
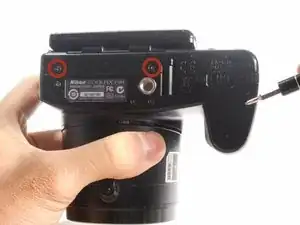
Remove both 4.5 mm screws holding the bottom into place.
-
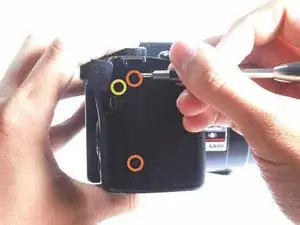
Remove both 4.5 mm screws holding the side into place.
-
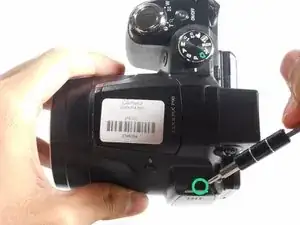
Remove the 4.5 mm screw underneath the A/V flap.
-
Remove the 4.0 mm screw on the left-side wrist strap loop.
-
-
-
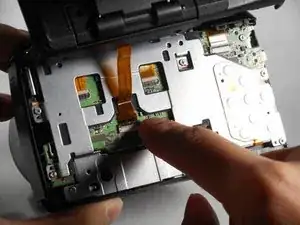
Press your finger on the top of the latch and pull it down and towards you to open the safety latch and free the ribbon.
-
Slide the ribbon out from its socket.
-
-
-
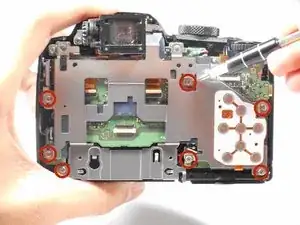
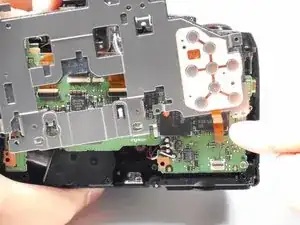
Remove the seven 4.0 mm screws that connect the metal plate to the motherboard.
-
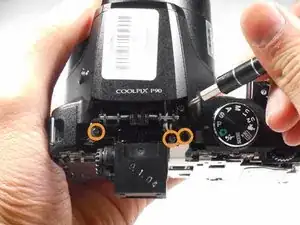
Remove the three 4.0 mm screws that connect the metal hinges to the camera body.
-
-
-
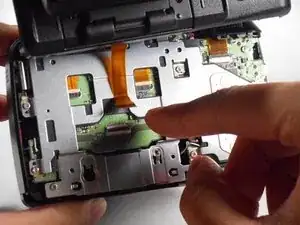
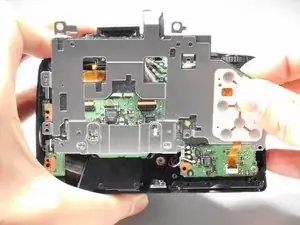
Press your finger on the top of the latch and pull it down and towards you to open the safety latch and free the ribbon.
-
Slide the ribbon out from its socket.
-
-
-
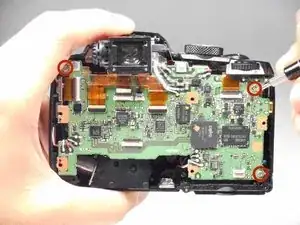
Using a Phillips #000 Precision Screwdriver, remove the three 3.0 mm screws from the motherboard.
-
-
-
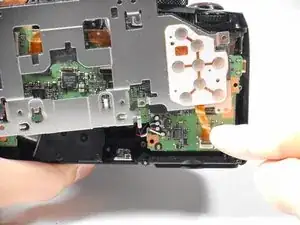
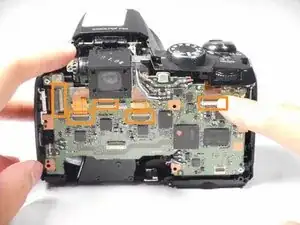
Press your finger on the top of the latches and pull them down and toward you to open the safety latches and free the five data transfer ribbons.
-
Slide the five ribbons out from their sockets.
-
To reassemble your device, follow these instructions in reverse order.
2 Kommentare
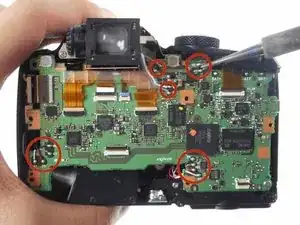
By the way on step 10, you show the soldering iron right beside the "RD" red wire near top middle which should be discharged before you get the shitfuckpiss scared out of you and drop your soldering iron in your lap. There's gotta be several thousand volts on that connection, I discharged it with alligator clips to ground after going through my fingers a couple times (before finding which one it was) about 6 times and it was extremely bright and loud. PS. My arm is numb at least to my elbows on this one! ...and I might need a new pair of pants, from either the $@$*, !#^&, or soldering iron. :(
Xexorian -
Can a torn ribbon be fixed??
