Einleitung
The LCD unit is the main component of the digital display on the D5100. This guide will teach you how to remove and replace it.
Werkzeuge
-
-
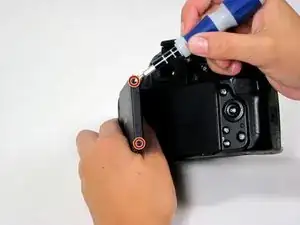
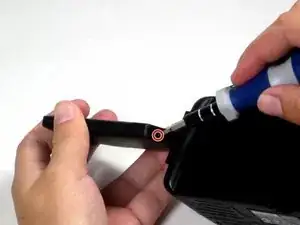
Use a Phillips #000 screwdriver to remove the four screws around the perimeter of the LCD panel.
-
-
-
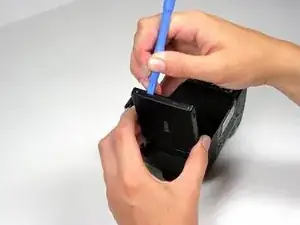
Using a fingernail or the flat edge of a spudger inserted into the seam, separate the LCD bevel from the main panel body.
-
-
-
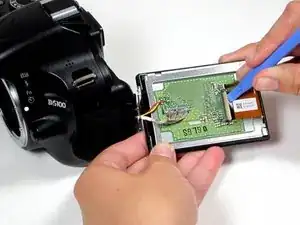
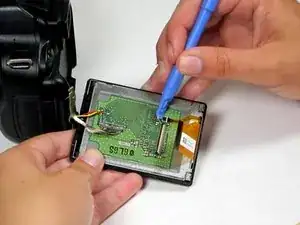
Use a spudger to remove the ribbon cables on the LCD's circuit board by flipping up their plastic lock-bars and removing gently pulling them out of their ports.
-
-
-
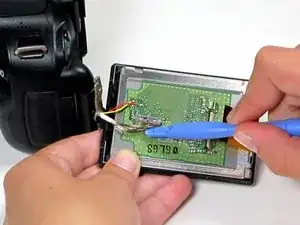
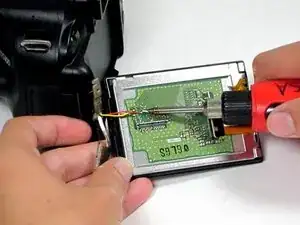
Use a spudger to disconnect the 16-pin cable by gently pulling it upward, away from the circuit board, until it is removed from its port.
-
-
-
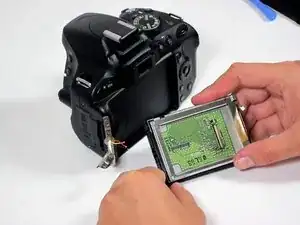
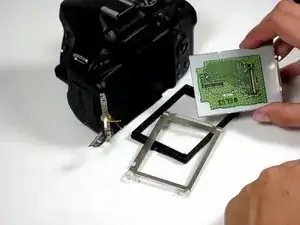
The LCD assembly can now be fully separated from the main camera body.
-
Remove the plastic bezel and metal bracket from the LCD itself to complete the removal process.
-
To reassemble your device, follow these instructions in reverse order.
6 Kommentare
Thank you so much! My camera was dropped . And yelow and black wires came off. Now i will try to fix it.
What is the functions of these wires?
Ilia -
Thanks for this Liz.
Removing the broken LCD from my Nikon D5100 seems like something I can do now!
I am unsure ?how to do the soldering bit to attach the new LCD, ?where to attach the wires...
Any help is welcome
I was able to fix it, thanks to you guys. But the colors that came on the, LCD are weird. At least I can see the image.
It’s very possible that applying the soldering iron to the board, while still attached to the back, caused the LCD to lose its color alignment and darken the display. I made the same mistake.
Franky -
Possible "000" (smaller than "00") size screw driver. My 00 was too big.
Peter XYZ -