Einleitung
Ersetze das Steuerkreuz deiner 3DS, um wieder alle Bewegungsmöglichkeiten zu erhalten.
Werkzeuge
-
-
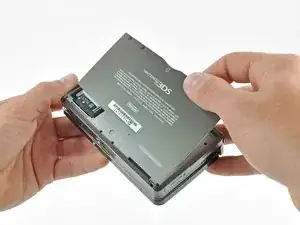
Fasse den oberen Rand der Rückabdeckung mit der anderen Hand, so dass sie nicht wieder zurück fallen kann.
-
Ziehe die Rückabdeckung vom Gerät weg und entferne sie.
-
-
-
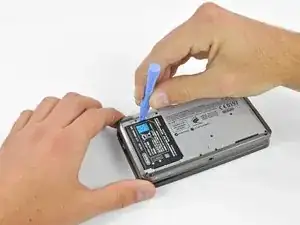
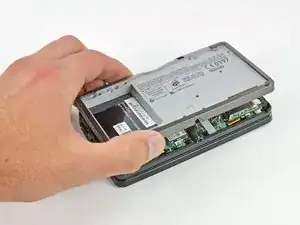
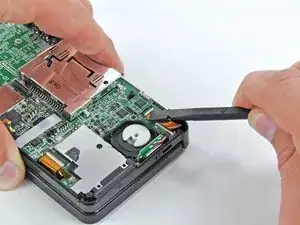
Setze ein Plastiköffnungswerkzeug in die Vertiefung im unteren Gehäuse über dem Akku ein.
-
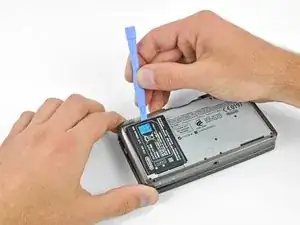
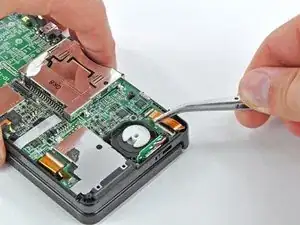
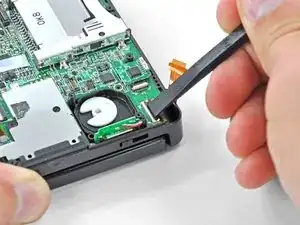
Heble den Akku mit dem Plastiköffnungswerkzeug hoch.
-
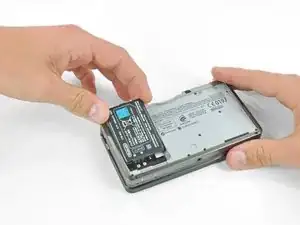
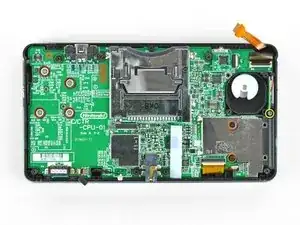
Fasse den Akku am oberen Rand an und hebe ihn aus dem unteren Gehäuse.
-
-
-
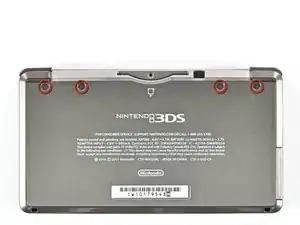
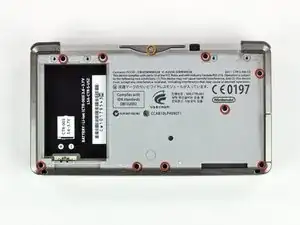
Entferne die neun schwarzen 6,3 mm Kreuzschlitzschrauben vom Gehäuseunterteil.
-
Entferne die silberfarbene 2,4 mm Schraube über dem Einschub für die Cartridge.
-
-
-
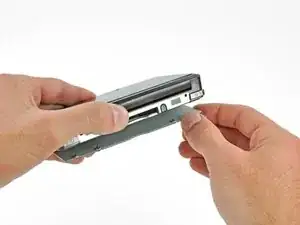
Hebe die Unterkante des Gehäuseunterteils vom restlichen 3DS weg.
-
Löse die Flachbandkabel der Seitentasten mit einem Plastiköffnungswerkzeug aus ihren Anschlüssen auf der Hauptplatine.
-
Entferne das Gehäuseunterteil vom Gerät.
-
-
-
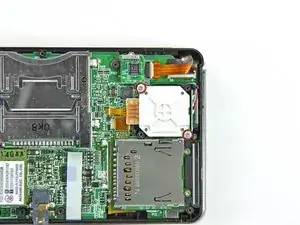
Entferne die beiden 7,7 mm Kreuzschlitzschrauben, welche die Rückseite des Schiebepads an der Hauptplatine befestigen.
-
-
-
Heble die Rückseite des Schiebepads mit dem flachen Ende eines Spudgers von der Hauptplatine weg.
-
Hebe den Joystick des Schiebepads von der Hauptplatine weg und lege ihn auf seine Rückseite, so dass der Verbinder des Flachbandkabels zugänglich ist.
-
-
-
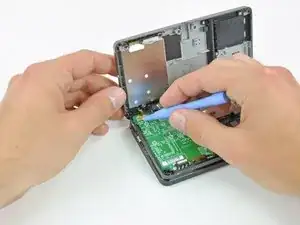
Klappe den Sicherungsbügel am ZIF Anschluss des Flachbandkabels zum Schiebepad mit dem Fingernagel oder dem flachen Ende des Spudgers hoch.
-
Hebe den Joystick des Schiebepads von der Hauptplatine weg.
-
-
-
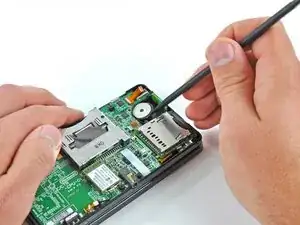
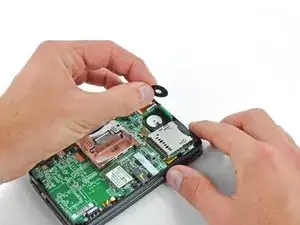
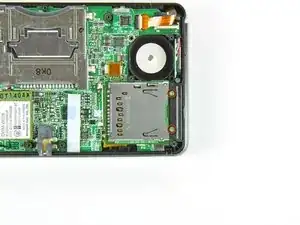
Hebe die beiden Scheiben mit einem Spudgers oder einem Schraubendreher hoch und entferne sie aus dem Gerät.
-
-
-
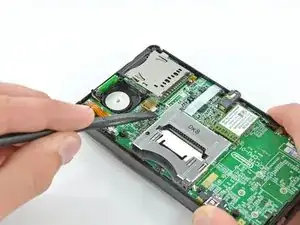
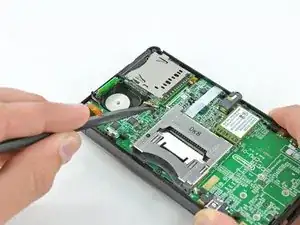
Entferne die beiden 4,5 mm Kreuzschlitzschrauben, welche den SD Kartenleser am Motherboard befestigen.
-
-
-
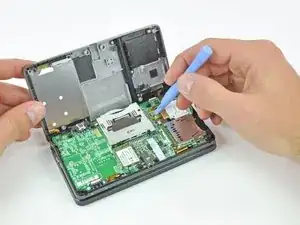
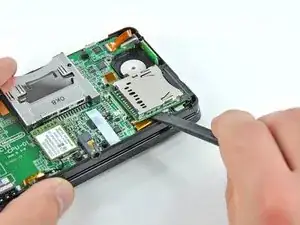
Heble den Stecker am Flachbandkabel zum SD Kartenleser mit dem flachen Ende des Spudgers aus seinem Anschluss auf der Hauptplatine.
-
-
-
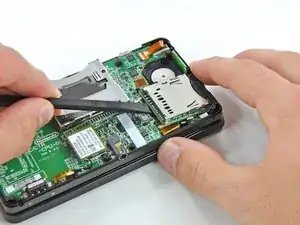
Setze das flache Ende des Spudgers zwischen SD Kartenleser und Hauptplatine ein.
-
Lasse den Spudger an den Seiten des SD Kartenlesers entlang laufen, damit er sich vom Klebeband darunter löst.
-
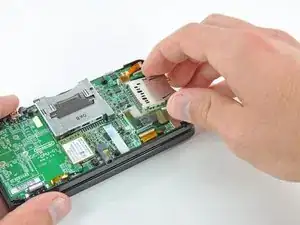
Wenn er abgelöst ist, dann hebe den SD Kartenleser gerade von der Hauptplatine weg.
-
-
-
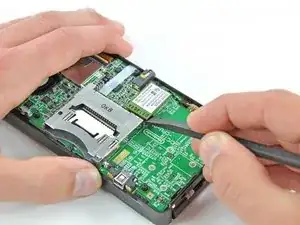
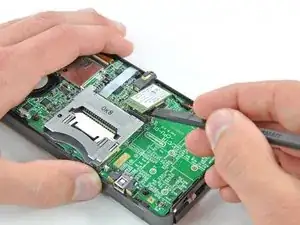
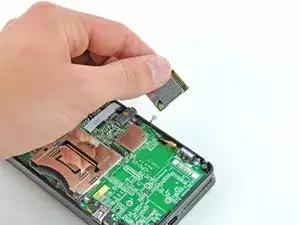
Schiebe das flache Ende des Spudgers unter die Ecke der Wi-Fi Karte und hebe sie von der Hauptplatine weg.
-
-
-
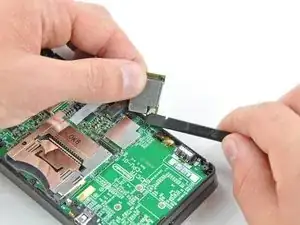
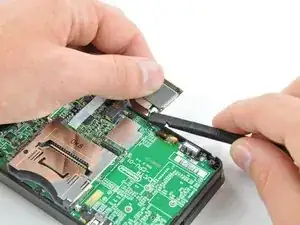
Heble den Stecker am Wi-Fi Antennenkabel mit dem flachen Ende des Spudgers aus dem Anschluss auf der Wi-Fi Karte.
-
Entferne die Wi-Fi Karte aus dem Gerät.
-
-
-
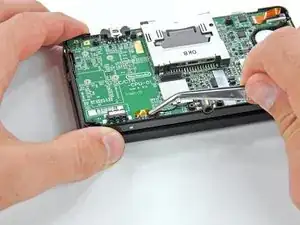
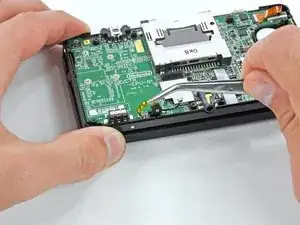
Fasse das Flachbandkabel zum Mikrofon mit einer Pinzette in der Nähe des Mikrofons an.
-
Ziehe das Mikrofon gerade aus dem Gehäuseoberteil heraus.
-
-
-
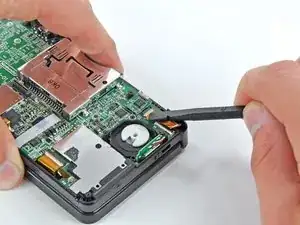
Klappe den Sicherungsbügel am ZIF Anschluss der Lautsprechereinheit mit dem flachen Ende des Spudgers oder dem Fingernagel hoch.
-
Löse das Flachbandkabel zur Lautsprechereinheit mit einer Pinzette ab.
-
-
-
Klappe den Sicherungsbügel am ZIF Anschluss des Flachbandkabels zur Kamera mit dem flachen Ende des Spudgers oder dem Fingernagel hoch.
-
-
-
Entferne sieben Kreuzschlitzschrauben, welche die Hauptplatine am oberen Gehäuse befestigen:
-
Vier goldfarbene 2,5 mm Schrauben
-
Zwei schwarze 3,5 mm Schrauben
-
Eine silberfarbene 2,5 mm Schraube
-
Hebe den Rand der Hauptplatine an, der sich an der Unterkante des 3DS befindet.
-
-
-
Klappe den Sicherungsbügel am ZIF Anschluss des Flachbandkabels zum LCD mit dem flachen Ende des Spudgers oder dem Fingernagel hoch.
-
-
-
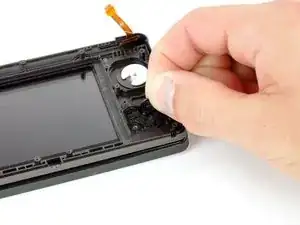
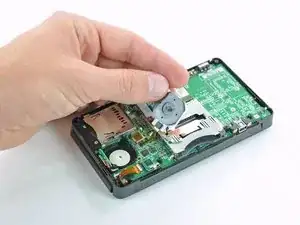
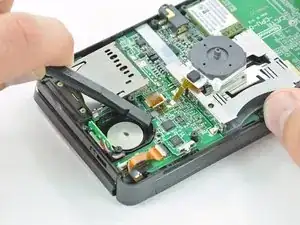
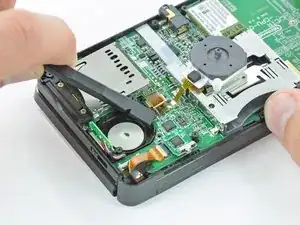
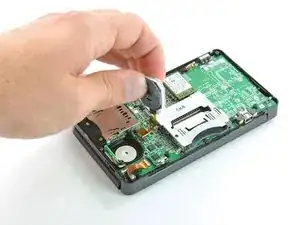
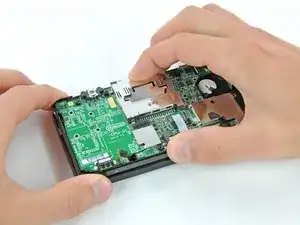
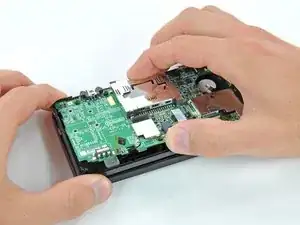
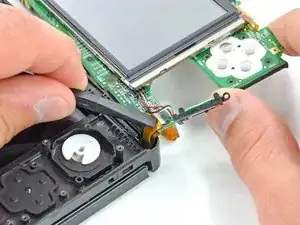
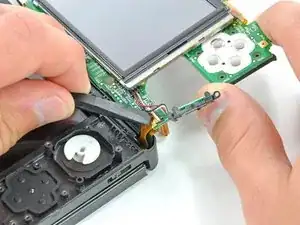
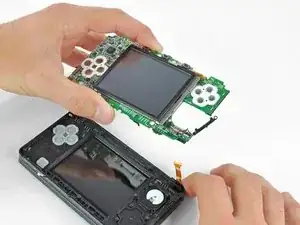
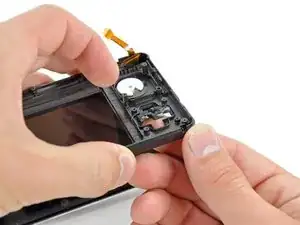
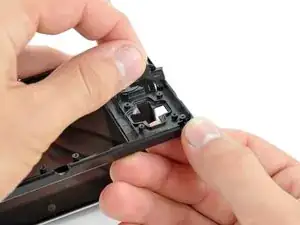
Drücke das Steuerkreuz mit den Fingern durch die Öffnung im Gehäuseoberteil nach oben.
-
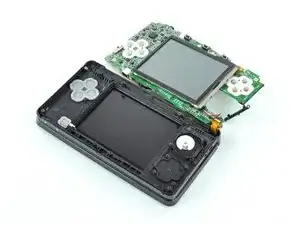
Entferne das Steuerkreuz.
-
Um dein Gerät wieder zusammenzusetzen, folge den Schritten in umgekehrter Reihenfolge.




#00 screwdriver is too big... probably need a #000
thomascroguennec -
#00 will work - but you must press down firmly and sort of jerk the screw out a few degrees at a time. If you don't press firmly, the screws strip very easily. Using #000 will strip the screws more easily.
Tai -
I used a #0 without any issues and 0 stripped. I used the #0 for all screws internally and externally. The head was sharp and I applied adequate amounts of pressure when loosening the screw.
Ben Kevan -
The correct screwdriver should be a JIS, or you can get a screwdriver specific for the 3DS from other sites for less than $2
Oscar -
do you have to buy it
deeznuts -
Where would I buy a screwdriver specifically for the 3DS? Also would it work on the DS? I need to replace the battery for my DS.
Caitlin Lumsden -
I used Phillips #000 and it worked like a charm, i need to order a new SD board or do you guys think i should send it. What happened is that it got water damaged and everything works fine when i opened it everything looked fine no signs of water corrosion everything on the 3DS works exept it always give me a message saying the SD card is locked and i know for a fact it isnt locked i already tried using 3 different SD cards and none of them are lock protected and yes they are formatted as well. I need help
Leo Torres -
there's a switch on the SD card, switch it and it will be unlocked again. it happened to me once too.
Bagel -
david hodson you are incredible. literally all you need to do is heat the screen up and pry it off and you make them take apart the whole thing
melody -
You've done this?
magykmaster -
I have to ask the same question. If just the glass display is broken, and you're heating it up to remove the glass, is it really necessary to remove everything? Doesn't like like it is necessary
Wade -
I just did it your way and it went fine. didnt even have to remove the battery. This is incredible misstep on the authors part.
patrick -
only take out the screen for a motherboard removal? Are you using the wrong guide or was this guide used for two different repairs?
Reed Deemer -
I used a PH0x50, but it wasn't easy.
John -
This may be a dumb question but where do I buy the 3DS upper screen?
John -
eBay... Just do a search for the 3DS Upper screen. $9.49 & it comes with the tools.
Gary Darnell -
The LCD screen I ordered came with all the tools I needed except a pair of tweezers. All in all it was about $14.00 and a little bit of my time.
Gary Darnell -
Does anyone know where I can find the right bumper button for a 3ds? I can't find it on ebay must of damaged it playing smash bros.
Steven Castro Parrilla -
Really wish I had read the comments first... How about instead of the warning saying to press down hardly and go slow, you say to use the correct screwdriver size like others mentioned in the comments. I not only stripped multiple screws, even after putting a glove on for more pressure, I bent my screwdriver from pressing down so hard. Granted it's a cheap jeweler's kit screwdriver, but it still would've been nice to not have that problem and be informed of the right size in the first place.
hockeymorgan35 -
Got my tools one day after ordering, as I live a couple hours away from the supplier, Will post again when i try guide.
nintendokakashi -
I tried doing this with a #00 Philips but it just didn't turn
Acrobatic Mars01 -
Hello there, I need some assistance I have done a full housing replacement I have everything working except the 3d slider . The 3D option is always on can someone let me know which flex it is or what I am forgetting . Thanks guys !
Noe Ibarra -
The 3D light lets you know there is a 3D option available for the current game you’re playing. Usually, it is always on, except when you’re playing a game that doesn’t support 3D. Turning the 3D slider off does not turn off the 3D LED.
Scott D -
I've always been lucky with these four, and at the time it was my first disassembly so I didn't know what stripping a screw was!
FarmYard Gaming -
These screws don't strip easily, however, the screws at step 4 do.
TheBlueInkling -