Einleitung
This is a prerequisite-only guide! This guide is part of another procedure and is not meant to be used alone.
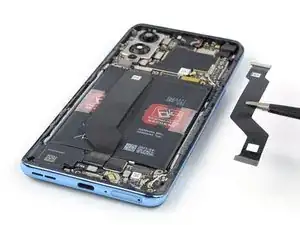
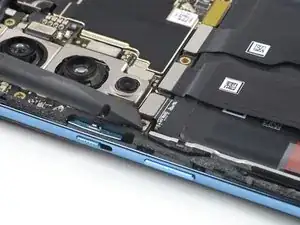
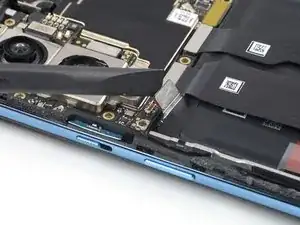
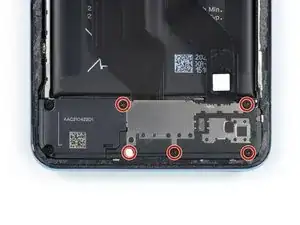
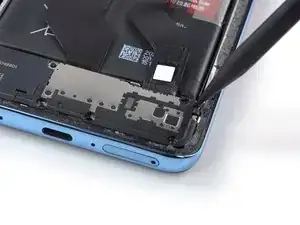
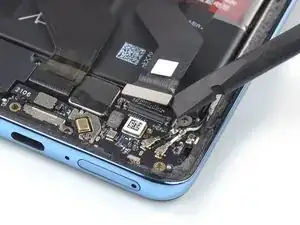
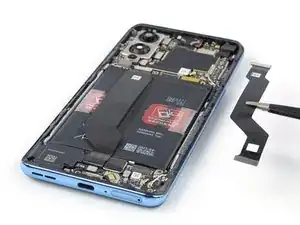
Use this guide to remove the interconnect cable in the OnePlus 9 5G.
Note: Retaining water resistance after the repair will depend on how well you reapply the adhesive, but your device will lose its IP (Ingress Protection) rating. However only the T-Mobile version of the OnePlus 9 5G offers an IP rating.
Werkzeuge
Ersatzteile
-
-
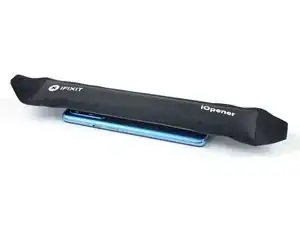
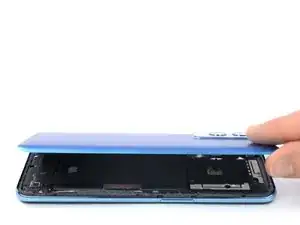
Prepare an iOpener and apply it to the rear glass for at least three minutes to loosen the adhesive underneath.
-
-
-
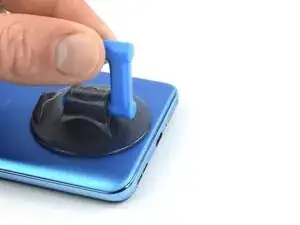
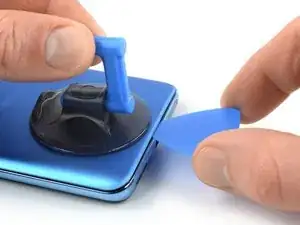
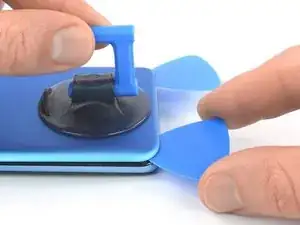
Apply a suction handle to the rear glass, as close to the bottom edge as possible.
-
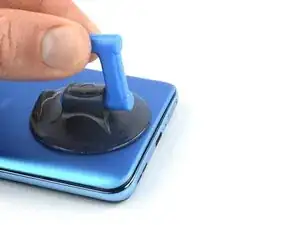
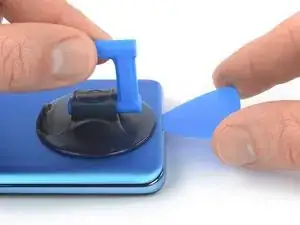
Pull up on the suction handle with strong, steady force to create a gap between the glass and the frame.
-
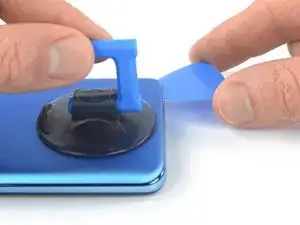
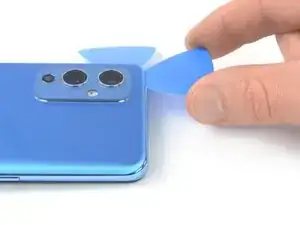
Insert an opening pick into the gap.
-
-
-
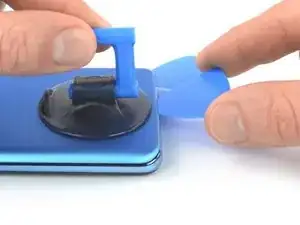
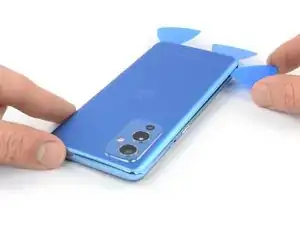
Slide the opening pick to the bottom right corner to slice the adhesive.
-
Leave the opening pick in place to prevent the adhesive from resealing.
-
-
-
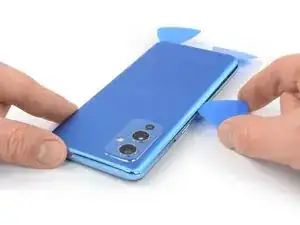
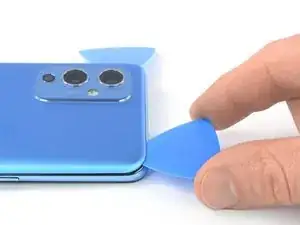
Insert a second opening pick underneath the bottom edge of the rear glass.
-
Slide the opening pick to the bottom left corner to slice the adhesive.
-
Leave the opening picks in place to prevent the adhesive from resealing.
-
-
-
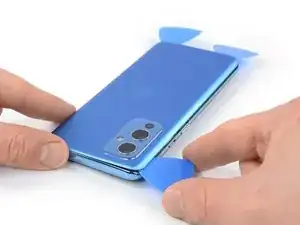
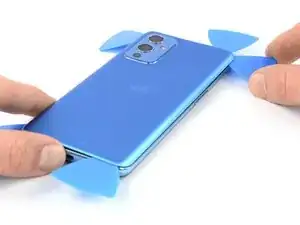
Insert a third opening pick underneath the bottom left corner of the rear glass.
-
Slide the opening pick along the left edge of your phone to slice the adhesive.
-
Leave the opening pick in the top left corner to prevent the adhesive from resealing.
-
-
-
Insert a fourth opening pick underneath the top left corner of the rear glass.
-
Slide the opening pick along the top edge to slice the adhesive.
-
Leave the opening pick in the top right corner to prevent the adhesive from resealing.
-
-
-
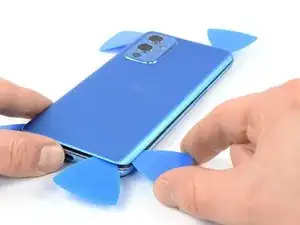
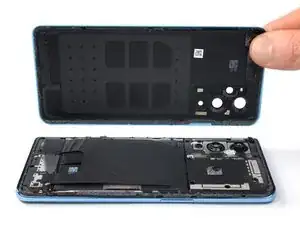
Insert a fifth and final opening pick underneath the top right corner of the rear glass.
-
Slide the opening pick along the right edge of the back cover to slice the remaining adhesive.
-
-
-
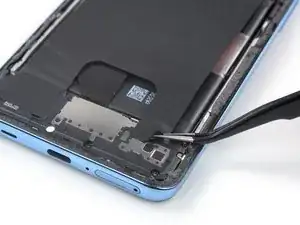
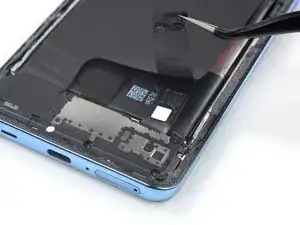
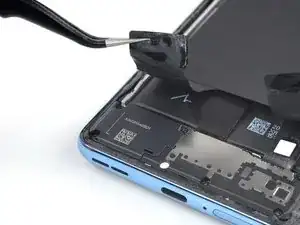
Use a pair of tweezers to carefully peel the bottom right corner of the charging coil tape off of the daughterboard cover.
-
-
-
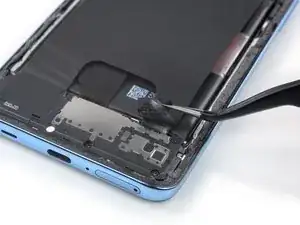
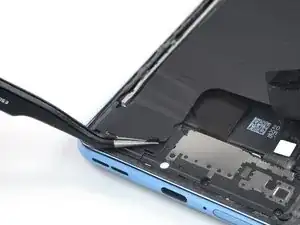
Use a pair of tweezers to carefully peel the bottom left corner of the charging coil tape off of the loudspeaker.
-
-
-
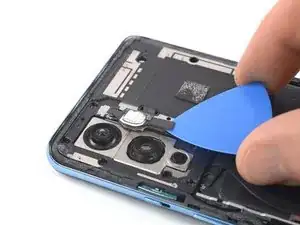
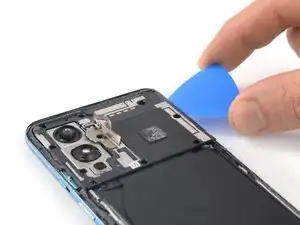
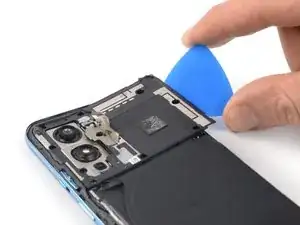
Carefully slide an opening pick underneath the bottom edge of the flash assembly.
-
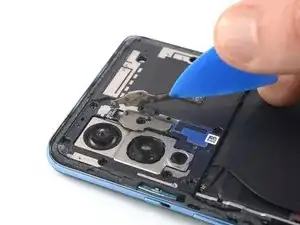
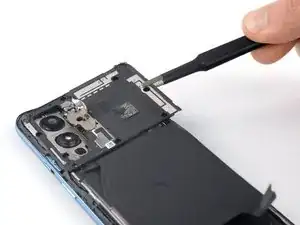
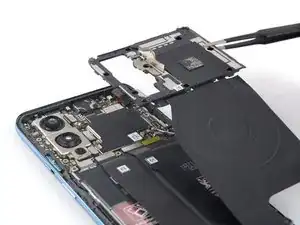
Use your opening pick to pry up the flash assembly.
-
-
-
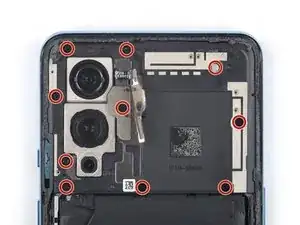
Use a Phillips screwdriver to remove the ten 3.8 mm-long screws securing the motherboard cover.
-
-
-
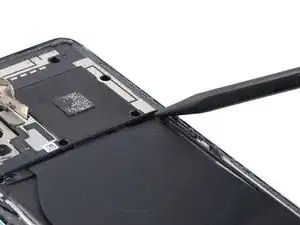
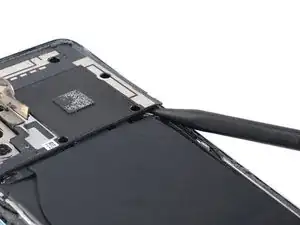
Insert a spudger underneath the bottom right edge of the motherboard cover.
-
Pry upwards to loosen the motherboard cover and create a gap.
-
-
-
Insert an opening pick underneath the bottom right edge of the motherboard cover.
-
Slide the opening pick up along the right edge of the motherboard cover.
-
Twist the opening pick to release the plastic clips and pry up the motherboard cover.
-
-
-
Use a spudger to disconnect the battery cable by prying the connector straight up from its socket on the bottom left corner of the motherboard.
-
-
-
Use a Phillips screwdriver to remove the five 3.8 mm-long screws securing the daugtherboard cover.
-
-
-
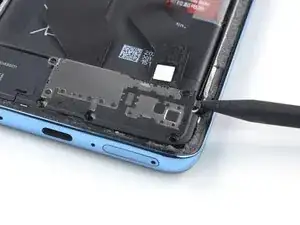
Insert the point of a spudger underneath the top right edge of the daughterboard cover.
-
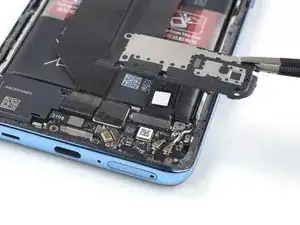
Pry upwards to loosen the daughterboard cover.
-
-
-
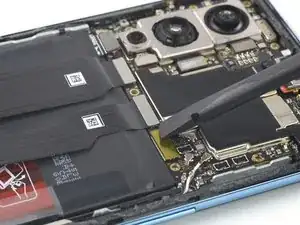
Use a spudger to disconnect the interconnect cable from the motherboard by prying the connector straight up from its socket.
-
-
-
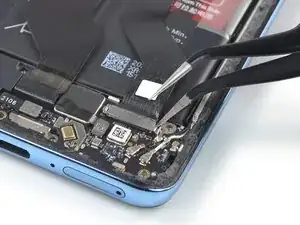
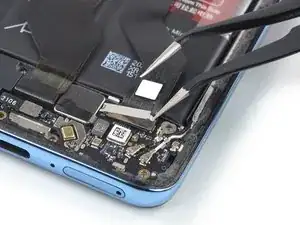
Slide one arm of a pair of tweezers underneath the metal bracket covering the interconnect cable.
-
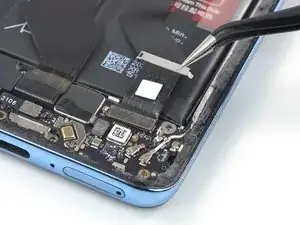
Use your tweezers to lift and unhinge the metal bracket.
-
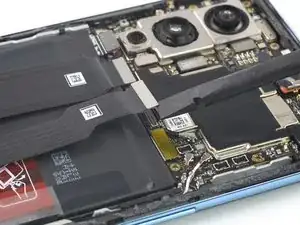
Remove the metal bracket.
-
-
-
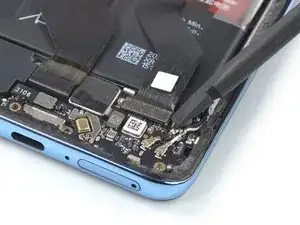
Use a spudger to disconnect the interconnect cable from the daughterboard by prying the connector straight up from its socket.
-
To reassemble your device, follow these instructions in reverse order.
Repair didn’t go as planned? Try some basic troubleshooting, or ask our OnePlus 9 5G answers community for help.
