Einleitung
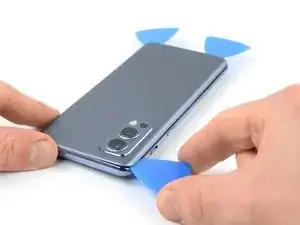
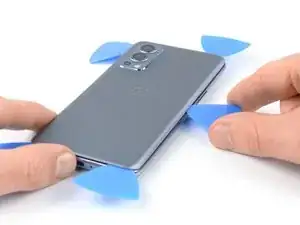
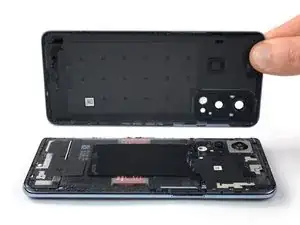
Use this guide to replace the back cover on your OnePlus Nord 2 5G.
You'll need replacement adhesive in order to complete this repair.
Werkzeuge
Ersatzteile
-
-
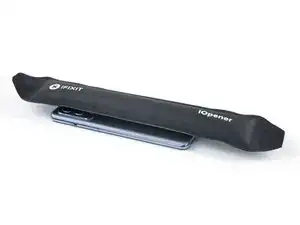
Prepare an iOpener and apply it to the rear glass for at least three minutes to loosen the adhesive underneath.
-
-
-
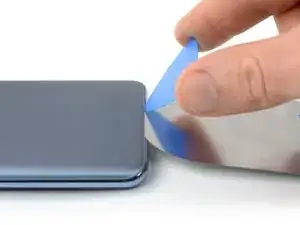
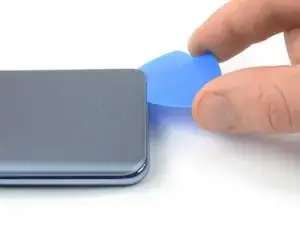
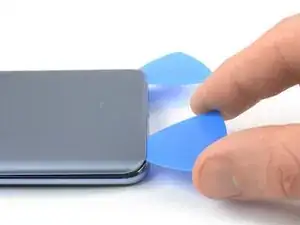
Insert an iFlex into the seam between the rear glass and the midframe at the bottom edge of the phone to create a gap. This may require some force.
-
Leave the iFlex in place to prevent the adhesive from resealing.
-
-
-
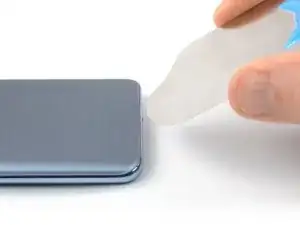
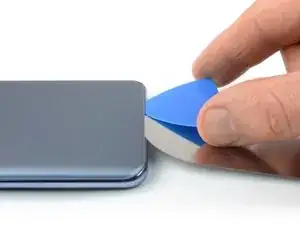
Slide the opening pick to the bottom right corner to slice the adhesive.
-
Leave the opening pick in place to prevent the adhesive from resealing.
-
-
-
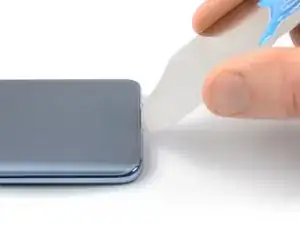
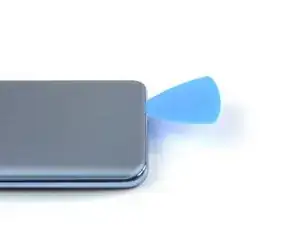
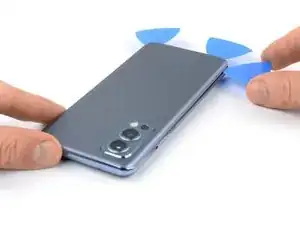
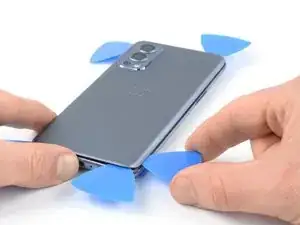
Insert a second opening pick at the bottom right corner of your phone.
-
Slide the opening pick to the bottom left corner to slice the adhesive.
-
Leave the opening picks in place to prevent the adhesive from resealing.
-
-
-
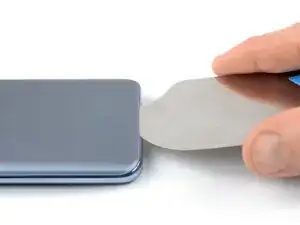
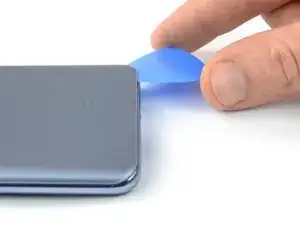
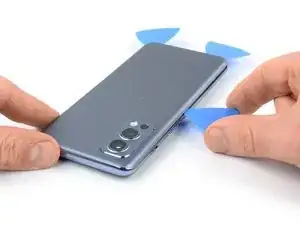
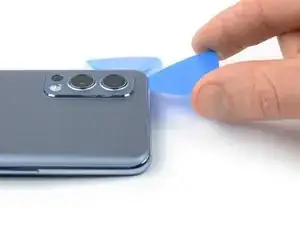
Insert a third opening pick at the bottom left corner of your phone.
-
Slide the opening pick along the left edge of your phone to slice the adhesive.
-
Leave the opening pick in the top left corner to prevent the adhesive from resealing.
-
-
-
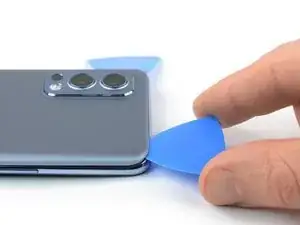
Insert a fourth opening pick underneath the top left corner of the rear glass.
-
Slide the opening pick along the top edge to slice the adhesive.
-
Leave the opening pick in the top right corner to prevent the adhesive from resealing.
-
-
-
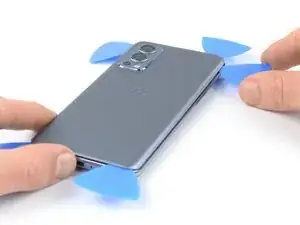
Insert a fifth opening pick underneath the top right corner.
-
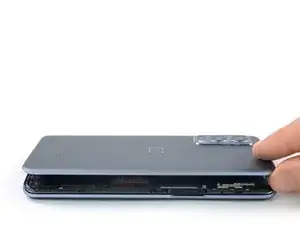
Slide the opening pick along the right edge of the back cover to slice the remaining adhesive.
-
To reassemble your device, follow these instructions in reverse order.
During reassembly, apply new adhesive where it's necessary after cleaning the relevant areas with isopropyl alcohol (>90%).
Take your e-waste to an R2 or e-Stewards certified recycler.
Repair didn’t go as planned? Try some basic troubleshooting, or ask our OnePlus Nord 2 5G answers community for help.

