Einleitung

This is a prerequisite-only guide! This guide is part of another procedure and is not meant to be used alone.

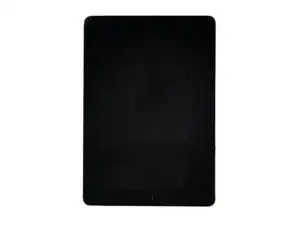
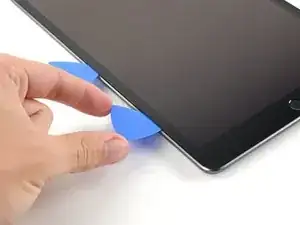
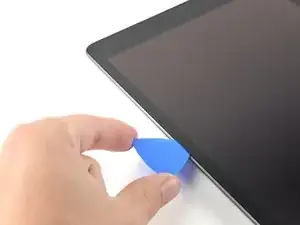
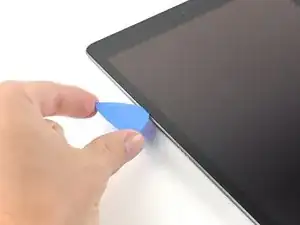
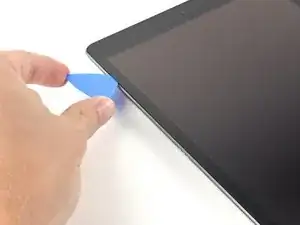
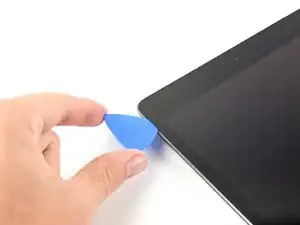
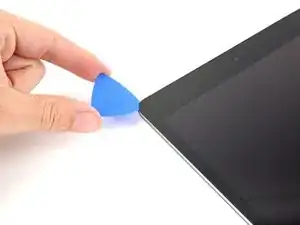
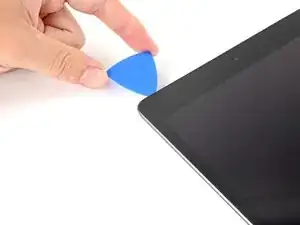
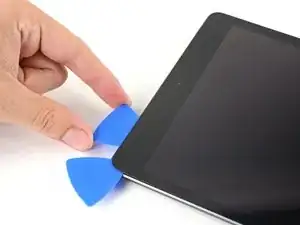
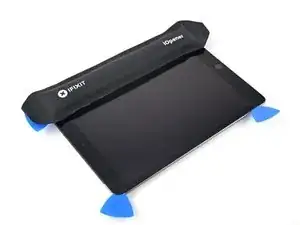
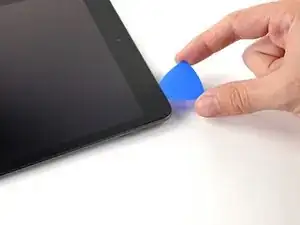
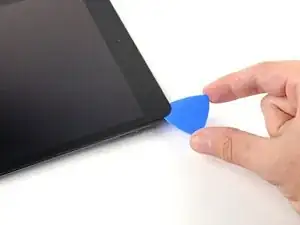
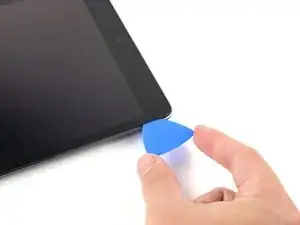
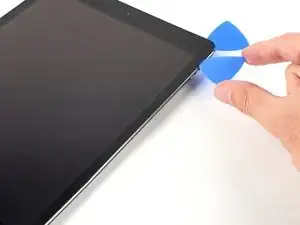
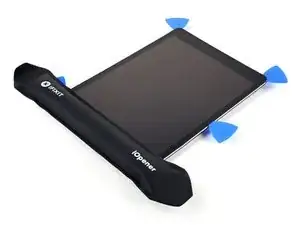
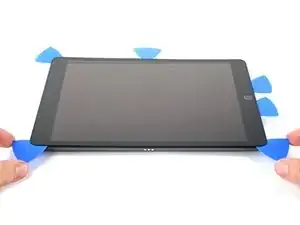
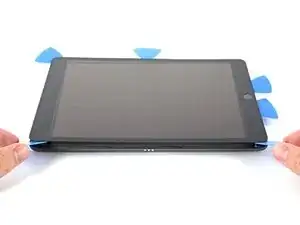
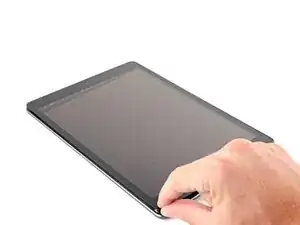
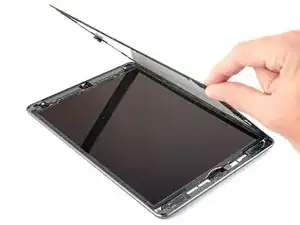
Use this guide to open the iPad 9 LTE's digitizer.

Werkzeuge

  1. THxeZqAlU4lI3Dsj
    • Power down your iPad before beginning the repair.

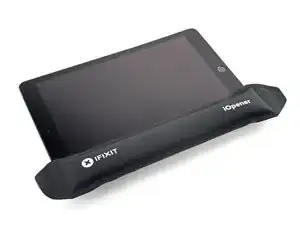
    • Heat an iOpener and apply it to the left edge of the iPad for two minutes.

  2. BDFaonJejZFgEePr
    BDFaonJejZFgEePr
    5oaRxkGbOfRApjHD
    A2HORgVC1Qep3Lse
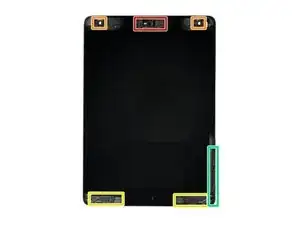
    • While you're waiting for the adhesive to loosen, note the following areas that are sensitive to prying:

    • Front camera

    • Ambient light sensors

    • Antennas

    • Display cables

  3. yCAYXEXkZKHRVfH6
    yCAYXEXkZKHRVfH6
    Ueh3TWDLPOY4Gs1L
    hRbRclPaB1qcTj2M
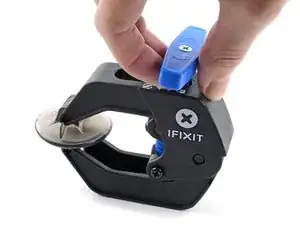
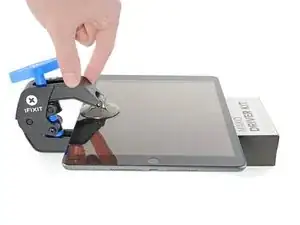
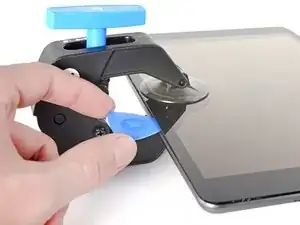
    • The next two steps demonstrate the Anti-Clamp, a tool we designed to make the opening procedure easier. If you aren't using the Anti-Clamp, skip down two steps for an alternate method.

    • For complete instructions on how to use the Anti-Clamp, check out this guide.

    • Elevate the iPad enough for the Anti-Clamp's arms to rest above and below the screen.

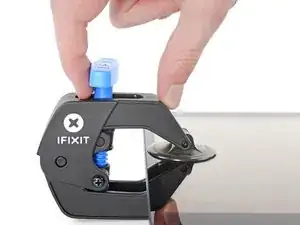
    • Pull the blue handle towards the hinge to disengage opening mode.

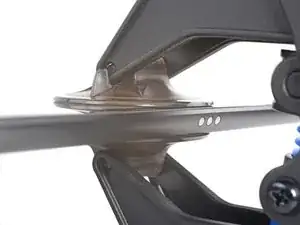
    • Position the suction cups near the left edge of the iPad—one on the front, and one on the back.

    • Push down on the cups to apply suction to the desired area.

    • If you find that the surface of your device is too slippery for the Anti-Clamp to hold onto, you can use packing tape to create a grippier surface.

  4. mfkdVuBEbXYOwU5f
    mfkdVuBEbXYOwU5f
    YATpfdSX2W2cTM1x
    rep1LoXJsQyTa2qf
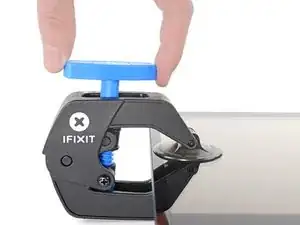
    • Push the blue handle away from the hinge to engage opening mode.

    • Turn the handle clockwise until you see the cups start to stretch.

    • Make sure the suction cups remain aligned to each other. If they begin to slip out of alignment, loosen the suction cups slightly and realign the arms.

    • Wait one minute to give the adhesive a chance to release and present an opening gap.

    • Insert an opening pick under the digitizer when the Anti-Clamp creates a large enough gap.

    • If the Anti-Clamp doesn't create a sufficient gap, apply more heat to the area and rotate the handle clockwise half a turn.

    • Don't crank more than a half a turn at a time, and wait one minute between turns. Let the Anti-Clamp and time do the work for you.

    • Skip the next step.

  5. J2IQvQOy1BYPtTom
    J2IQvQOy1BYPtTom
    mHcQZ3ybJlVWXZAX
    ZE5bLBVCycZZ4IXh
    • If your display is badly cracked, covering it with a layer of clear packing tape may allow the suction cup to adhere. Alternatively, very strong tape may be used instead of the suction cup. If all else fails, you can superglue the suction cup to the broken screen.

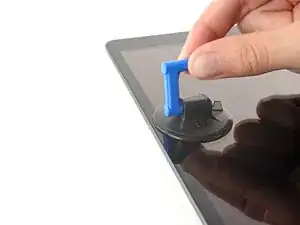
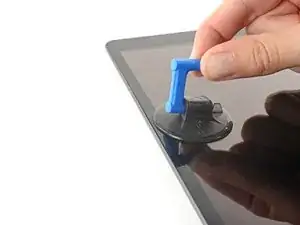
    • Once the screen is warm to touch, apply a suction handle to the left edge of the screen and as close to the edge as possible.

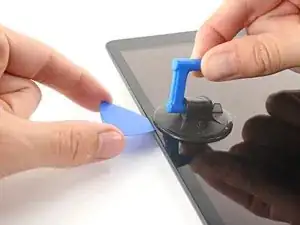
    • Lift the screen with the suction handle to create a small gap between the digitizer and the frame.

    • Insert an opening pick into the gap between the digitizer and the frame.

  6. x2uBdEGsXXD1UGux
    x2uBdEGsXXD1UGux
    dLpd1xH2K1QoGc6n
    2caJZKMEgJeYYxP4
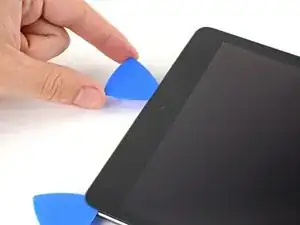
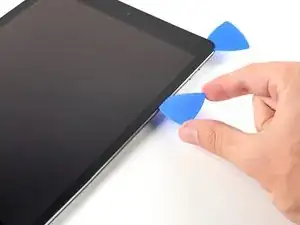
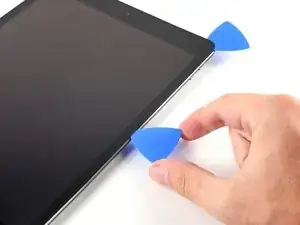
    • Insert a second opening pick into the gap you just created.

    • Slide the pick toward the bottom-left corner of the iPad to separate the adhesive.

    • Leave the pick in the bottom-left corner to prevent the adhesive from re-sealing.

    • Don't worry if you can see the opening pick through the digitizer—just pull the pick out. The LCD screen shouldn't be damaged, but you risk leaving behind hard-to-clean adhesive.

  7. JPsPT5ML14VHRhGe
    JPsPT5ML14VHRhGe
    ultr2KYJ6Sc1kYaH
    ZATK6B6Fo1vrYUIw
    • If the opening pick gets stuck in the adhesive, "roll" the pick along the side of the iPad to continue separating the adhesive.

  8. EaRSxNw3vj5GpMur
    EaRSxNw3vj5GpMur
    yRXg6rNGAQgVf1Cf
    W26QbH5y1V5Kv2oM
    • Slide the first opening pick towards to top-left corner of the iPad to separate the adhesive.

    • Leave the pick in the top-left corner to prevent the adhesive from re-sealing.

  9. FLj6SpbOQdrvVpRi
    • Heat an iOpener and apply it to the top edge of the iPad for two minutes.

  10. p15tb6VN1vUscQ2N
    p15tb6VN1vUscQ2N
    SocgxgkXBnLnGSWX
    oPDYoHHMVRcxhVPT
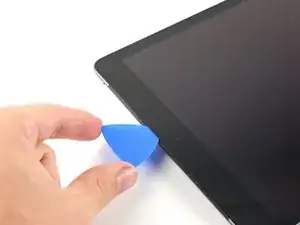
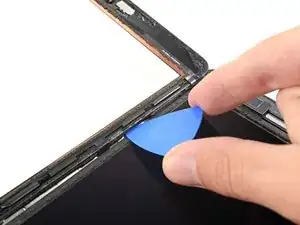
    • Rotate the pick around the top-left corner of the iPad to separate the adhesive.

    • Only insert the pick up to 7 mm to avoid damaging the ambient light sensor.

  11. Jil3FKjTxdwCK5GP
    Jil3FKjTxdwCK5GP
    6nKHEJpQiZSaFBGo
    ROYjHt2LlrcPPDUx
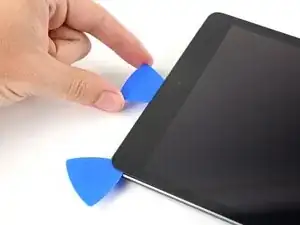
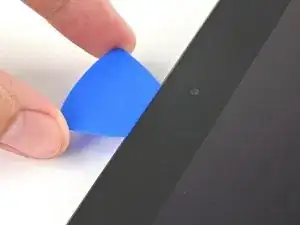
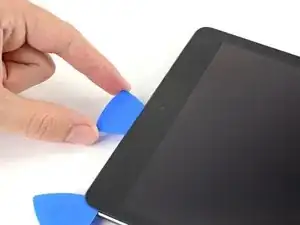
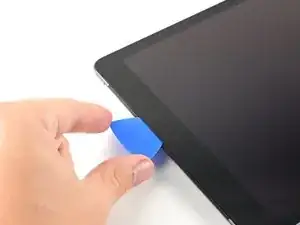
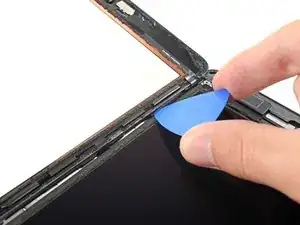
    • Slide the opening pick along the top edge of the iPad, stopping just before you reach the front camera.

    • Avoid sliding the pick over the front camera, as you may damage the lens. The following steps will show how to prevent this.

  12. TioLriFFwlSWARE3
    TioLriFFwlSWARE3
    cBURkpbxyZsN2fs4
    fQWclYvRi615iGML
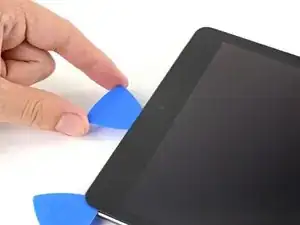
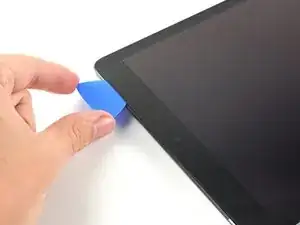
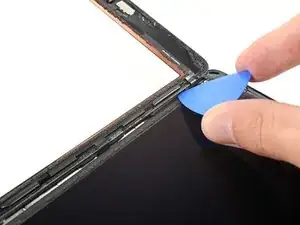
    • Pull the pick out until only the tip is between the digitizer and the frame.

    • Slide the pick above the front camera to separate the adhesive.

    • Leave the pick near the right side of the front camera before continuing.

  13. Jiwfe4BYASgflPlt
    Jiwfe4BYASgflPlt
    GNqQecAUKHkBQsFJ
    TjnBLTuM3hvFrh4t
    • Re-insert the pick and slide it towards the top-right corner of the iPad to completely separate the top adhesive.

    • Leave the pick in the top-right corner to prevent the adhesive from re-sealing.

  14. ZHBh3M1LZI1RNTnX
    • Heat an iOpener and apply it to the right edge of the iPad for two minutes.

  15. IaiyPav5brNr6jCX
    IaiyPav5brNr6jCX
    IXOuHUPJMRyyp3gb
    wKVPV5jH516oONom
    • Rotate the pick around the top-right corner of the iPad to separate the adhesive.

    • Only insert the pick up to 4 mm to avoid damaging the ambient light sensor.

  16. uMAkRgI5TwCTd4Ks
    uMAkRgI5TwCTd4Ks
    6R5iFXyAqocMYSU4
    n3WPFtEKy3pVcab1
    • Insert a new opening pick and slide it to the middle of the iPad's right edge.

    • The display cables are located approximately halfway from the bottom of the iPad. Stop sliding once you reach three inches from the bottom of the iPad.

  17. UGjYPQYXKPD6dNES
    • Heat an iOpener and apply it to the bottom edge of the iPad for two minutes.

  18. ZLBC4NKlQbk3OZTD
    ZLBC4NKlQbk3OZTD
    OMqDTrkrkwxwGI5M
    A51oePiIiC2OVqED
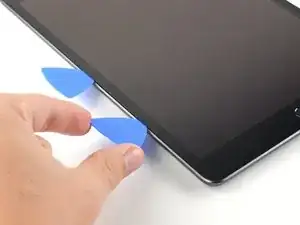
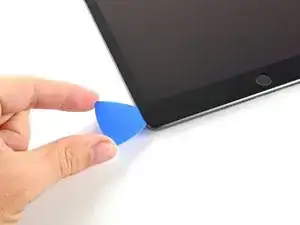
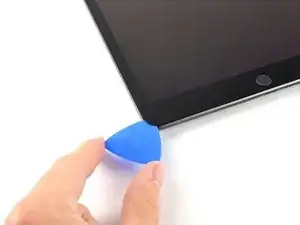
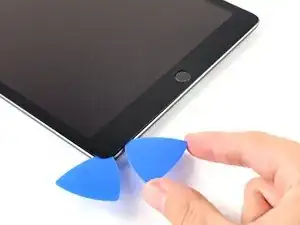
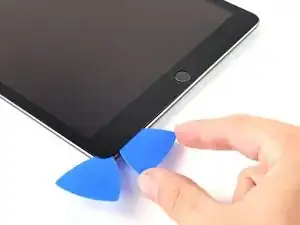
    • Slide the bottom-left pick to the bottom-left corner to separate the adhesive.

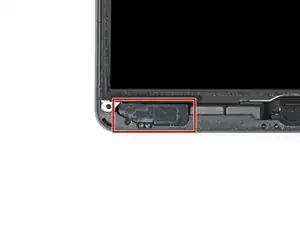
    • Don't fully rotate the pick around the corner, as you may damage the antenna.

    • The third image shows the bottom-left antenna underneath the digitizer.

    • Leave the pick in the corner before moving to the next step.

  19. TEwIBIf3sxmJiEN1
    TEwIBIf3sxmJiEN1
    xOEXNBRtCOWQeuFY
    22JRGthoRvQSYaRf
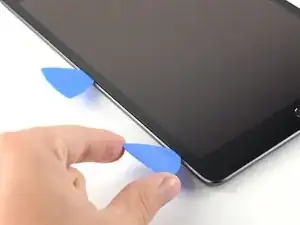
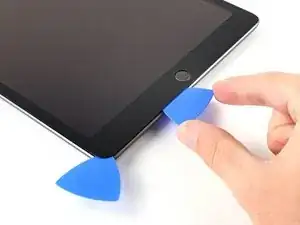
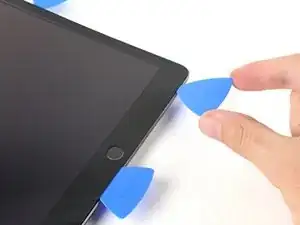
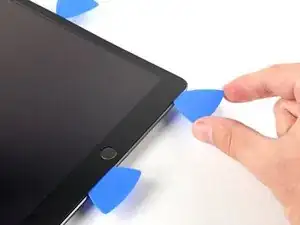
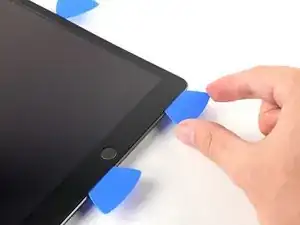
    • Insert a new opening pick into the gap you just created on the bottom edge of the iPad.

    • Slide the pick over the antenna, stopping just before the home button.

    • Only slide the pick towards the home button and not away from it, as you may damage the antenna.

    • If you need to slide the pick over this section again, remove and re-insert it at the bottom-left corner.

    • Leave the pick to the left of the home button before continuing.

  20. C2RdZwTKLextDlUC
    C2RdZwTKLextDlUC
    ZYORWWfQkWbQHeZk
    35FCdHGOd2P3tVJH
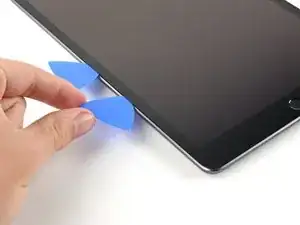
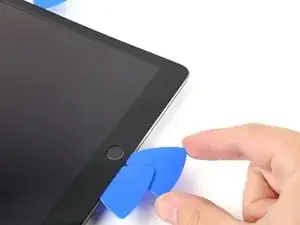
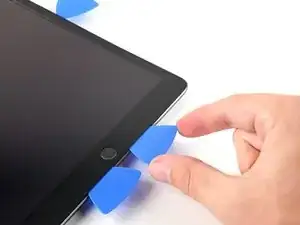
    • Insert an opening pick into the gap you just created.

    • Slide the pick underneath the home button and towards the bottom-right corner, making sure only the tip is between the digitizer and the frame.

  21. EdcTHHvhSmUedM5X
    EdcTHHvhSmUedM5X
    aeho4dfNWsncrbYf
    CmWXujasluPDsXpH
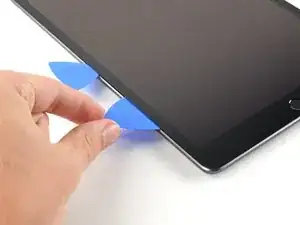
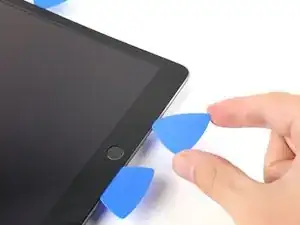
    • Re-insert the pick and slide it towards the home button to completely separate the bottom adhesive.

    • Only slide the pick towards the home button and not away from it, as you may damage the antenna.

    • If you need to slide the pick over this section again, remove and re-insert it at the bottom-right corner.

    • Leave the pick to the right of the home button before continuing.

  22. lwiCOncwPlKLg3a3
    • Heat an iOpener and apply it to the right edge of the iPad for two minutes.

  23. ABh5NOiTnhO15fgU
    ABh5NOiTnhO15fgU
    Ub5UlnWWBB6GLUth
    • Be very careful with this step. Take your time, ensure the adhesive is hot and soft, and make sure you separated all of the adhesive with an opening pick. Don't be afraid to stop and reheat.

    • Twist the two opening picks on the left corners of the iPad to lift the digitizer slightly, separating the the last of the adhesive in the process.

    • If there's a significant amount of resistance, reheat the edges and work along them with an opening pick.

  24. WFFmnZZPToQRsBrh
    WFFmnZZPToQRsBrh
    A1DkoMhAVgLuYJcB
    • Lift the left edge of the digitizer upwards to further separate the adhesive along the right edge of the iPad.

  25. TuWcGklrctSA4vd1
    TuWcGklrctSA4vd1
    lCHklMQfQE6AZ6Gh
    kCab34QaCQWowvsm
  26. rRJgBD3gSsu2XQpD
    rRJgBD3gSsu2XQpD
    xNWvca15WkyCikGS
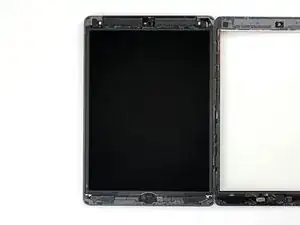
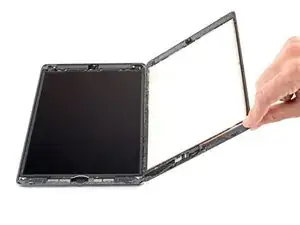
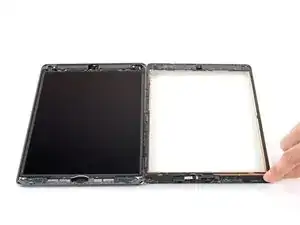
    • Once all of the adhesive has been separated, open the digitizer like a book and rest it parallel to the iPad.

    • During reassembly, clean the remaining adhesive from the frame—and the digitizer if you're re-using it—with isopropyl alcohol. Replace the adhesive with our adhesive strips or pre-cut adhesive cards.

    • Be mindful of the display cables when reassembling the iPad. Make sure they are folded properly underneath the LCD screen to prevent any damage.

Abschluss

To reassemble your device, follow these instructions in reverse order.
Alex Diaz-Kokaisl

Mitglied seit: 16/01/22

69204 Reputation

0 Kommentare