Einleitung
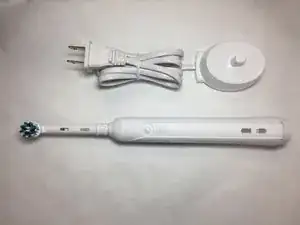
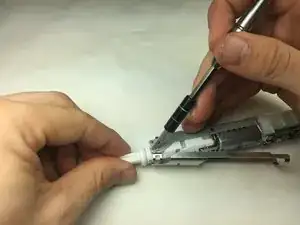
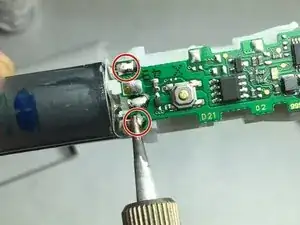
Hier wird der Austausch eines defekten Akkus gezeigt. Dazu muss die Zahnbürste geöffnet werden. Achte darauf, dass du keinen Kurzschluss zwischen dem (+) und (-) Anschlüssen erzeugst. Du musst bei dieser Reparatur auch löten. Hinweise findest du in
Werkzeuge
-
-
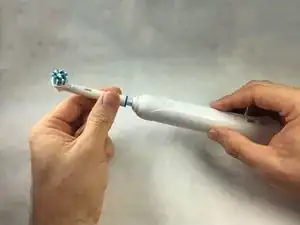
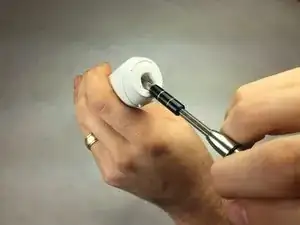
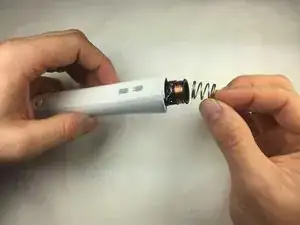
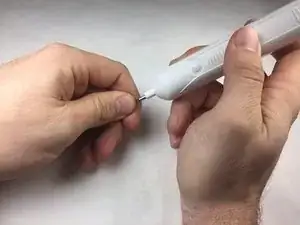
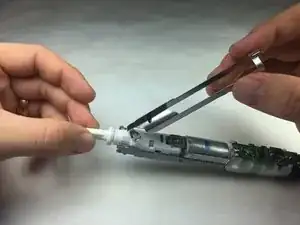
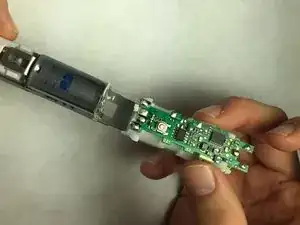
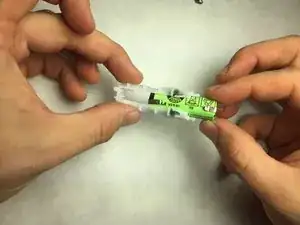
Drücke auf die Achse der Zahnbürste um das Innere nach außen zu bringen.
-
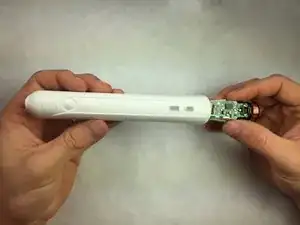
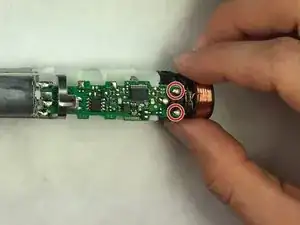
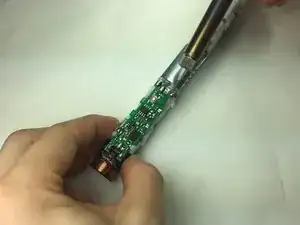
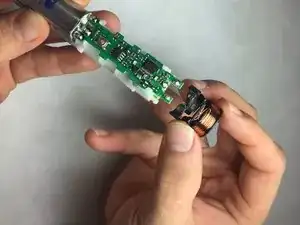
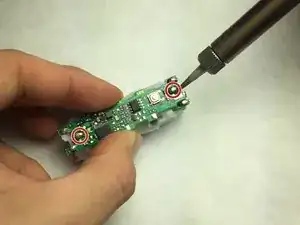
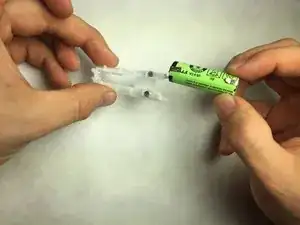
Entferne die Innenteile aus dem Gehäuse.
-
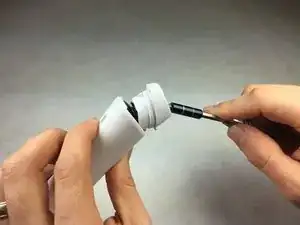
Zum Zusammenbau musst du den Schritten umgekehrt folgen.
14 Kommentare
This guide also works for Oral-B genius 9000. Thank You!! On mine, the coil wires was losen. Just soldered it back and works fine again.
polken -
Same with mine: coil was loose. I guessed it because the red blinking light would not react (turn off) by putting the toothbrush on the charger. (checked also a second charger, never through away older parts, using as spare…) ;)
Karsten -
This guide also works for Oral B PRO 2950N. Thank you so much!
I had the same issue, the coil was broken on one side, and it doesn't charge. Adding a little bit of solder to weld the broken end was enough for making it charge again
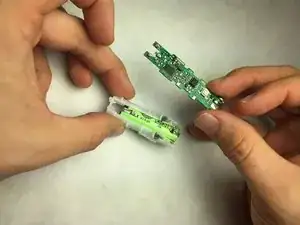
What type of battery is that? It's not listed under “parts.”
I’ve wrote it in another comment as well, but in case you didn’t see it: As far as I know, these are 4/5 AA batteries with about 1200 mAh and U-shaped solder tails. So the size of the battery is roughly 42x14mm . But as mentioned in the comments, regular AA size batteries worked in my case as well, just had to cut the spacers in the battery retainer. AA batteries are cheaper to get obviously and most likely they’ll have more capacity as well.
benn_i -
I have had my Oralb 1000 for only 1 month, bought in Apri, 2019l, quit charging at the end of May, 2019, May 31, so I caution anyone that might buy this rechargeable toothbrush, I hope they have better luck