Einleitung
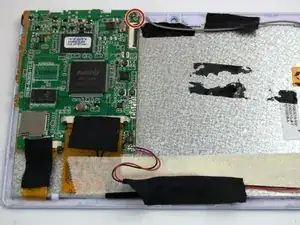
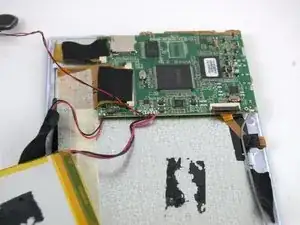
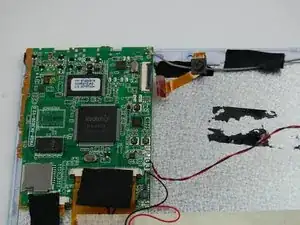
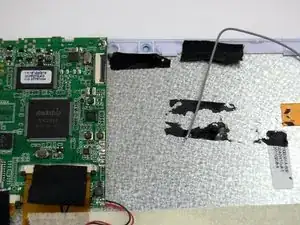
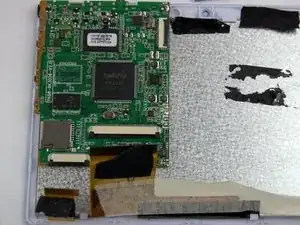
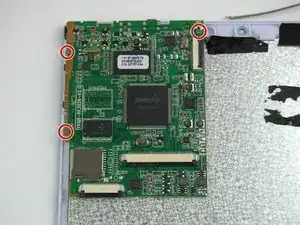
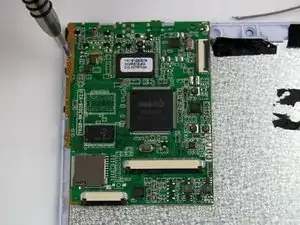
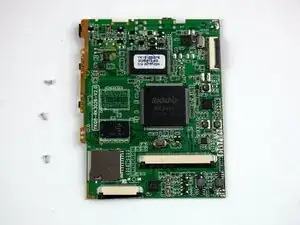
This guide will walk you through removing all the connections to the motherboard, along with removing the motherboard itself. You will need to use a solder iron in this guide and should handle it with care. There are also small screws that are needed to put the device back together.
Werkzeuge
-
-
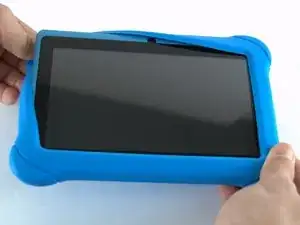
Use your thumbs to gently pry the silicon case away from the tablet starting at one of the corners. Once the first corner is separated the other three corners should slip off easily.
-
-
-
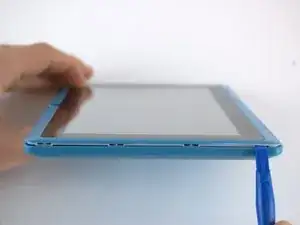
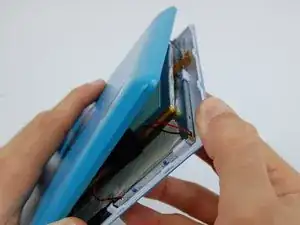
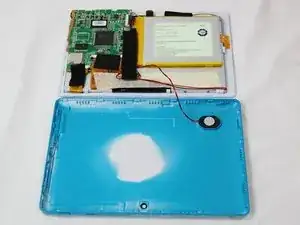
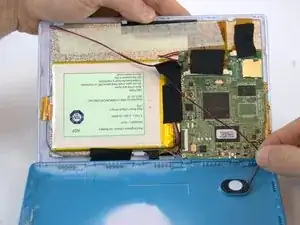
Use the plastic opening tool to pry the back off the tablet. Work your way around the edges. Once you have one side open you can slowly unsnap the rest of the case and use the tool as needed.
-
-
-
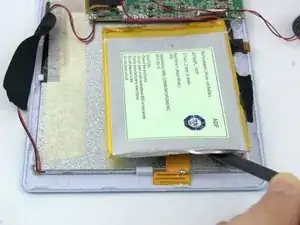
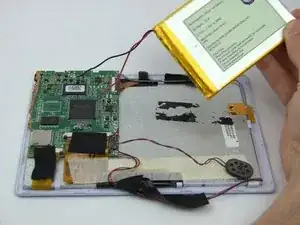
Use a nylon spudger to lift the battery from the right side of the device. Slowly remove the adhesive below the battery.
-
-
-
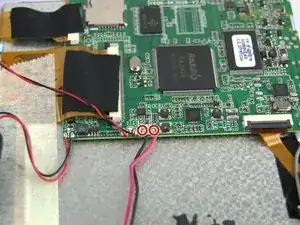
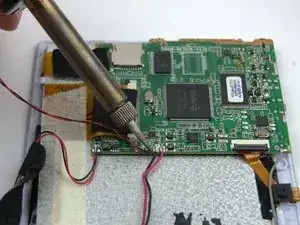
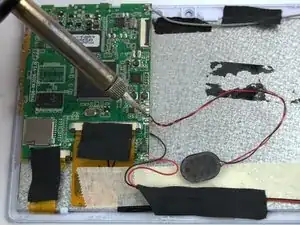
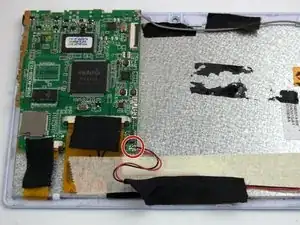
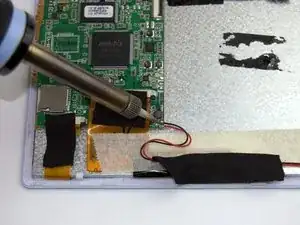
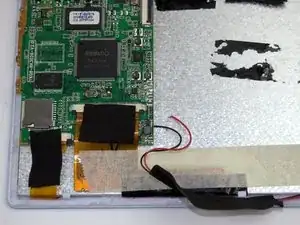
Desolder the battery wires from the positive and negative connection to the motherboard. Check out iFixit's How to Solder and Desolder Connections guide for soldering help.
-
Positive and Negative battery terminals.
-
-
-
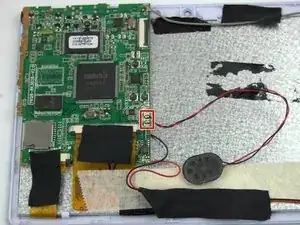
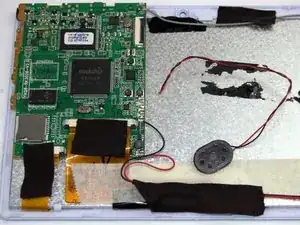
Unsolder the positive and negative speaker wires from the connection on the motherboard.
-
Positive and Negative battery terminals.
-
-
-
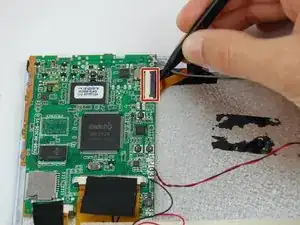
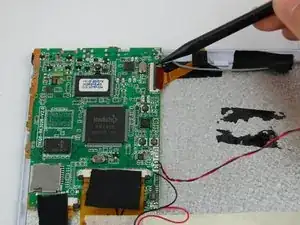
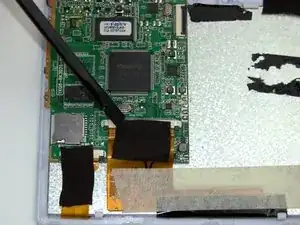
Use the pointed end of a spudger to flip up the black tab connecting the camera's ribbon cable to the motherboard.
-
Camera ribbon clip.
-
-
-
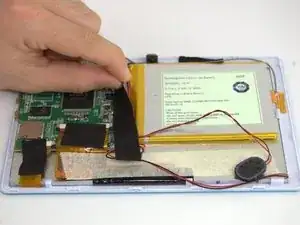
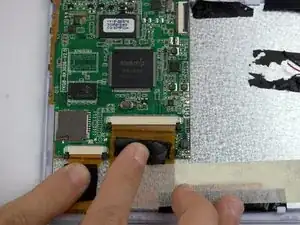
Use the flat end of the spudger to lift and remove the black tape covering the ribbon connection tab.
-
-
-
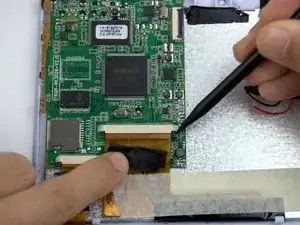
Using the tip end of the spudger, slide back the black clips on the side of the right ribbon connection.
-
Repeat the same steps for the left ribbon connection.
-
To reassemble your device, follow these instructions in reverse order.
