Einleitung

  1. ijldbsCCVcXPjTrM
    ijldbsCCVcXPjTrM
    lAjALuvvEDJQ6vWT
    • Remove the Blender Container from the Blender Base.

  2. 5mBKX61CX5COIfri
    5mBKX61CX5COIfri
    OVK2NwvGNWHvWImr
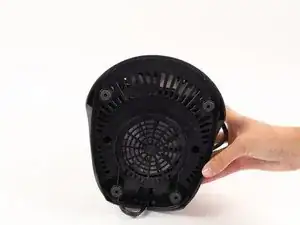
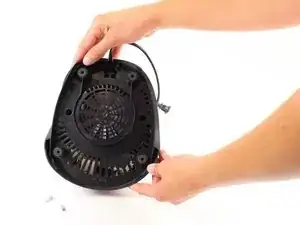
    • Flip the blender so the bottom is facing you.

  3. ES3gGcwPv5kVmR2g
    ES3gGcwPv5kVmR2g
    rqliVkwyyLf5YpZH
    N5oV15MOrFGCtxby
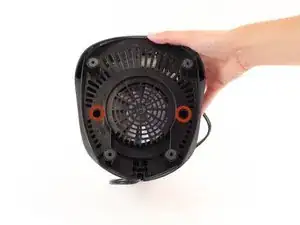
    • Unscrew the 16mm screws located on the plastic bottom from the blender base using a Phillips #2 screwdriver.

    Is it possible to get a replacement base. Just the plastic cover? I can't seem to find mine and it is cracked and broken yet still works.

    Blendin life -

  4. NCZQw3tHEIv6fVVk
    NCZQw3tHEIv6fVVk
    mLYsFEscHPNMrTsG
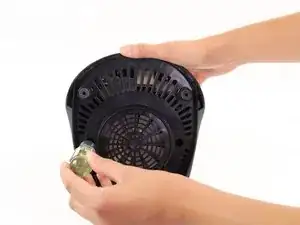
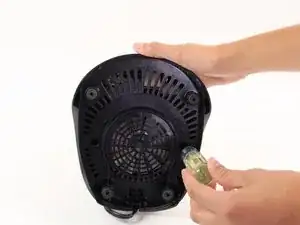
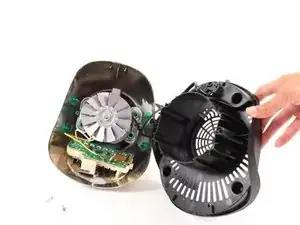
    • Remove the plastic bottom from the base of the blender.

  5. HOremS25dbLLSqFY
    HOremS25dbLLSqFY
    AANcQwQMBgItCSyc
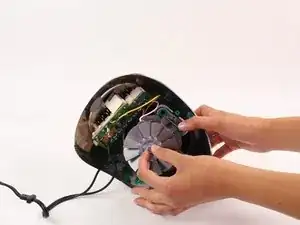
    • Holding the center of the fan, grip the knob in the center of the top of the blender with a wrench and twist the wrench counterclockwise.

  6. GHvtGZ3DcnMBrUZV
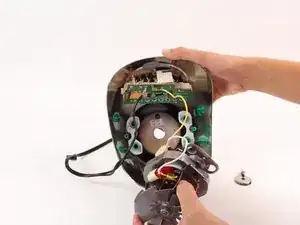
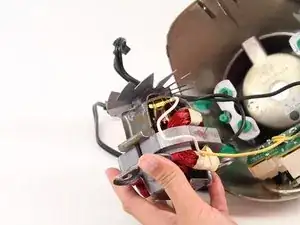
    • Carefully remove the motor and fan from the base of the blender.

  7. UjDoZ5DFMq34D4ss
    UjDoZ5DFMq34D4ss
    TQYtDQSFsWGEAuso
    BLSiQWNvIDtXBPZt
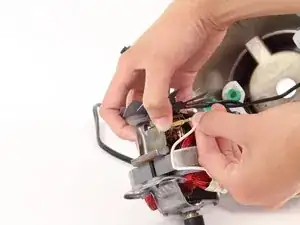
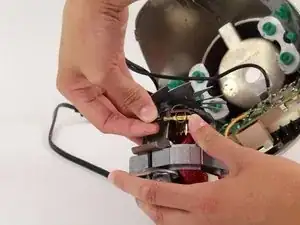
    • Now, gently pull the white wire that is connected to the base and the motor.

    • Be careful, as there is a spring behind the contact points, that might try to shoot out and hurt you.

  8. j5khmhSCSoRTrkLh
    j5khmhSCSoRTrkLh
    yTaIKCeyvIauUfBG
    Icy2IRgS4QQZE6Xi
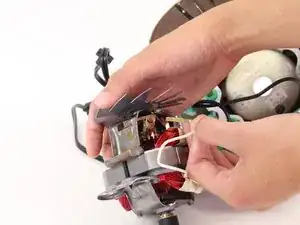
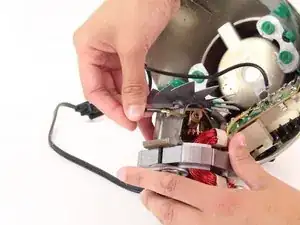
    • Now, turn the motor over, and remove the black wire from the motor.

    • Again, be warned as the is another spring that wants to shoot out and hurt you here as well.

  9. HvKLbJTysL1tcmFM
    HvKLbJTysL1tcmFM
    hyTqOVmyJf3CXQDu
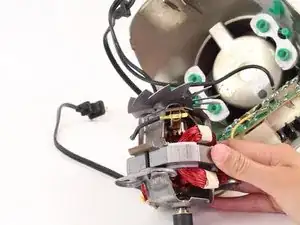
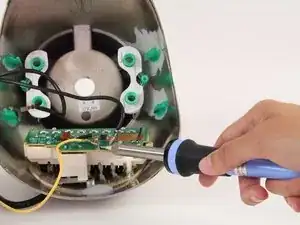
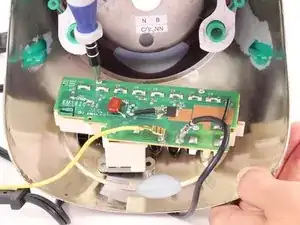
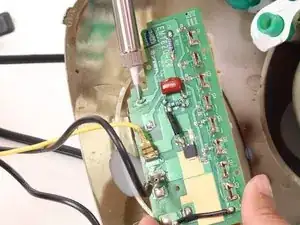
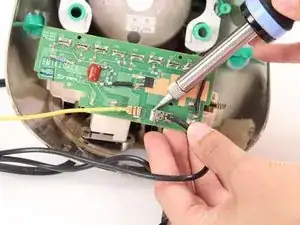
    • Now de-solder the yellow wire from circuit board. De-solder the wire following these instructions.

    • Be careful, as there is another, black wire, nearby that you do not want to de-solder.

  10. GGpaBPDkMPnqEAWv
    GGpaBPDkMPnqEAWv
    uOEvhRbuXcISZmra
    BIMljT1GTUtRnvQf
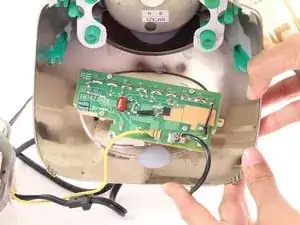
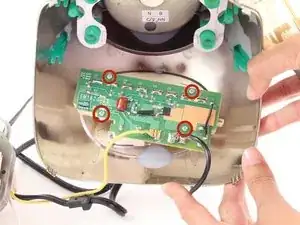
    • Locate the four 11mm screws in the circuit board.

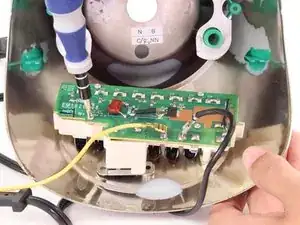
    • Unscrew the four screws using the Phillips #1 screwdriver.

  11. vJZnKCD4T6vqAMtt
    vJZnKCD4T6vqAMtt
    xuWwwtr6b2XYivck
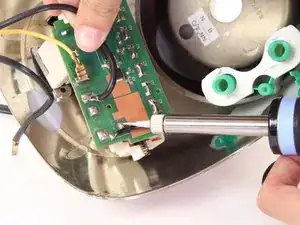
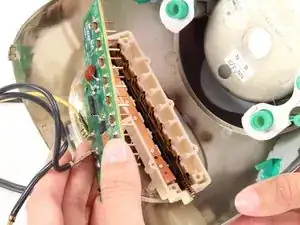
    • Desolder the circuit board from the base at the indicated point, following the directions by clicking here.

    • Now separate the circuit board from the base.

    I need to but this board but can’t find it anywhere. Sigh. Only one button works when i turn on the blender but i’ve opened it several times and have found nothing wrong with it. I’m so confused.

    dbagarotti -

  12. YbqscCyJLRqnohDX
    YbqscCyJLRqnohDX
    ySowSan4NmYIU1FS
    1h1Y1h1A6BpA2gsr
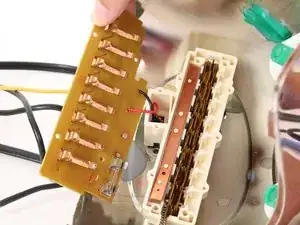
    • You will see that the circuit board is still attached by a red wire and a black wire.

    • Flip the circuit board back over and desolder at the indicated points following the directions given here.

    buenas tardes, tengo una pregunta, para soldar, involuntariamente, dejé los platos y ahora no los escucho para acomodarlos, podría ayudar en la secuencia, ¡muchas gracias!

    missymirikity D -

    Hola. Me ayuda? Mi circuit board le faltan dos de esos circulitos blancos que se ven adentro. Eso affecta en algo. El problema es que solamente un boton sirve..

    Things Happen -

    good afternoon, I have a question, to be welding, unintentionally, the cards went out and now I do not know the order to accommodate them, they could help me in the sequence, thank you very much !!!

    missymirikity D -

    Only one button works on mine and i just don’t see anything wrong with it. What could be the issue? What about if i want to buy a new circuit board, do you guys sell it?

    dbagarotti -

  13. LP5RWYBVYMU1WUsj
    • You do not have to completely remove the circuit board to replace the power cord. You can, if desired, skip the steps of de-soldering the yellow wire, and the circuit board from the base.

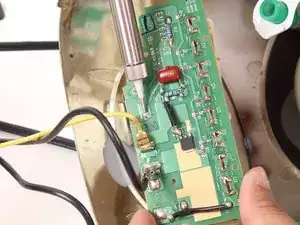
    • De-solder the black wire from the circuit board, and then carefully remove the black wire.

    • Now you can solder on the new power cord.

Abschluss

To reassemble your device, follow these instructions in reverse order.
Dana

Mitglied seit: 14/04/14

773 Reputation

0 Kommentare