Einleitung

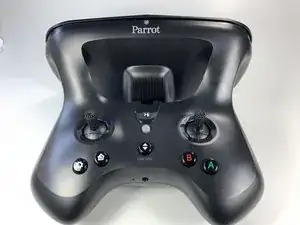
If using the Skycontroller 2 and you think the battery is not being charged or the controller is not receiving power, you might want to replace the power port. The power port supplies power to the battery in order to charge.

In order to replace the power port, first make sure the battery is disconnected and there is no power to the Skycontroller 2.

The power port will require soldering to remove, so check out our How to Solder and Desolder Connections guide to learn how to solder if you’re unfamiliar with the practice.

  1. erNAipKrBt4rW22m
    erNAipKrBt4rW22m
    rHNlKQrbWWjUijFH
    hLSjqiVeD2GbXgNK
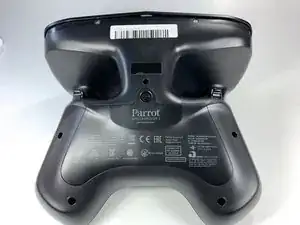
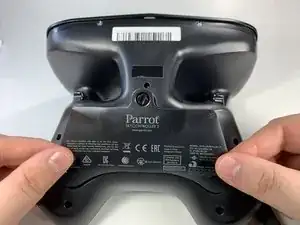
    • Flip the controller upside down.

    Make sure to use end punctuation on all guide steps. Check throughout.

    Alex Watkins -

  2. GecdsVNRFNlZJKdi
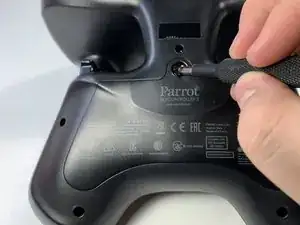
    • Remove one 9mm screw using a #4 flathead screwdriver.

  3. EcRIMTtXJfdn3pqV
    EcRIMTtXJfdn3pqV
    LNljaDjv2HuInLV3
    CgOnEvVaRhUnWcY3
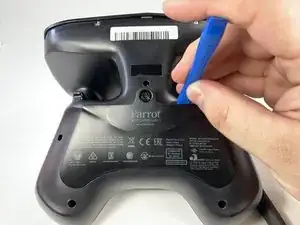
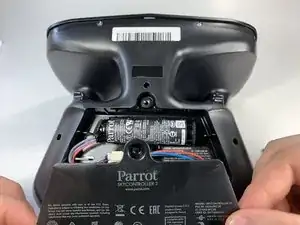
    • Insert the plastic opening tool into the top of the battery cover and pry upwards to lift the cover.

    • Remove the cover by pulling up and out.

    I would make the second sentence a new bullet. Also, I think “battery cover” might be more appropriate in the first instance, then just use “cover” the second/third time.

    Alex Watkins -

  4. w1mbheJrOBZWemCN
    w1mbheJrOBZWemCN
    YvYAOhngtxixBHfT
    hhrqlLHOp12HtU2v
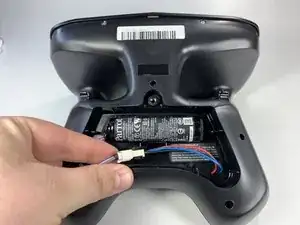
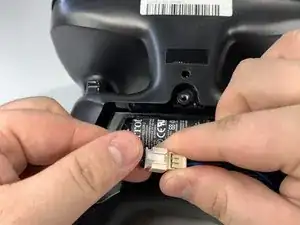
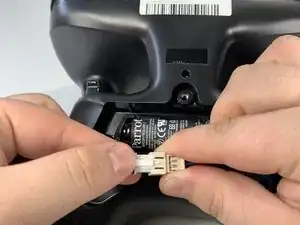
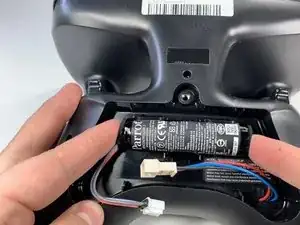
    • Pull the connectors out by gently pushing the tabs and pulling up on the connector.

    • Disconnect the battery from the remote by pressing the white tab and pulling apart.

    Here, add a second bullet as well.

    Alex Watkins -

  5. FgBJblrTRZoO5GUa
    FgBJblrTRZoO5GUa
    rALZI5Av4KofSVqk
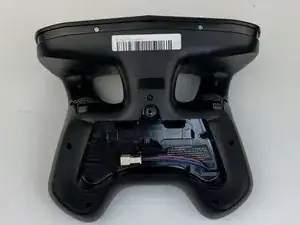
    • Remove the battery from it's brackets by pulling up gently on the ends of the battery.

    • Some force may be required to separate the battery from it's brackets.

    “its”—also, do they need to pull gently, or with some force?

    Alex Watkins -

  6. 3eshdeoCiEliXN6n
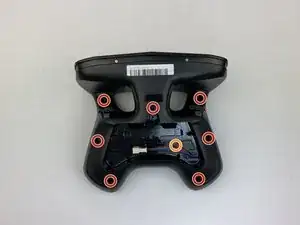
    • Remove the seven black 11mm screws using the Torx TR6 screwdriver.

    • There is a hidden screw located behind the sticker in the battery compartment.

    • Pull back the sticker with your finger nail and remove the one black 11mm screw using the Torx TR6 screwdriver.

    Be sure to proofread, e.g., end punctuation, one black screws.

    Alex Watkins -

  7. wZvo6V6ZVWTlyTjU
    wZvo6V6ZVWTlyTjU
    gYNhM1j55hm5SiVS
    kQhuwxSS22AbfuiF
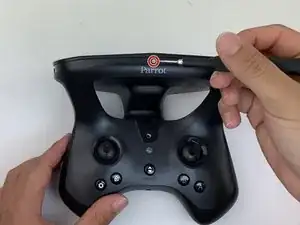
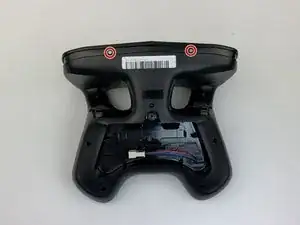
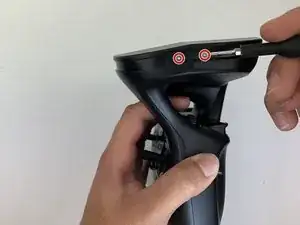
    • Remove the seven silver 4mm screws from around the edge of the top panel using the Torx TR6 Screwdriver.

    • The opposite side to the third picture has a screw located on each side of the USB port.

  8. eH4VTBeYEZKhtnma
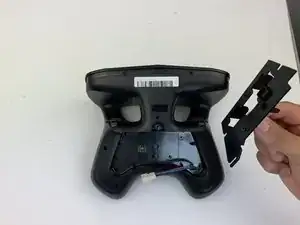
    • Remove the battery compartment plate by pulling up and out.

    I think these steps are out of order—the battery cover is removed in the previous feedback already.

    Alex Watkins -

  9. akZMlbq6XnLiJykb
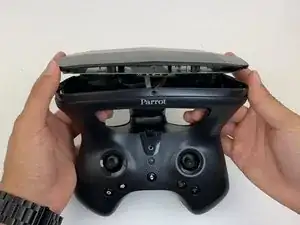
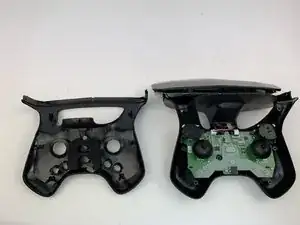
    • Remove the top plate by pushing on the corners with your hand.

    • Be careful to not pull too hard on the cable.

  10. s3F3cUXMAUvadTSA
    s3F3cUXMAUvadTSA
    gOJXE5UPrWfi2KmE
    wg4ALvqV2XMs6iJb
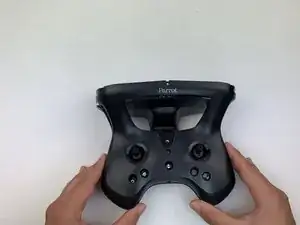
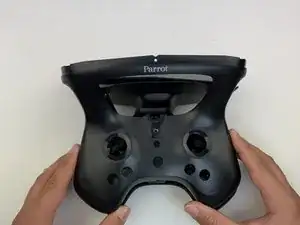
    • Remove the face plate by pulling up and out.

    Do you have an additional shot to be more like a flipbook?

    Alex Watkins -

  11. gmquvMPmVwtXYcGv
    gmquvMPmVwtXYcGv
    BjdgRLWBeTyOAQOM
    ulZWwygsXU4JxsU4
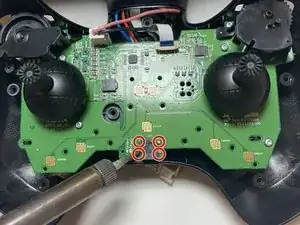
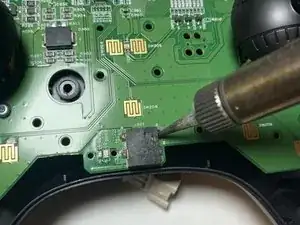
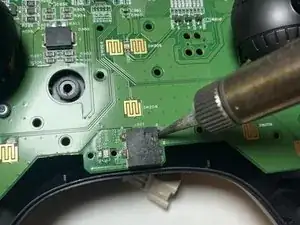
    • Make sure the controller is flat, then proceed to desolder the power port.

    • Desolder the four connection points surrounding the charging port.

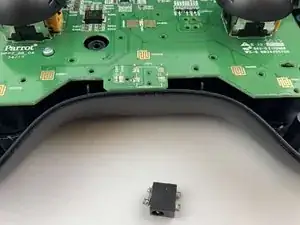
    • Remove the power port from the controller.

    • For help with soldering best practices, check out our How to Solder and Desolder Connections guide.

    • Excessive heat can damage the power port, so do not apply the soldering iron to the component for too long.

    Here, use markup. Where are the four contact points? Combine de and soldered. There is also a “how to use a soldering iron” guide from iFixit you can link here or in the introduction.

    Alex Watkins -

Abschluss

To reassemble your device, follow these instructions in reverse order.
Jonathan Epperly

Mitglied seit: 26/01/20

193 Reputation

0 Kommentare