Einleitung
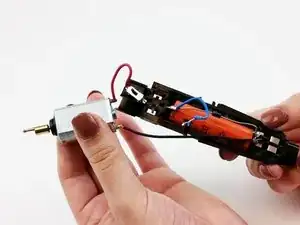
This guide will teach you how to replace the motor and will require some soldering.
Werkzeuge
-
-
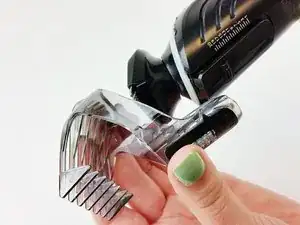
Grip the attachment and twist it counterclockwise until you hear a click.
-
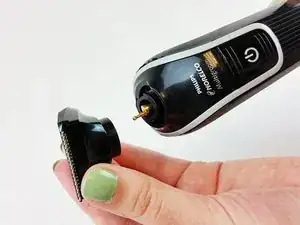
Pull the attachment up to remove it from the trimmer.
-
-
-
Hold the trimmer upright so it is facing you.
-
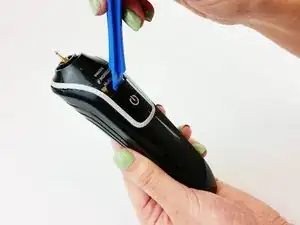
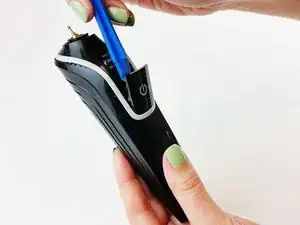
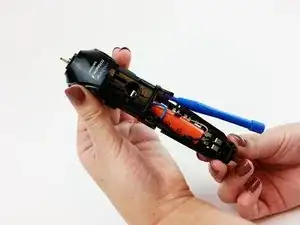
Insert the plastic opening tool in the gap at the top of the power button.
-
-
-
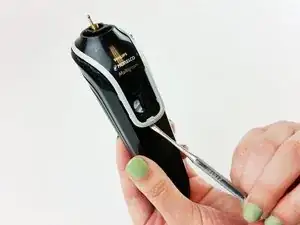
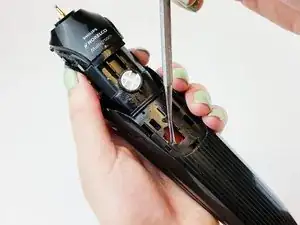
Insert the spudger in the indicated hole and apply a tilting force to loosen the outer casing.
-
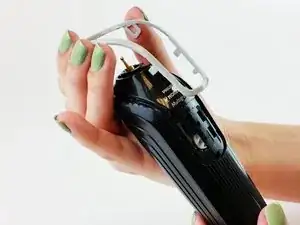
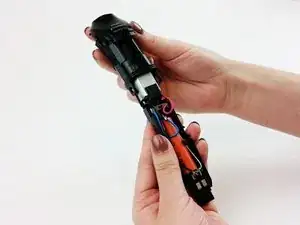
Pull upward on the top of the inner housing to remove it from the outer casing.
-
-
-
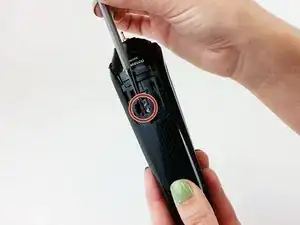
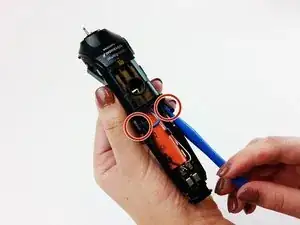
Push the inner housing up and to the right to separate the left clip from the battery casing.
-
Push the inner housing upwards to separate it from the battery casing.
-
-
-
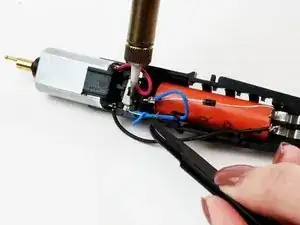
Use the tweezers to hold the wire steady as you unsolder the blue wire from the power switch.
-
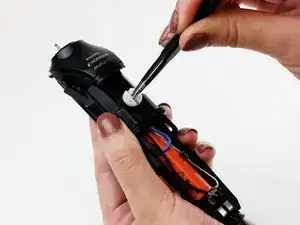
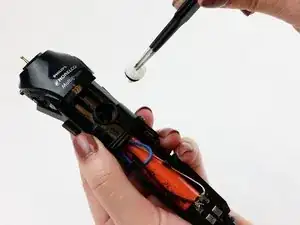
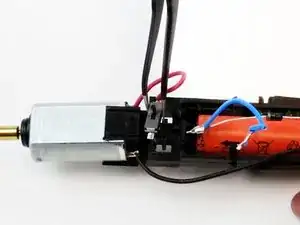
Use the tweezers to remove the power switch.
-
-
-
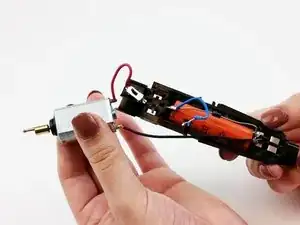
Pull up on the motor to remove it from the battery casing.
-
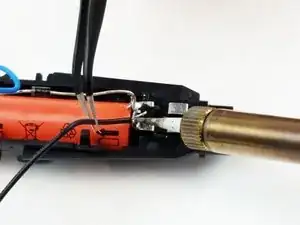
Use the tweezers to hold the black wire steady while unsoldering it from the base of the battery.
-
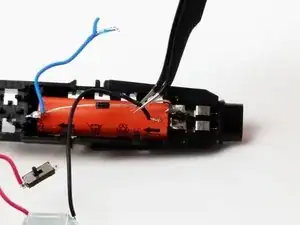
Using the tweezers, pull on the black wire to remove it from the base of the battery.
-
To reassemble your device, follow these instructions in reverse order.
4 Kommentare
¿Me puedes ayudar con algo?
Can you help me with something?
this guide was created also by nina lovekrist in 2015



Nina Lovekrist, Katie Scalion and Martin CREATED THE POWER BUTTON GUIDE. The recent modifications asa far as Team Members by Adam are FALSE. WE WERE TEAM 1- LEAHY 2015 USF
*SO GIVE CREDIT WHERE CREDIT IS DUE & STOP ERASING NAMES.
Nina Lovekrist -