Einleitung
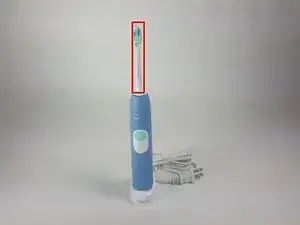
Austausch des Akkus in der Philips Sonicare 2 HX6211/46 Zahnbürste. Du musst dabei löten. Unsere Lötanleitung zeigt, wie das geht Wie man Lötverbindungen herstellt und entlötet
Werkzeuge
Ersatzteile
-
-
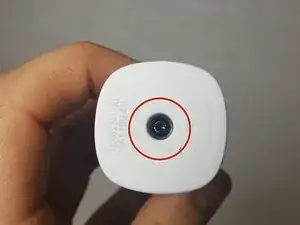
Entferne die 12 mm Torx T8 Schraube am Boden. Heble dann die Bodenplatte mit einem Plastiköffnungswerkzeug ab.
-
-
-
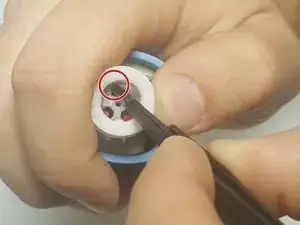
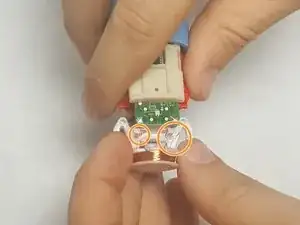
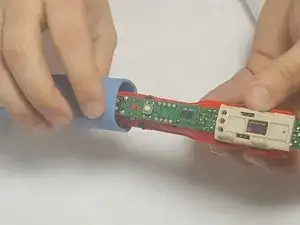
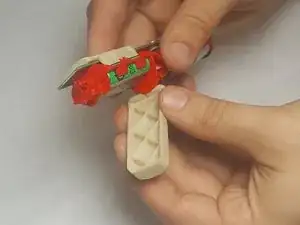
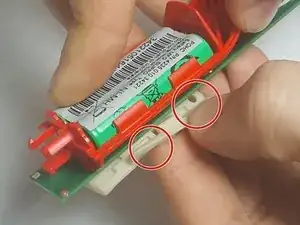
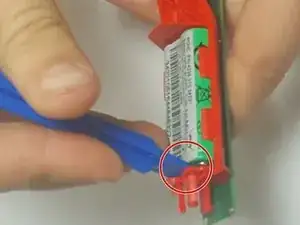
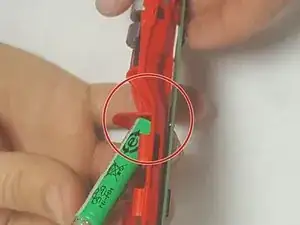
Entferne die innere Elektronik. Du musst dazu die roten Rasten wegdrücken, so wie im Bild gezeigt. Dadurch kann die Ladespule herausgeholt werden.
-
-
-
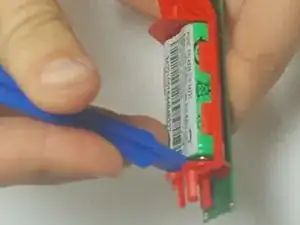
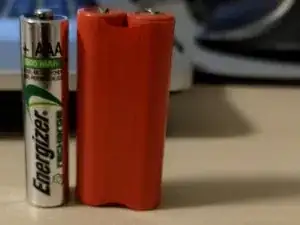
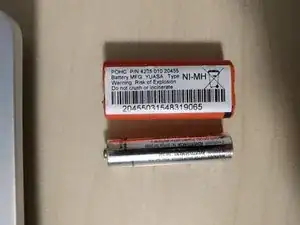
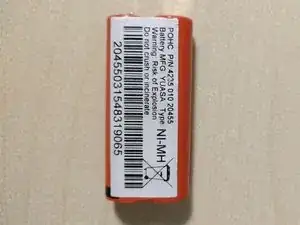
Die Spannung des Akkupacks beträgt etwa 2,8 bis 2,9 V. Du kannst den Pack durch zwei in Reihe geschaltete AAA NiMH-Zellen ersetzen. Trenne den Akkupack ab, nicht aber den Metallanschluss der Platine.
-
Um dein Gerät wieder zusammenbauen, folge den Schritten in umgekehrter Reihenfolge.
7 Kommentare
Step 3 is incorrect. The only things keeping the internals secured in the casing are the two ‘elbows’ clearly visible in Step 3 picture 2. Simply pry these away from the depressions in the casing and the works slide out, with a little push from the top stem. The method describing the 3 red clips does no good (besides being nearly impossible to accomplish) and presents a clear risk of breaking the hair-thin wires
The method described in Step 3 to remove the internals from the casing is incorrect. Rather than prying the 3 red clips (nearly impossible anyhow) all that is required is to pry the two ‘elbows’ visible in step 3, photo 2, away from the depressions in the casing. Voila.
The two comments are correct, the earlier teardown is from a much earlier Sonicare. All the current models just need a spatula to depress the white detents while applying pressure gently from the brush end. The assembly will then easily pop right out.
