Einleitung
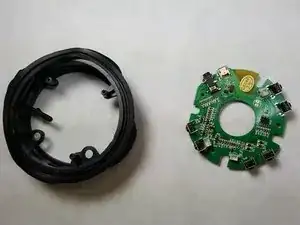
The motherboard is the key component behind this little speaker. If you're experiencing issues that have persisted through other troubleshooting guides, it may be time to replace the motherboard. The motherboard is a delicate piece of equipment, so work slowly and carefully to avoid damaging the speaker.
Werkzeuge
-
-
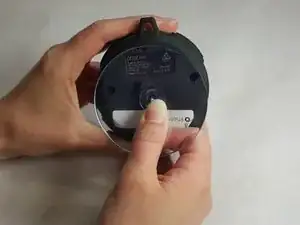
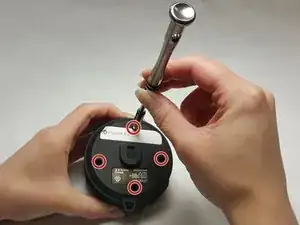
Remove the four 8.5 mm screws from the back panel of the speaker by using the Phillips #1 Screwdriver.
-
Remove back panel
-
-
-
Remove the plastic cover in front of the battery slot.
-
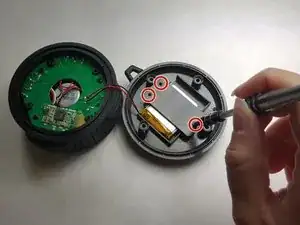
Unscrew all the 8.5mm screws that hold the cover to the slot.
-
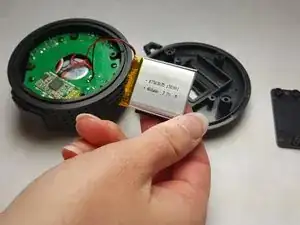
Separate the battery from the back panel as shown in photograph 3.
-
-
-
Remove the battery from the motherboard.
-
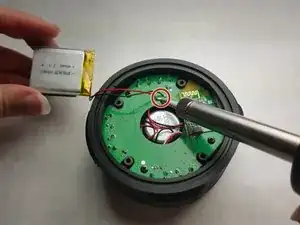
Use a soldering pen to remove the solder connecting the battery wires to the motherboard.
-
-
-
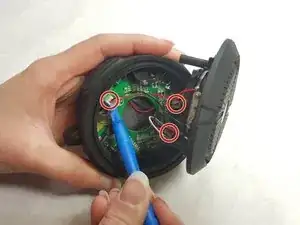
Detach the connector clips from the motherboard using the iFixit Opening Tool.
-
Some force may be necessary to remove the plastic clips.
-
-
-
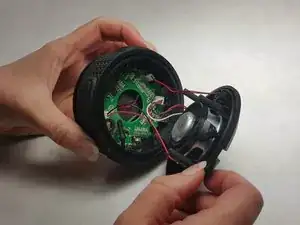
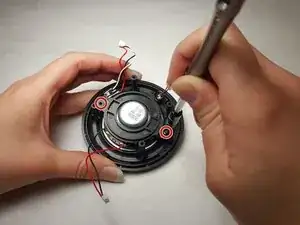
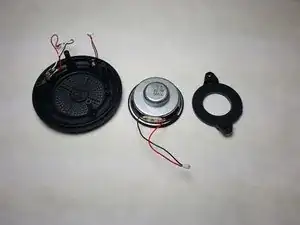
After the speaker is detached, remove the two 8.5mm screws that hold the speaker to the front panel with the Phillips #1 Screwdriver.
-
-
-
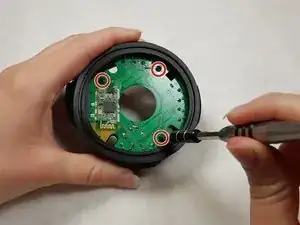
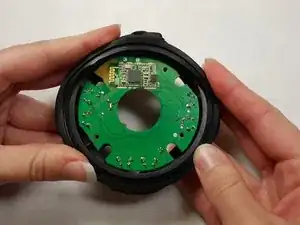
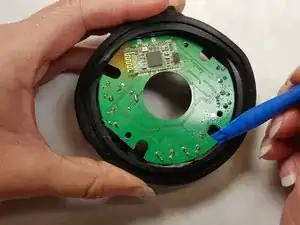
From the back of the motherboard, unscrew the three phillips head screws holding the motherboard in place.
-
To reassemble your device, follow these instructions in reverse order.
