Einleitung

If your Pipo Smart S1 Speaker is not working or not producing clear audio (audio is buzzing, fuzzy, or otherwise unclear), this guide will show you how to replace the speaker in your device.

The speaker in your Pipo Smart S1 works by converting electrical signals into sound waves that you can hear. If any part of your speaker is defective, it will result in unclear or no audio.

Before replacing the speaker, turn off the device and disconnect it from any external power sources.

Replacing the speaker in the Pipo Smart S1 requires the use of a soldering iron. Follow this guide for information on how to solder connections.

  1. tFbmFU32KkyFUELE
    tFbmFU32KkyFUELE
    3caQDVEWTgZZlWNn
    gUssjYAAmxEMFiCn
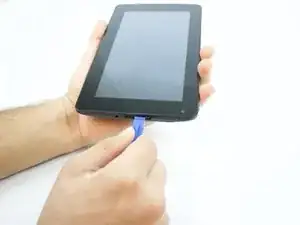
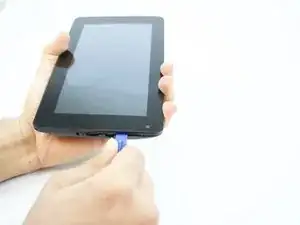
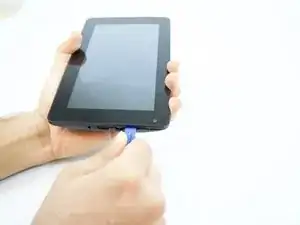
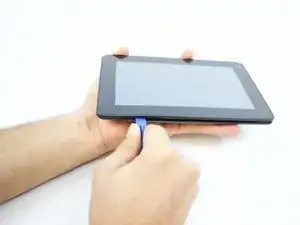
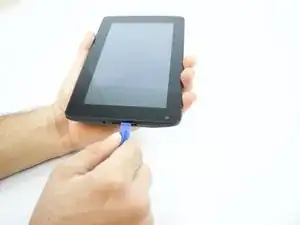
    • Insert an iFixit opening tool between the body and display of the tablet at the bottom of the device where the charging port is.

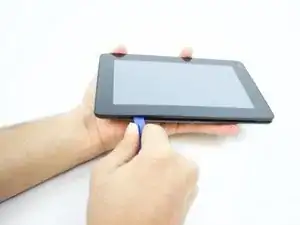
    • Slide the tool along the gap you are creating, moving to the right direction against the mini USB port.

  2. a5spHCNrbMJFRoNS
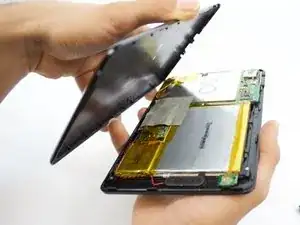
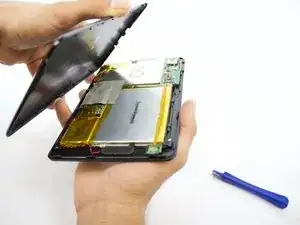
    • Gently pry the body of the tablet and pop the back cover open.

    • Lift the back cover of the device and place it on the side.

  3. ZRWfjVZjuuy6Jub1
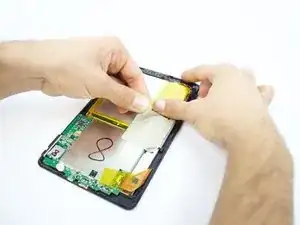
    • Lift the edge of the white tape with the iFixit opening tool.

  4. R2dxB4UDpGwORlL1
    R2dxB4UDpGwORlL1
    2YKrQGYZslJcRtyJ
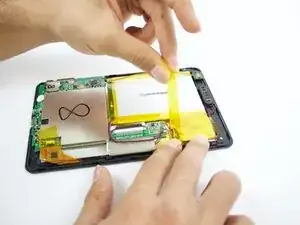
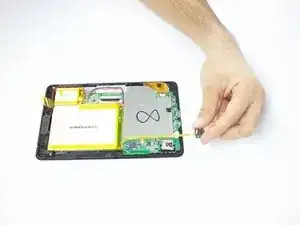
    • Lift the white tape with your fingers, then lift the yellow tape that holds the battery extension.

  5. YJejtaWVu2HmCqDT
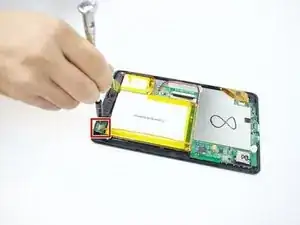
    • On the bottom of your tablet, use the Phillips #0 screwdriver to take the two 3mm screws out.

  6. 4NDMygXK6YWGtZCN
    4NDMygXK6YWGtZCN
    DZe6dYGKp4RqIcXg
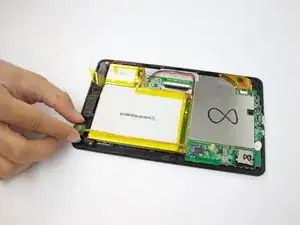
    • Lift the headphone jack and move it to the other side, placing it on the surface you are working on.

  7. 61Qicn6M6qRujx6i
    61Qicn6M6qRujx6i
    IgBdjfMXEID2SuNy
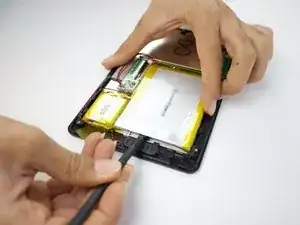
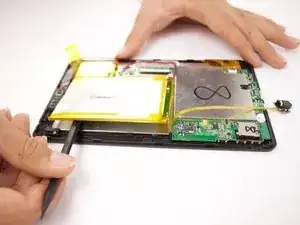
    • Use a spudger to pry the battery and detach it from the glue underneath it.

    • Be careful not to pinch the battery—lithium batteries are hazardous and prone to short circuiting, and thus burning and/or exploding.

  8. XiFux3CYMSHwVx21
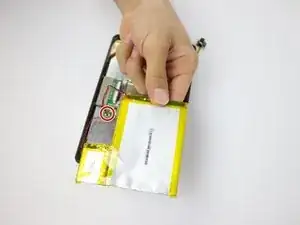
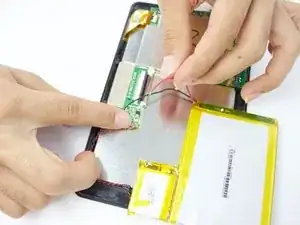
    • Lift the battery and place it a little further away from the positive and negative battery wires.

  9. YfYYCPtEIVMx1Je6
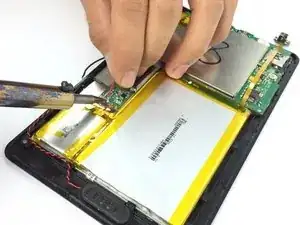
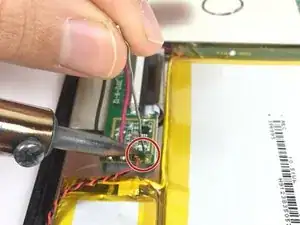
    • Using your soldering iron, melt the two lead spots to detach the wires.

    • The soldering iron is extremely hot, so handle with caution. Always keep the soldering iron holder next to you when using it so you can return it easily.

    • When reassembling, make sure you solder the right pole to the right spot on the circuit board, as swapping them can burn the motherboard.

  10. JPYIBgqjEJ3pLPsK
    JPYIBgqjEJ3pLPsK
    CuQGvcTLSo2uMX6k
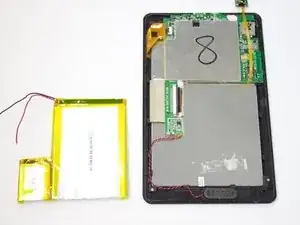
    • Remove the two wires. Then remove the battery completely from the device.

    • Make sure you tape the negative and positive battery wires to keep them from short-circuiting.

  11. QSHLnokjCwKnTSAT
    • Find the charging port at the bottom of your device.

    • Insert the spudger into the seam between the front and back panels of the device.

  12. s31OiKypN4nchLuM
    s31OiKypN4nchLuM
    TPdWAWoZC4AwIgZV
    • Slide the spudger away from the charging port.

    • Continue doing this around the entire device to separate the front and back cover.

  13. KutKfGvHZphyai3T
    • Using your fingers, pry off the back cover of the device once you have created a gap between the covers.

  14. VvAyBCUswys2OOnl
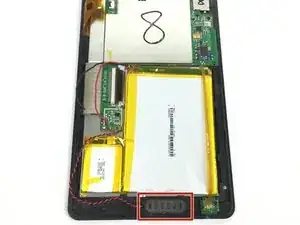
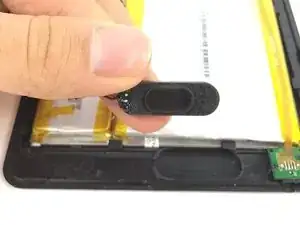
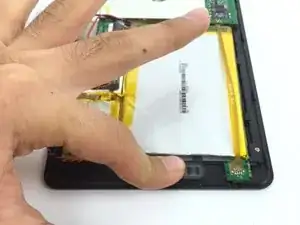
    • Find the speaker at the bottom of the tablet.

    • The speaker looks like a black oval with a red and black wire connected to it.

  15. AIJLVyg2QTWQbRTc
    AIJLVyg2QTWQbRTc
    JW2YOXjipZfdLxjA
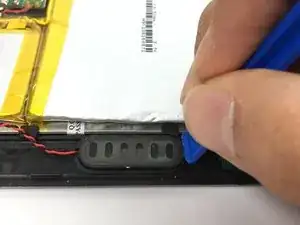
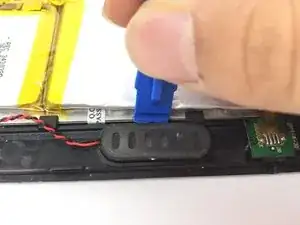
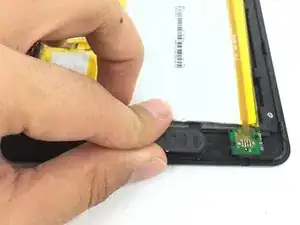
    • Pry out the speaker using the spudger.

    • Alternate sides to help avoid damage to the speaker's molding.

  16. qcRVqAQsis4mUT5s
    qcRVqAQsis4mUT5s
    VyKJg6WAFVQGEKs4
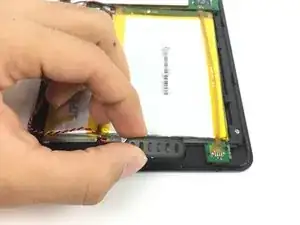
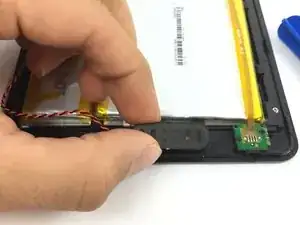
    • Use your fingers to pull the speaker out of the device.

  17. 5jK2WFgTJ3ZXF3VS
    • Place the defective speaker next to your device.

  18. kkuYKoMhuR26PRWn
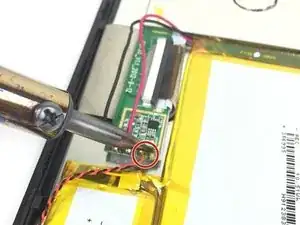
    • Disconnect the speaker's wires from the motherboard using the soldering iron.

    • The soldering iron is extremely hot. Handle with caution. Keep the holder next to you and return the soldering iron to the holder when it is not in use.

  19. Lev1qgMUmMpt5w6H
    • Reconnect the new speaker's wires to the motherboard using the soldering iron.

  20. 3LMW61UhsUYV6BXx
    3LMW61UhsUYV6BXx
    KDMrBUVN6AWd1SeN
    HTKpGXGoD1k1VwmF
    • Carefully place the new speaker into the speaker port.

    • Gently push down on the new speaker to properly connect it to the port.

Abschluss

To reassemble your device, follow these instructions in reverse order.
Ali Alqallaf

Mitglied seit: 28/09/16

340 Reputation

0 Kommentare