Einleitung

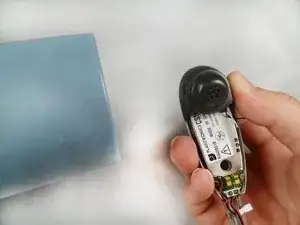
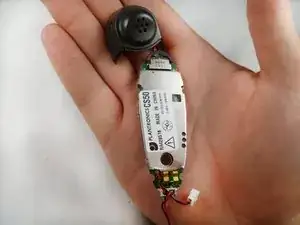
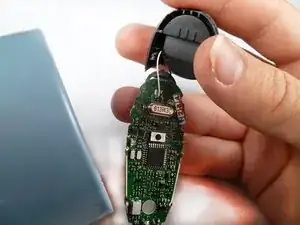
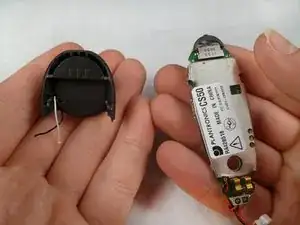
Use this guide to replace your headset's motherboard

  1. SXVWGjdbNLjB21Ma
    SXVWGjdbNLjB21Ma
    oeMlEVjuy3lqHYbi
    ACwkiKXuFBFgctAs
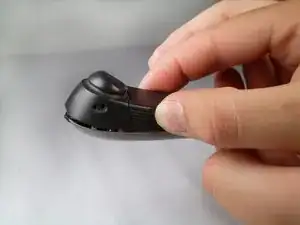
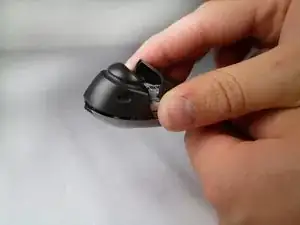
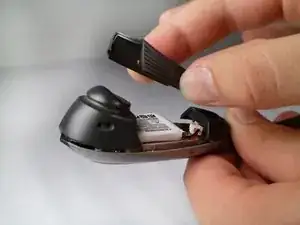
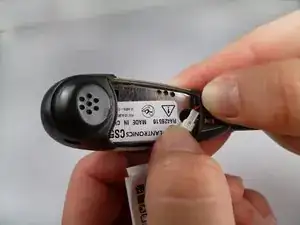
    • Flip the headset face down.

    • Squeeze both sides of the battery cover.

    • While squeezing, pull the cover up slowly to remove it.

  2. hQV2HgQtQEuWwJCs
    hQV2HgQtQEuWwJCs
    dYEfLtnQMqIWpWrW
    ikWpcHAUfOkqxIrY
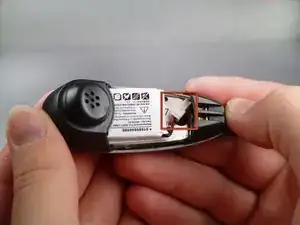
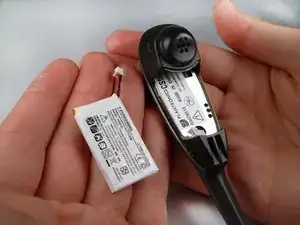
    • Locate and detatch the white connector that connects the wires of the battery to the wires of the headset.

  3. b4LwHaptaDu1LA4Q
    b4LwHaptaDu1LA4Q
    TtuHAMtDILnBybZK
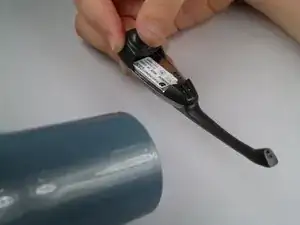
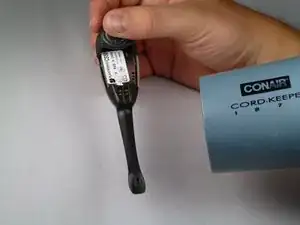
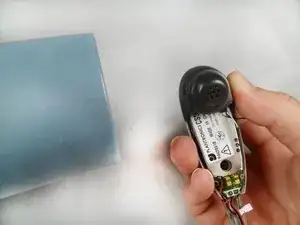
    • Use a hairdryer or heat gun to melt the adhesive along the crevice that joins the black and silver components.

    • Apply additional heat at the tip of the microphone.

  4. TeNZmmFexkPu2iJN
    TeNZmmFexkPu2iJN
    fPwW4raZDyGOwWNi
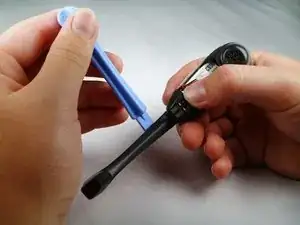
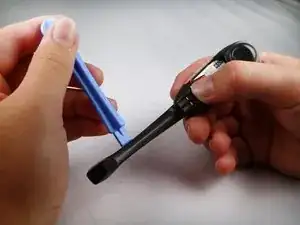
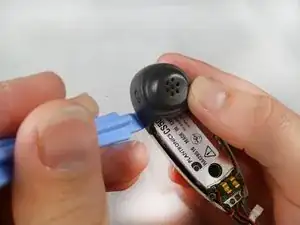
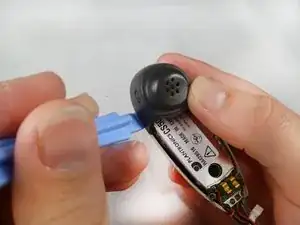
    • After heating the headset, use the plastic opening tool to carefully pry the black cover from the headset.

    • Be aware of the two plastic connectors inside the headset. If the black cover does not come off smoothly, apply additional heat on the connectors.

  5. dV1MUE4WYlXytSDx
    dV1MUE4WYlXytSDx
    g3eblLs5dOuymUbQ
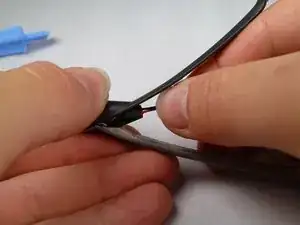
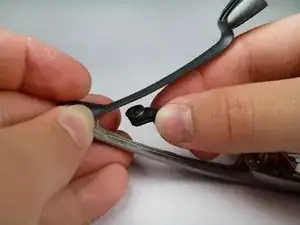
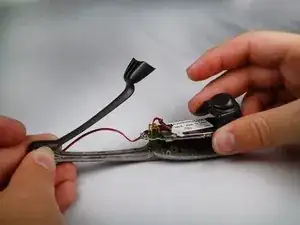
    • Remove the microphone from the tip of the plastic.

    • You will have to lift the microphone straight up because it is held in place by a small piece of plastic.

  6. WGtrGVUYDa3A3pTJ
    WGtrGVUYDa3A3pTJ
    VeCJ1IEWNNLy3MCy
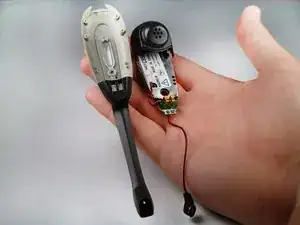
    • Use the heat gun to melt the adhesive connecting the headset face to the speaker casing.

    • Use the plastic opening tool to separate the speaker casing from the headset face.

    • Add extra heat to the sides to melt the adhesive between the plastic connectors.

  7. R2gkYOfwGhEYggr3
    R2gkYOfwGhEYggr3
    3XpmTZSPODfbwJ6b
    • Slowly separate the motherboard from the rest of the headset.

  8. voWcLOMiACDCgIl6
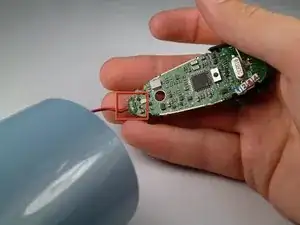
    • Locate the microphone wires on the bottom of the motherboard.

    • Use a hairdryer or heat gun to melt the glue off of the motherboard.

  9. cBfVxPFTV1H5MUwd
    • Flip the device over.

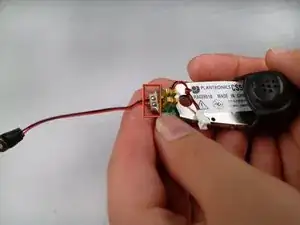
    • Use a soldering iron to remove the solder that holds the wires to the motherboard.

    • For help soldering, click here.

    • The microphone piece should be completely detached from the motherboard.

  10. OCgqJtFxuLSGKsK1
    OCgqJtFxuLSGKsK1
    hUXWTS5DIkUDpfFa
    DXtk6eVcP5IZEh4m
    • Using a blow dryer or a heat gun, heat the crevice to melt the adhesive between the plastic covers.

    • Using a plastic opening tool, prop open the edges.

    • Gently pull the black speaker casing up to remove it.

  11. vDsLxIQcTpRWYfHx
    vDsLxIQcTpRWYfHx
    sK4YJyoMxDrCRSei
    • Use the heat gun or blow dryer to melt the glue that connects the wires to the headset's motherboard.

    • The wires should come off as they are not soldered to the motherboard.

Abschluss

To reassemble your device, follow these instructions in reverse order.
Joe

Mitglied seit: 12/04/12

99 Reputation

0 Kommentare