Einleitung
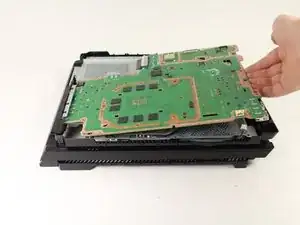
Hier wird der Austausch der Hauptplatine gezeigt. Auf der Hauptplatine befinden sich viele kleine und empfindliche Bauteile, du musst vorsichtig arbeiten. Du verliert durch den Ausbau die Garantie.
Werkzeuge
Ersatzteile
-
-
Drehe die Konsole mit der Unterseite nach oben.
-
Ziehe mit den Fingern am Plastikdeckel der Festplatte und lasse ihn aufschnappen.
-
-
-
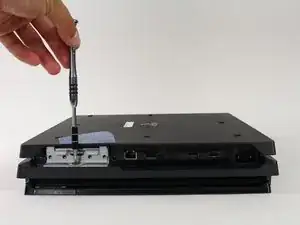
Drehe die Kreuzschlitzschraube #1 heraus, welche den Festplattenträger befestigt.
-
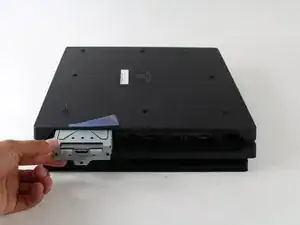
Ziehe den Festplattenträger gerade heraus.
-
-
-
Drehe die Konsole auf die richtige Seite.
-
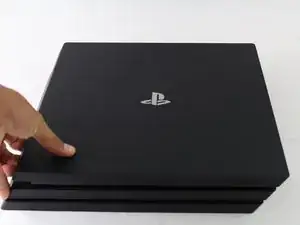
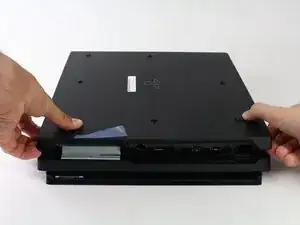
Fasse die beiden Ecken an der Vorderseite an.
-
Ziehe sie nach oben, bis du ein lautes Klicken hörst.
-
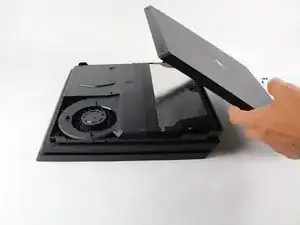
Wenn sich beide Ecken gelöst haben, dann kannst du die Abdeckung nach hinten schieben und abheben.
-
-
-
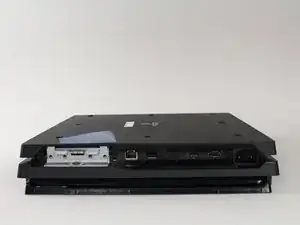
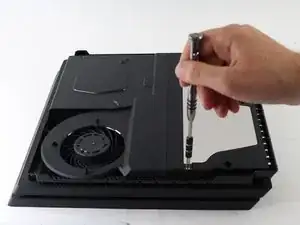
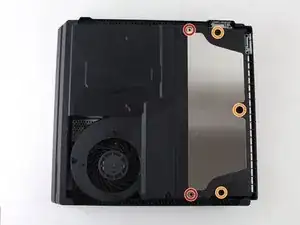
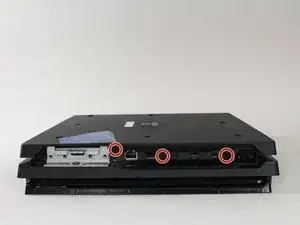
Entferne vier oder fünf Torx T8 Security Schrauben vom hinteren Teil des Geräts.
-
Zwei 31 mm Schrauben.
-
Drei 10 mm Schrauben beim 7000 Modell oder zwei graue 10 mm Schrauben, wenn deine PS4 Pro ein 7100er Modell ist (die mittlere Schraube ist dann nicht vorhanden).
-
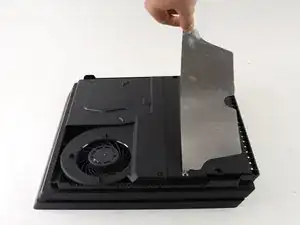
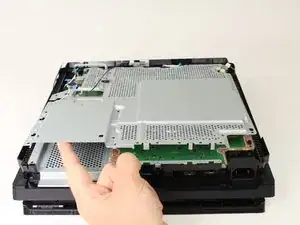
Ziehe die Metallplatte nach oben und entferne sie.
-
-
-
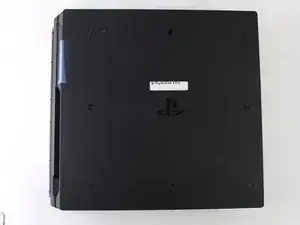
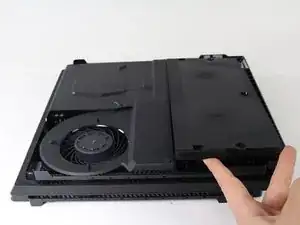
Drehe die Konsole um, so dass der Boden nach oben zeigt.
-
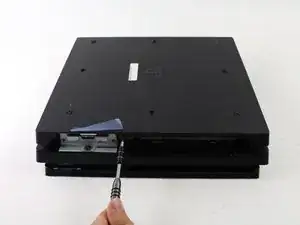
7000er Modelle: Entferne drei schwarze 7 mm Torx T8 Security Schrauben von der Rückwand.
-
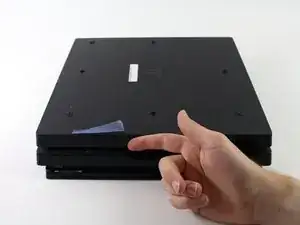
7100er Modelle: Entferne die schwarze 7 mm Torx T8 Security Schraube in der Mitte und den Garantie-Aufkleber links.
-
Entferne die Bodenabdeckung auf die gleiche Art, wie die obere Abdeckung. Fasse die Abdeckung an beiden Seiten und ziehe daran, bis es klickt. Schiebe dann die Abdeckung weg. Passe bei den 7100er-Modellen auf die beiden Clips auf, die die Schrauben ersetzen.
-
-
-
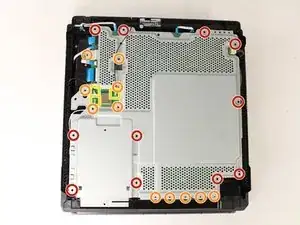
Entferne die elf 10 mm silberfarbenen Torx T8 Security Schrauben von der Metallplatte.
-
Entferne die elf schwarzen 4 mm Kreuzschlitzschrauben #1 von der Metallplatte.
-
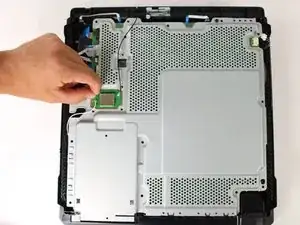
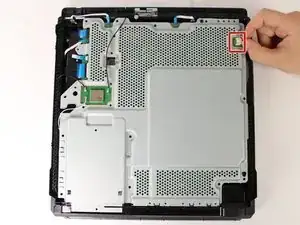
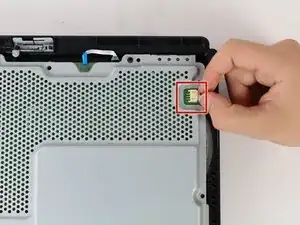
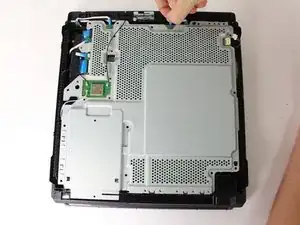
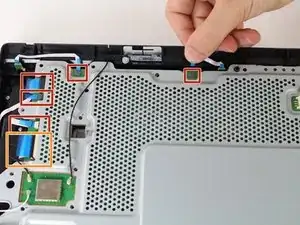
Heble mit einem Spudger die drei Antennenkabel (zwei schwarze und eine weiße) gerade aus ihren Anschlüssen hoch und löse sie ab.
-
-
-
Ziehe den weißen Stecker des Lüfters gerade aus dem gelben Anschluss auf der Hauptplatine.
-
-
-
Löse die fünf kleinen blauen Flachkabel, die an der Metallplatte angeschlossen sind.
-
Klappe den Sicherungsbügel am ZIF Anschluss des breiten Flachbandkabels hoch.
-
Ziehe das breite Flachbandkabel aus dem Anschluss heraus.
-
-
-
Drehe die Konsole wieder um und arbeite an der Oberseite weiter.
-
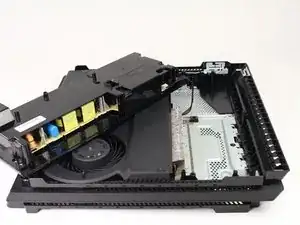
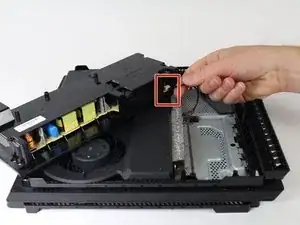
Ziehe das Netzteil hoch und lege es auf die Konsole.
-
Fasse den Stecker hinter dem Netzteil und ziehe ihn gerade heraus.
-
-
-
Drehe die Konsole vorsichtig um, so dass der Boden nach oben zeigt.
-
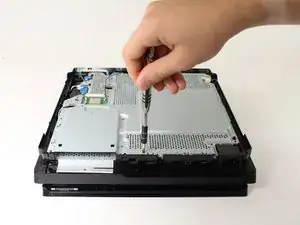
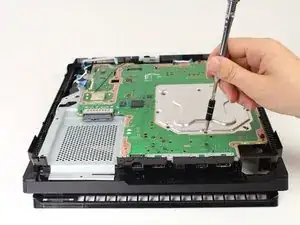
Entferne die acht 4 mm Kreuzschlitzschrauben #1, welche die Metallplatte mit der X-förmigen Prägung festhalten.
-
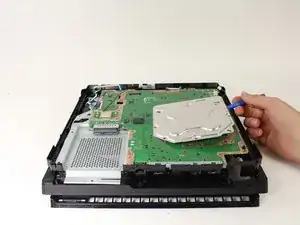
Entferne die Metallplatte mit einem Öffnungswerkzeug aus Plastik.
-
-
-
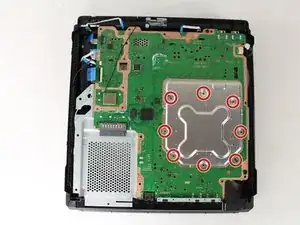
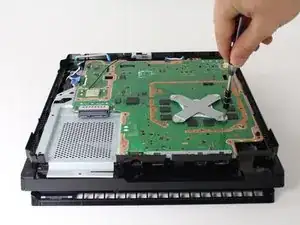
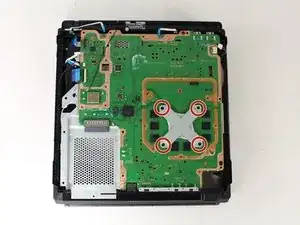
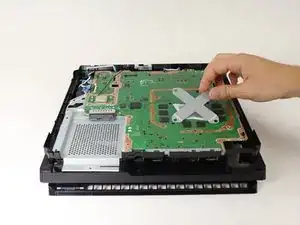
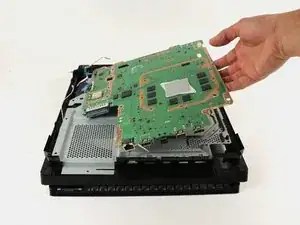
Entferne die vier 13 mm Kreuzschlitzschrauben #1, um die X-förmige Metallplatte darunter zu lösen.
-
Fasse die X-förmige Halterung und hebe sie gerade hoch.
-
Um dein Gerät wieder zusammenzusetzen, folge den Schritten in umgekehrter Reihenfolge.
11 Kommentare
This guide is for the initial release CUH-7000 models. Of note is the changes to the CUH-7100 series that do make this guide an issue. Steps 4 and 5 have a different items to note. You can damage it following this guide if you don’t adjust. There no longer 3 security screws for the case, but just one. This single screw is still covered by a warranty sticker, but the second one is a blank sticker and no screw behind it. There is also no 10mm screw in the center power supply in Step 4, it’s a support post. You still remove the 4 other screws, but you must then flip the console over and remove a T8 screw to the right on the HDD cage and another closer to the right side. You can then flip the console over again to remove the battery and plug it. Just remove all the metal plate screws to be sure, but make sure you hold the board when you flip it again or you will bend the battery prongs like I found out the hard way.
Jason -
Hi, are these region/console/digitally signed? I have a dead board and was hopint to do a stragiht replacment for antother working board I will buy?
I'm asking the same question? Can you make it work with a board from another console? And do you need to replace the optical drive too?
hi. does anyone knows the dimentions of the motherboard? I want to buy one but I need to make sure that it will fit in my project.
Thanks in advance

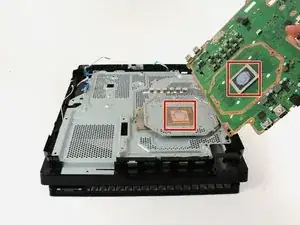
DON’T FORGET TO HAVE THERMAL PASTE HANDY! It should be added to the “Tools Required” Section. You will NEED it!
Jaquell Chandler -
What if thermal paste is not applied again when remounting ? Will the playstation start and work anyway or not ?
Vincent Bee -
It will start and run normally until you put it under load. Then it will heat up and thermal throttle or it can overheat and destroy itself.
Jeremy Ivey -
I posted this down in another step too, but: if you have a very early North American PS4 Pro, with the exact optical drive shown here - the key way to tell is the very long data cable that’s folded a couple of times, see pictures in later steps - then the replacement drive iFixit offers WILL NOT WORK IN YOUR MACHINE. It has to be a very early model, apparently, but the model number isn’t enough to tell you.
Even if you swap the too-short cables in their replacement with the longer cables on your drive, it still will not work. At all. It’ll just sit there like the drive isn’t even getting power.
So if you do have this drive, what you probably need to do is get a replacement KES-496A Optical Pickup Assembly and replace that within your existing drive. That’s what I had to do after two different replacement drives sent by iFixit failed to work in my system. It worked immediately and I’m back online.
The optical pickup replacement is awfully fiddly, and adds a solid 20 minutes to the repair easily. But it does work.
Dara Korra'ti -