Einleitung
Like most electronics, after some time the battery life will not be like it used to be. One can tell if the flight of the gyro-copter does not last as long or if there is trouble charging. Replacing the battery pack is not difficult but will require some soldering skills.
Werkzeuge
-
-
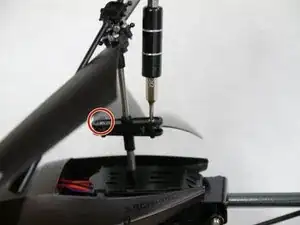
Remove the two 5.0 mm Phillips #00 screws from the rotors.
-
The blades will fall off when the screws have been removed.
-
-
-
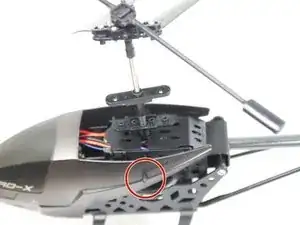
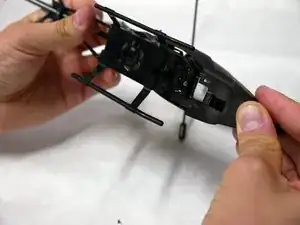
Push the front of the nose back towards the tail of the helicopter.
-
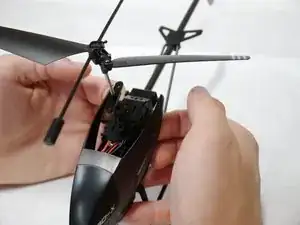
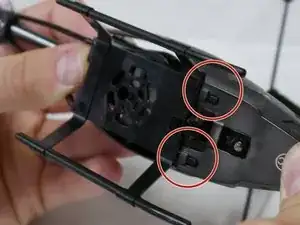
Push down on the shell and pull it away from the body, so that both slots pass over the hooks on the bottom of the helicopter.
-
-
-
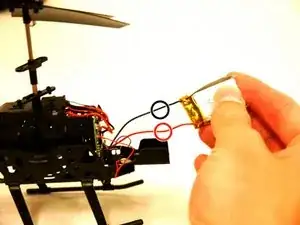
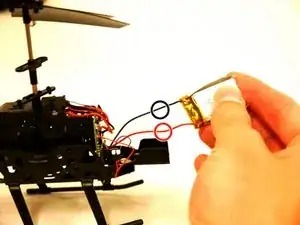
Pull the battery off of the holder.
-
Cut each of the wires to the battery one at a time using a pair of wire cutters.
-
-
-
Once the wires are cut, strip and solder the wires connected to the Gyro-X to the wires of the new batter pack.
-
To reassemble your device, follow these instructions in reverse order.
